22 Ways to Arrange Whimsical Birthday Party
I’ve been around enough birthday parties to know that the entertaining ideas often get lost in the shuffle of balloons, tables and a hundred other details.
You do not have to fill up every nook and cranny a few bright colors, surprising touches, and one great party zone can make the entire event seem more creative.
In this article, I’m sharing 22 whimsical birthday party ideas you can borrow, simplify, and adjust to fit your space, budget, and guest list.
What Whimsical Activities Keep Guests Entertained?
The finest party activities, I’ve discovered, are the ones that give guests something to do without turning the whole afternoon into a drill.
You could set up a craft table, a dress-up section, a scavenger hunt, a bubble station or a simple outdoor game and encourage people to come and join.
Keep the messy stuff off the food table. Make the first activity the simplest one so that those who get there early aren’t just hanging around.
I’d rather have visitors have one really pleasant activity and go back to that, than go through other activities because they are on the party plan.
Whimsical Backdrops
I’d use the backdrop for most of the theme and not spread decorations all over the walls.
You can blend painted panels, balloons, flowers, clouds, stars or huge props, but I’d keep the surrounding area calmer so photos don’t feel too cluttered.
1. Fairy Garden Backdrop
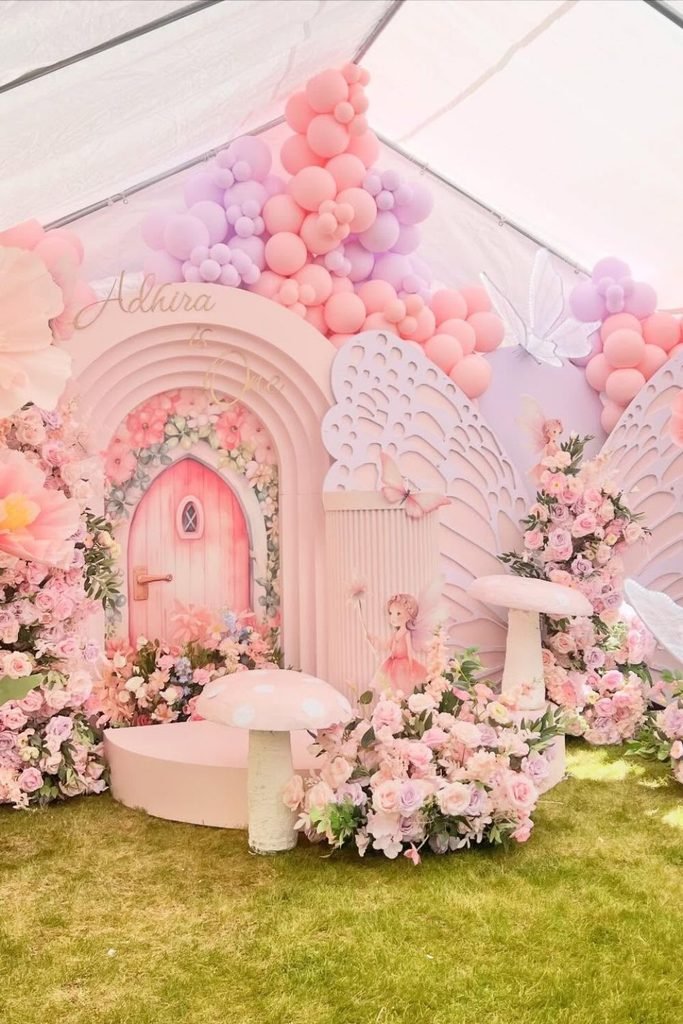
Oversized paper flowers, butterfly wings and a little fairy entrance give you enough detail to carry the motif without dressing up every table.
I would keep the balloon clusters largely at top and sides, leaving the center clear for shots putting more objects into middle would make this setup feel too busy.
2. Playful Circus Backdrop
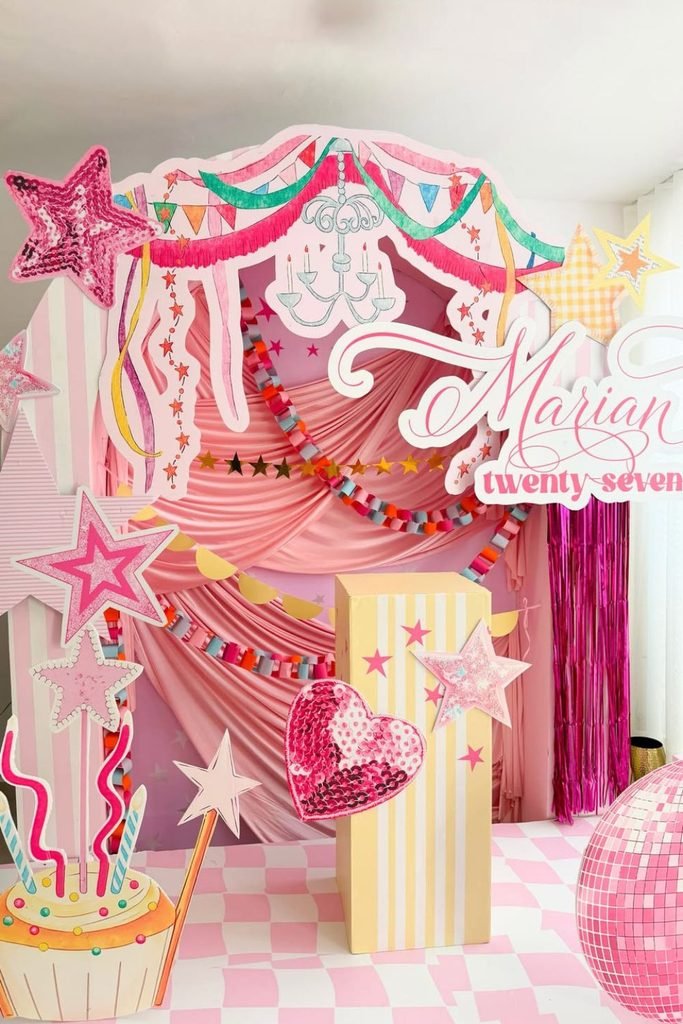
The layered pink drape, striped pedestals, sparkling stars and metallic fringe already have plenty of movement, so I would avoid adding another pattern.
I would keep the huge name sign, as it offers the photo space one distinct center point and floor props can be pushed aside anytime guests require extra standing.
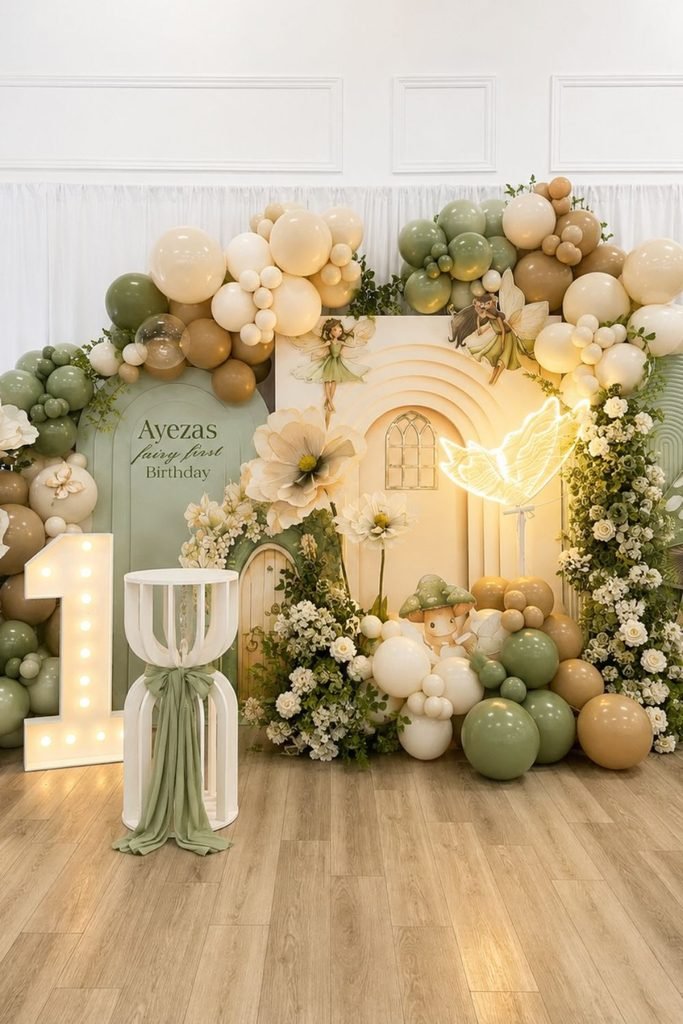
3. Enchanted Fairy Garden
Sage balloons, mushroom cottages, huge flowers, and soft fairy lighting offer you something to work.
With owever I’d omit the extra pedestal and allow more room for photography. I’d choose the earthy green and cream color scheme myself.
I think this helps all the fairy details look planned, rather than the background being a mix of competing decorations.
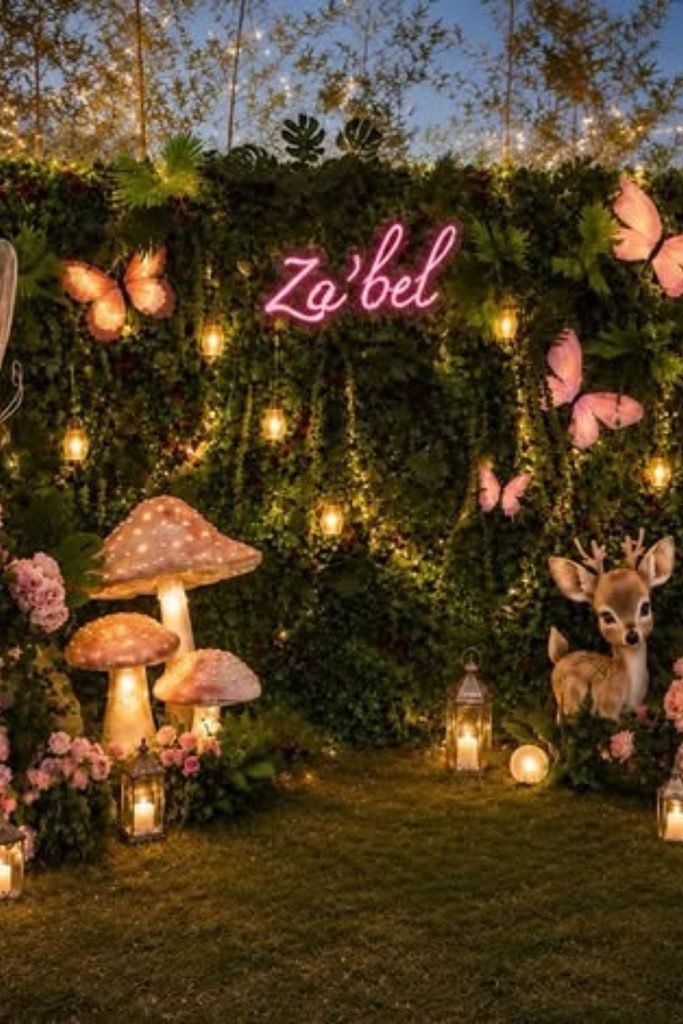
4. Twilight Fairy Garden Backdrop
Lanterns, glowing mushrooms, butterflies and foliage work so much better after nightfall.
So I’d hold off on this arrangement for an evening birthday and instead fight the daytime.
I’d opt for battery powered LED candles around the floor instead of real flames you’ll get the same warm glow without the open fire near flowers, fabric.
Whimsical Birthday Tablescapes
I’d let the table have a few whimsical accents rather than squeeze the birthday motif into every place setting.
You can blend patterned linens, interesting centerpieces, vibrant glassware little themed touches but I’d leave enough free space for people to eat comfortably.
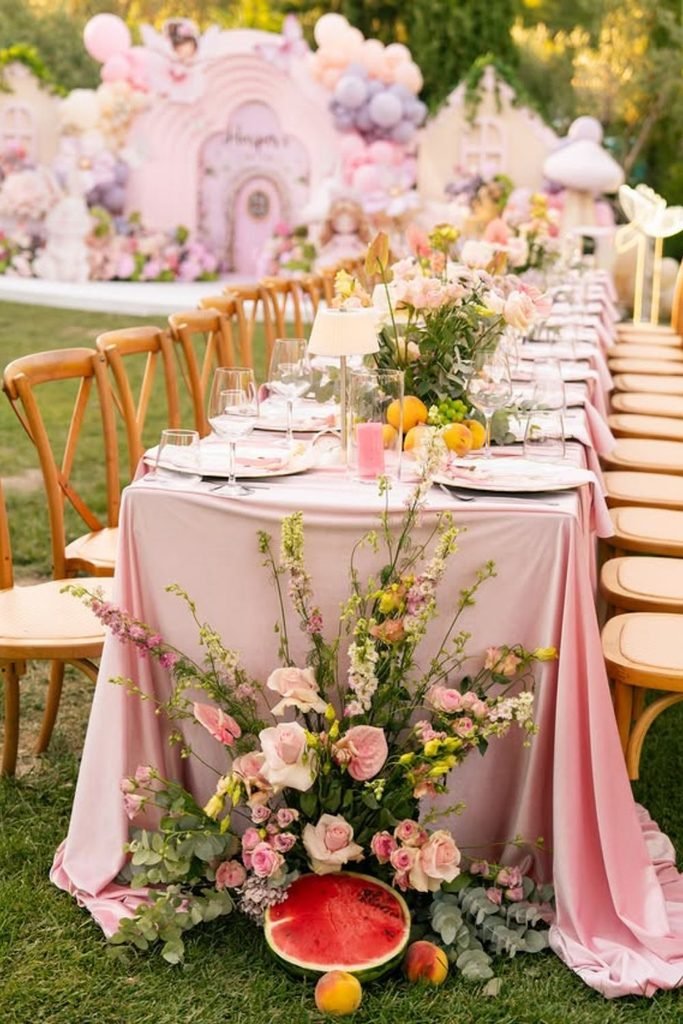
1. Garden Party Table Setting
Blush linens, bud vases, fresh fruit and simple floral arrangements keep the table interesting without preventing discussion across the table.
Keep the flowers below eye level and forgo excessive tabletop accessories you will be pleased you saved that serving real estate when meals arrive.
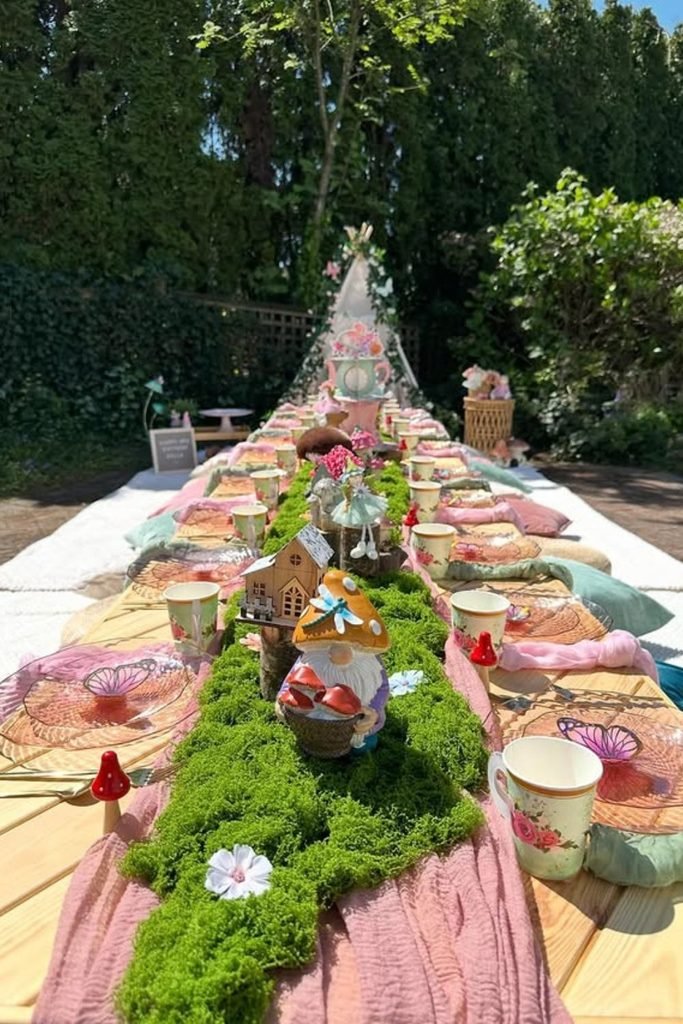
2. Woodland Picnic Table
Moss runners, mushroom figurines, and butterfly plates give the low picnic table enough woodland character.
So I’d keep the place settings fairly simple. I’d avoid loose moss around younger guests.
Because it can scatter into cups and food keeping it contained down the center gives you the same effect with less cleanup.
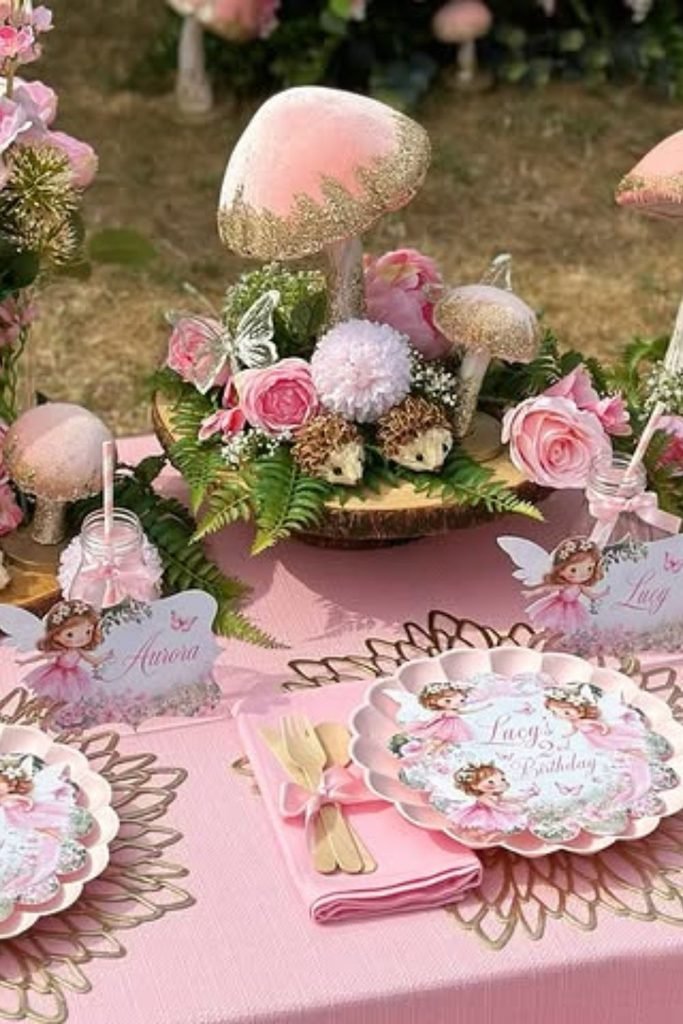
3. Fairy Mushroom Table Garden
Pink mushroom centerpieces, roses, and tiny hedgehogs already fill the table with character, so I’d avoid adding more miniature props between the plates.
I’d also keep taller mushrooms toward center anything near a child’s place setting can get knocked over quickly once drinks, elbows, and birthday cake enter the picture.
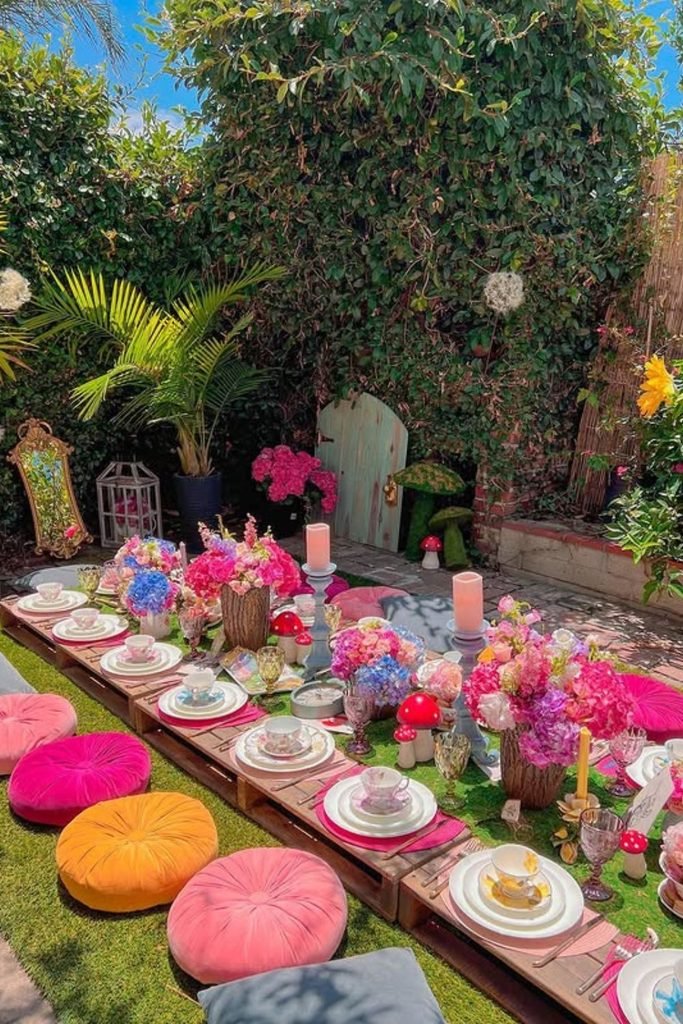
4. Colorful Garden Tea Table
Velvet floor cushions, bright hydrangeas, and vintage teacups make the low table feel playful enough without piling decorations onto every place setting.
Personally, I’d keep this arrangement for older kids or adults – sitting and eating at ground level gets awkward fast for guests who need easier seating.
Budget Swap: I’d skip buying matching themed plates, cups, and napkins for every seat. Plain tableware is usually cheaper, then you can spend on one or two details that guests actually notice, like flowers, patterned napkins, or a fun centerpiece.
Whimsical Fairy Lighting
I’d use fairy lights to soften darker corners rather than wrapping every tree, table, and backdrop until the glow becomes distracting.
You can layer warm string lights with lanterns or battery-operated candles, but I’d keep cords away from walkways where guests could catch a foot.
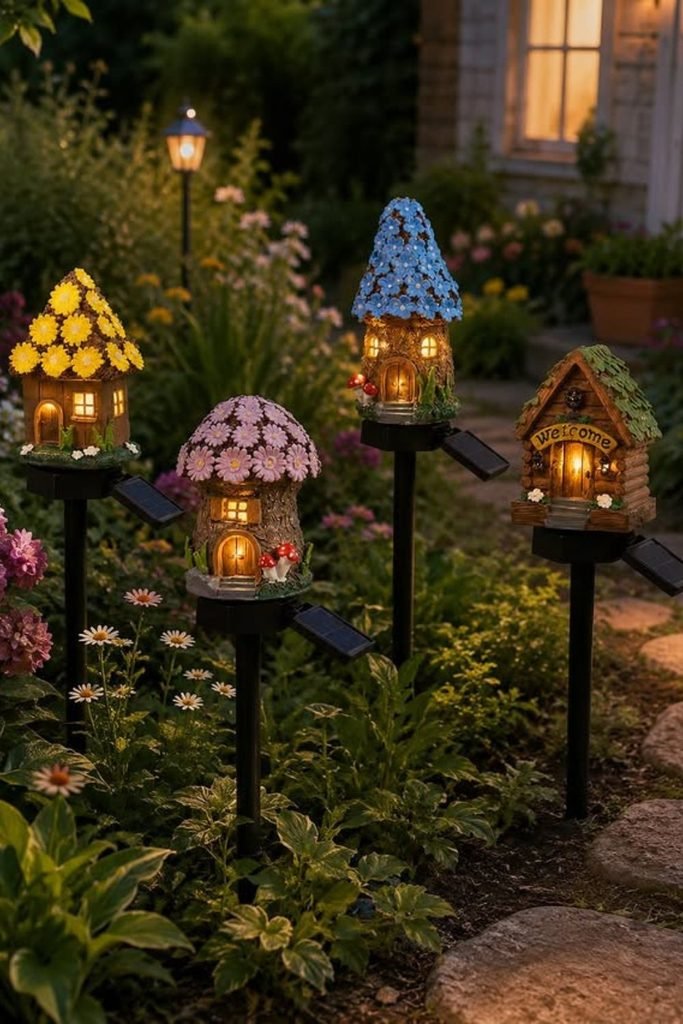
1. Solar Fairy House Lights
Flower-roof fairy houses with built-in solar lights are the kind of garden detail I’d place along a path rather than scatter everywhere.
I’d position the solar panels where they’ll get direct daylight, then check the lights before party night heavy shade can leave solar decorations disappointingly dim.
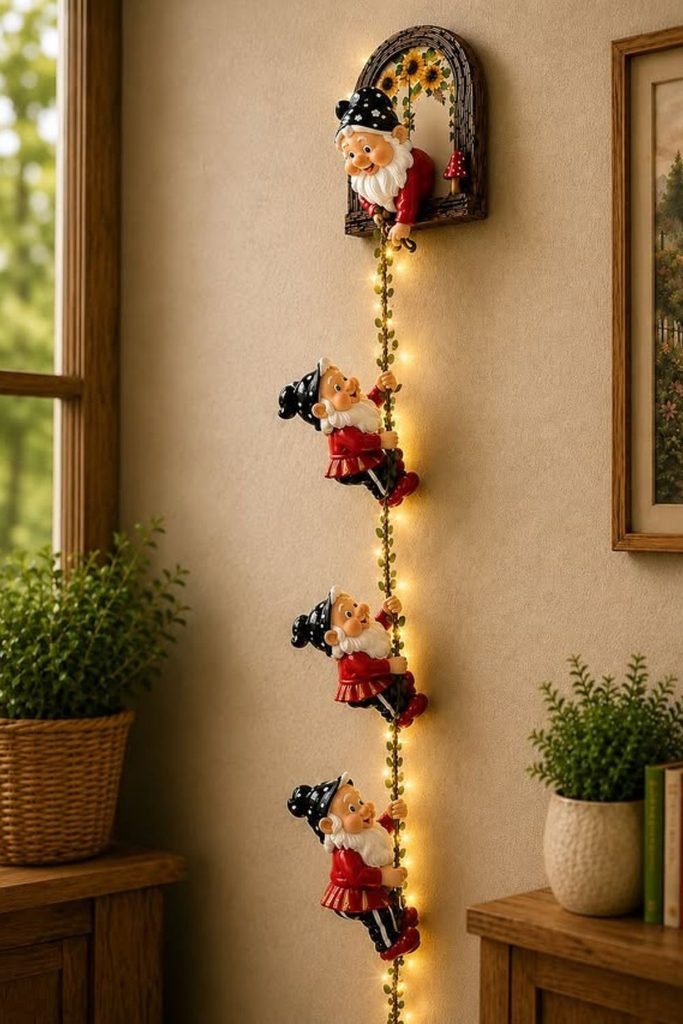
2. Climbing Gnome Fairy Lights
Climbing gnomes wrapped around a glowing vine bring enough personality to fill a narrow wall where a larger party decoration would feel forced.
I’d use this near an entryway or reading corner, but I’d secure the hanging strand at both ends – dangling decorations and excited kids aren’t a combination I’d risk.
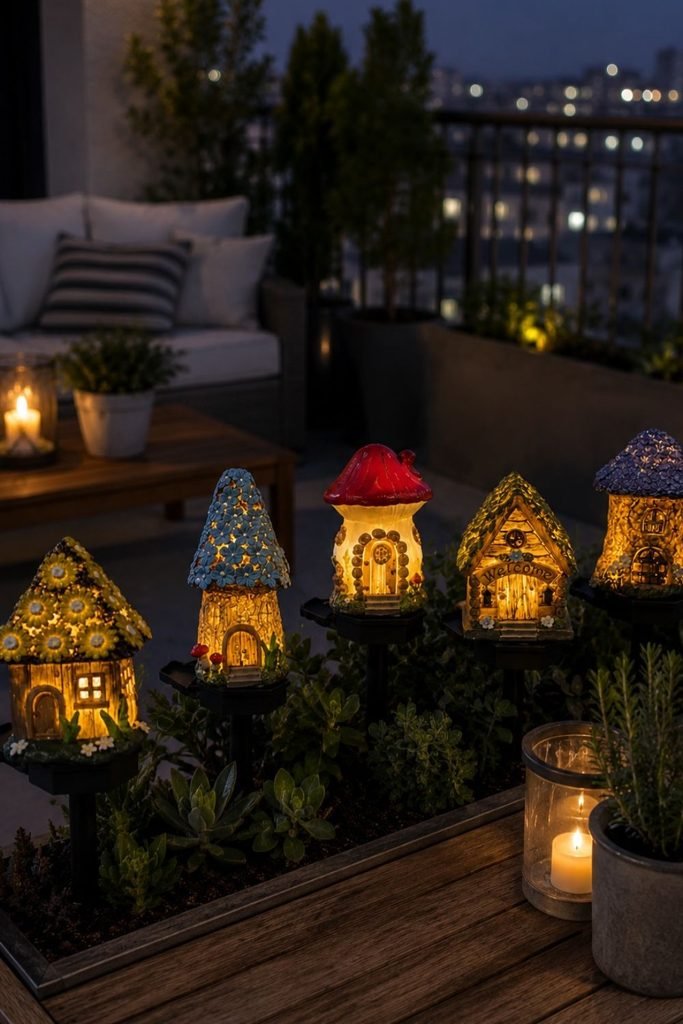
3. Glowing Fairy Village Lights
Miniature mushroom cottages glowing from inside can turn a planter or patio edge into party lighting without needing another bulky decoration.
I’d group several together rather than spread them around the clustered glow reads better after dark, and battery-operated versions.
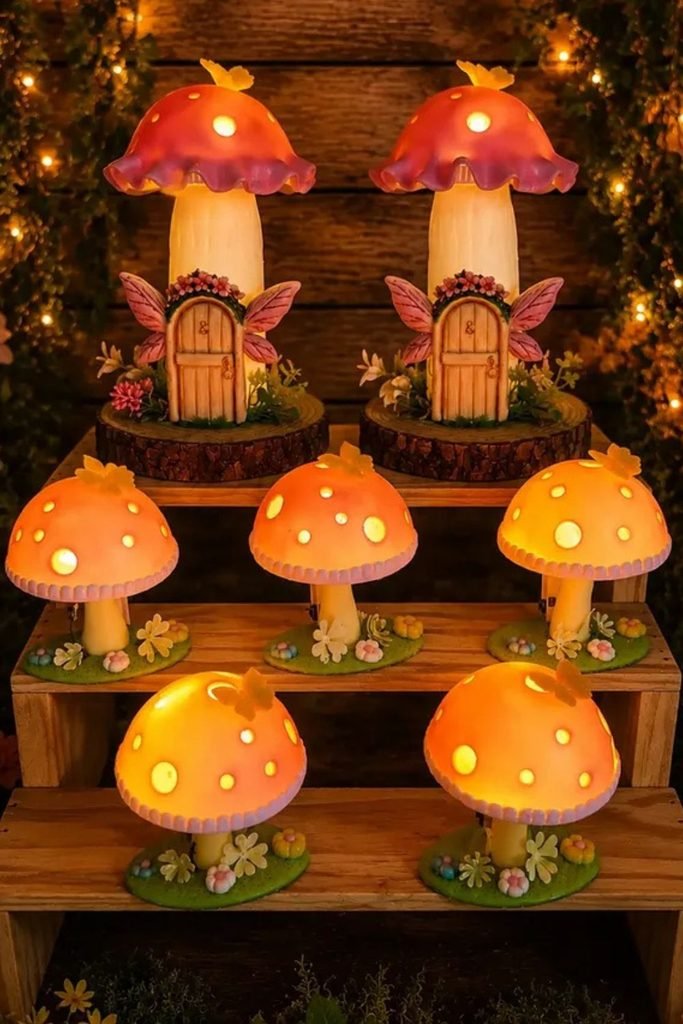
4. Glowing Mushroom Fairy Houses
Orange mushroom lamps and tiny fairy doors give you enough light to decorate a dessert-table corner without adding another string of bulbs.
I’d place them on staggered risers like this because the different heights keep every piece visible.
But I’d skip real candles nearby battery lighting is much easier around party décor.
Whimsical Dessert Tables
I’d give the cake one clear focal spot, then use smaller sweets and playful props to carry the theme without crowding every inch.
You can vary tray heights and shapes for interest, but I’d always leave enough open space for guests to reach desserts without knocking decorations over.
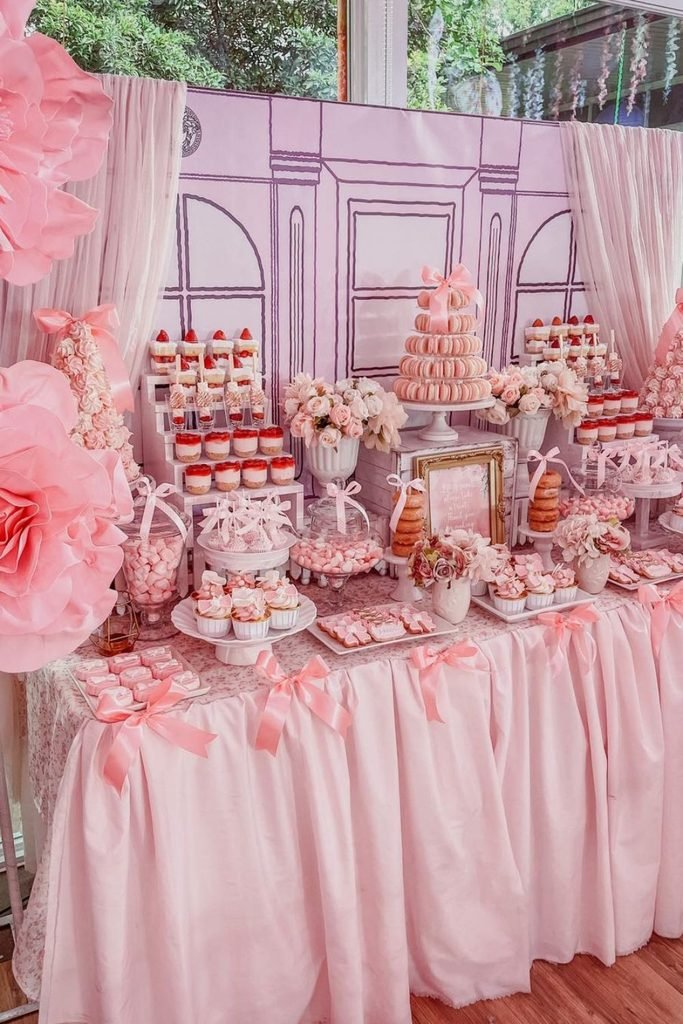
1. Bow Covered Dessert Display
Pink macarons, layered parfaits, oversized flowers, and ribbon details already make this dessert table extremely full, and I’d actually remove a few decorations.
I’d keep the tiered stands because they make smaller treats easier to spot, then clear some front-edge space.
So guests can pick up desserts without brushing sleeves through frosting or flowers.
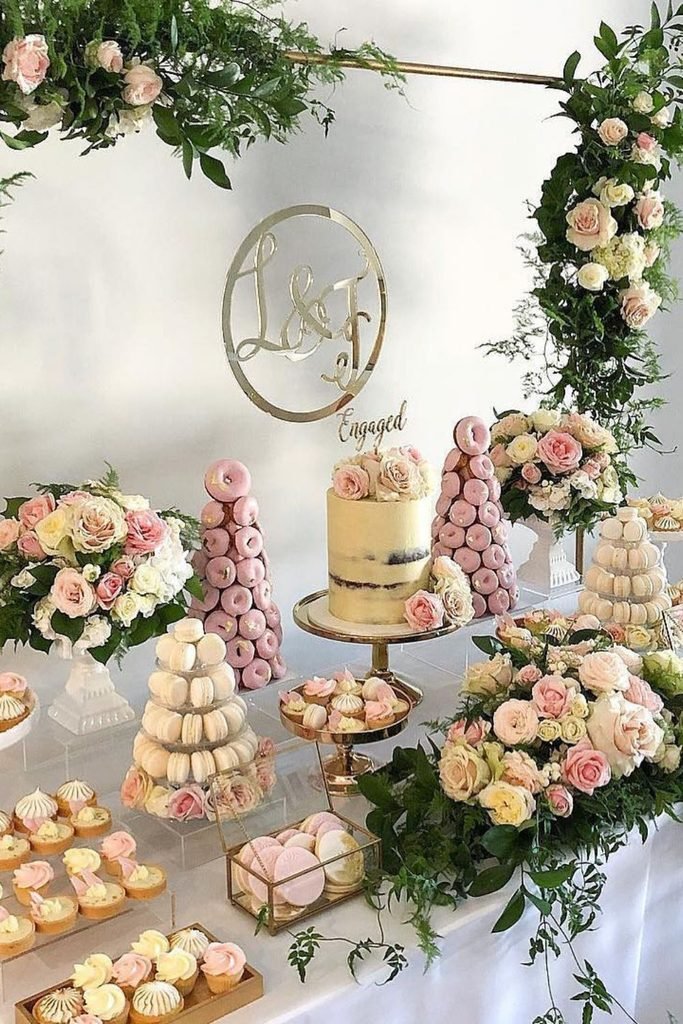
2. Garden Macaron Dessert Table
Macaron towers, mini tarts, roses, and trailing greenery give the table plenty of height, but I’d keep the main cake slightly raised so it doesn’t disappear between them.
I’d prepare the floral framework first and add desserts closer to serving time macarons and uncovered pastries can lose their texture.
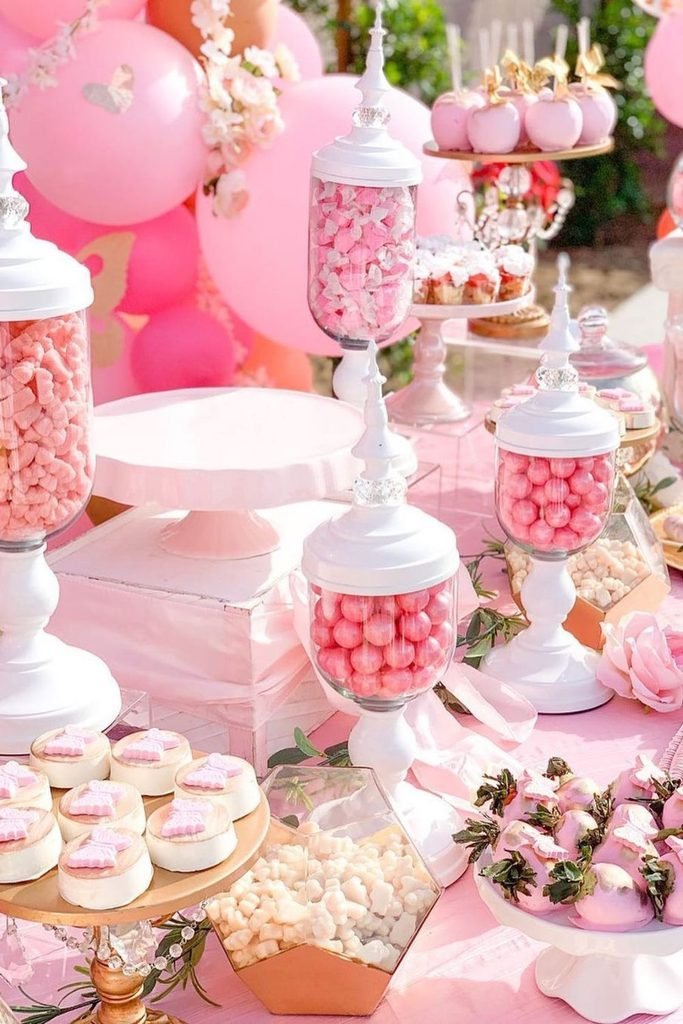
3. Candy Jar Dessert Display
Tall glass candy jars, dipped strawberries, and pink cookies create plenty of variety.
So I’d use the empty cake stand for one larger dessert rather than another pile of sweets.
Personally, I’d keep serving tongs or scoops beside every jar shared candy containers get messy quickly once several guests start reaching in.
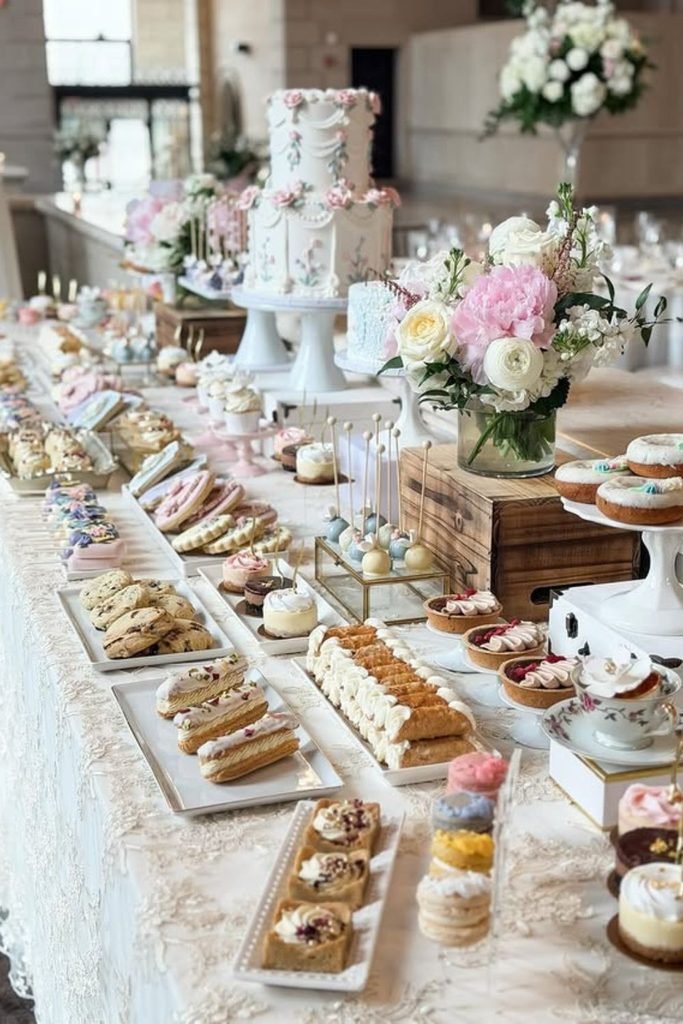
4. Garden Tea Dessert Spread
Floral cake tiers, petit fours, cookies, and fresh arrangements give you enough variety to make the table feel generous.
I’d actually reduce the dessert choices slightly too many similar pastries can leave you with trays of leftovers, while a smaller mix makes serving.
Whimsical Party Activities
I’d choose activities guests can join without stopping the whole party, especially crafts, dress-up stations, or simple outdoor games.
You’ll get more participation by keeping instructions short and supplies within reach, and I’d always have one quieter option ready for anyone who wants a break.
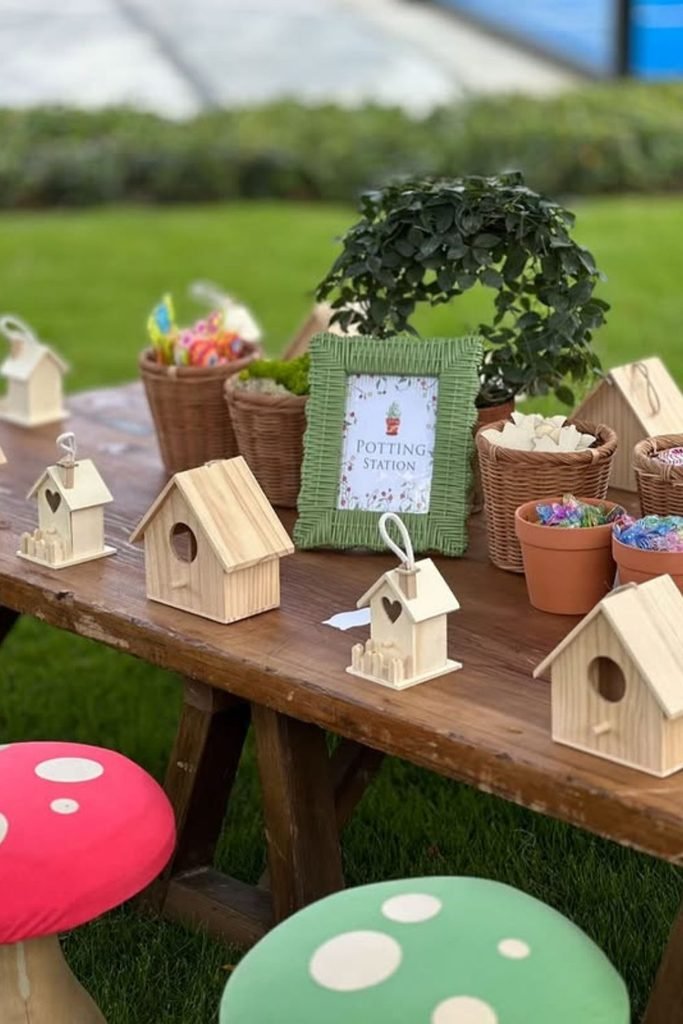
1. Paint Your Own Birdhouse
Unfinished wooden birdhouses, paint pots, and small craft supplies give guests something they can work on without needing complicated instructions.
I’d put washable paint and name labels out before anyone starts finished birdhouses.
Look surprisingly similar once they’re drying, and mixing up someone’s creation is an easy party mistake.
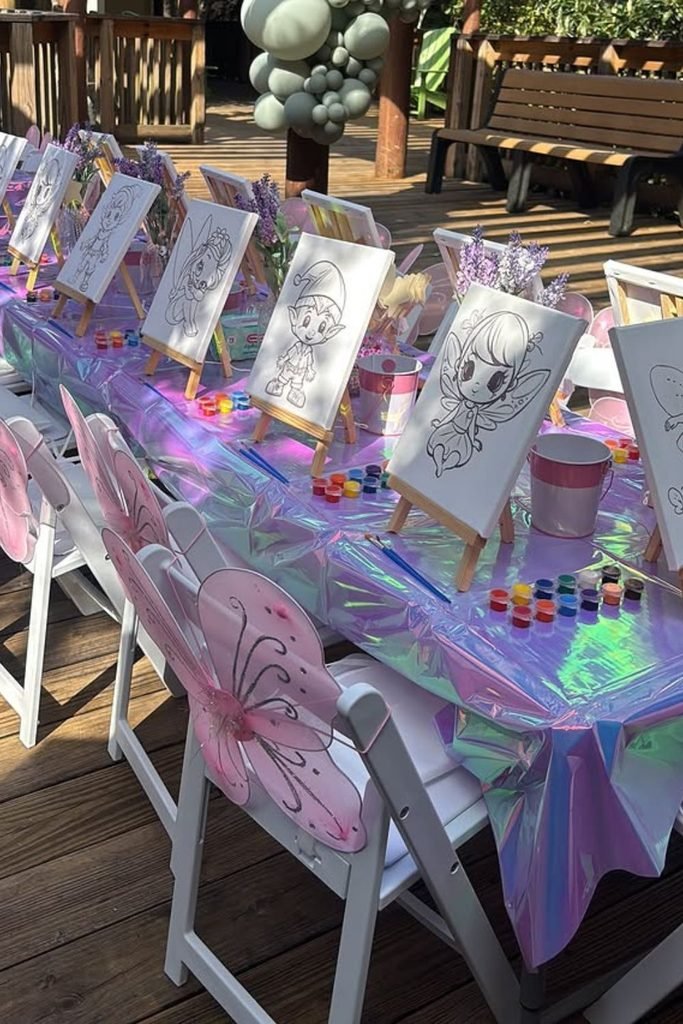
2. Paint Your Own Fairy
Mini easels, fairy outlines, and individual paint pots make this activity easy to start without giving everyone a long craft lesson first.
I’d cover the table with a wipe-clean cloth and keep water cups away from elbows acrylic paint can turn a cute activity into a clothing problem very quickly.
3. Paint a Fairy Rainbow
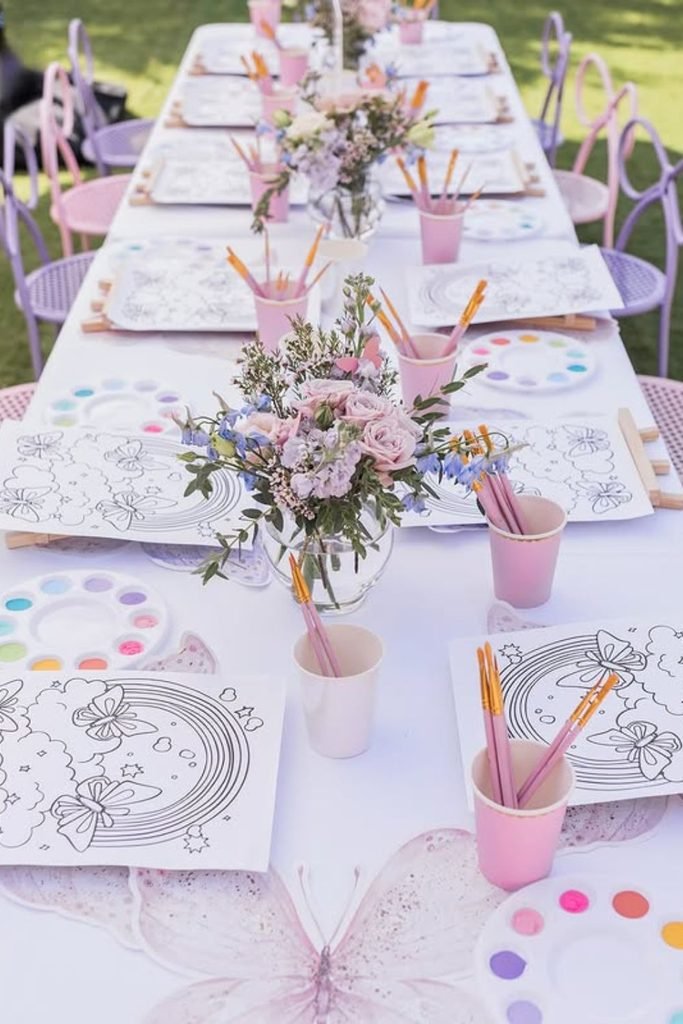
Rainbow-and-flower canvases, watercolor palettes, and individual brush cups keep everyone working on same theme while still leaving room.
I’d give the paintings at least 20 to 30 minutes to dry before sending them home stacking damp artwork is one craft-party mistake I’ve seen ruin the fun part.
4. Decorate Your Own Flowerpot
This one is easy to modify without everyone copying the same pattern with terracotta pots, glue bottles, markers and bright craft objects.
Keep the glue bits small and have a separate drying location too much glue means the decorations slide around, and the finished pots.
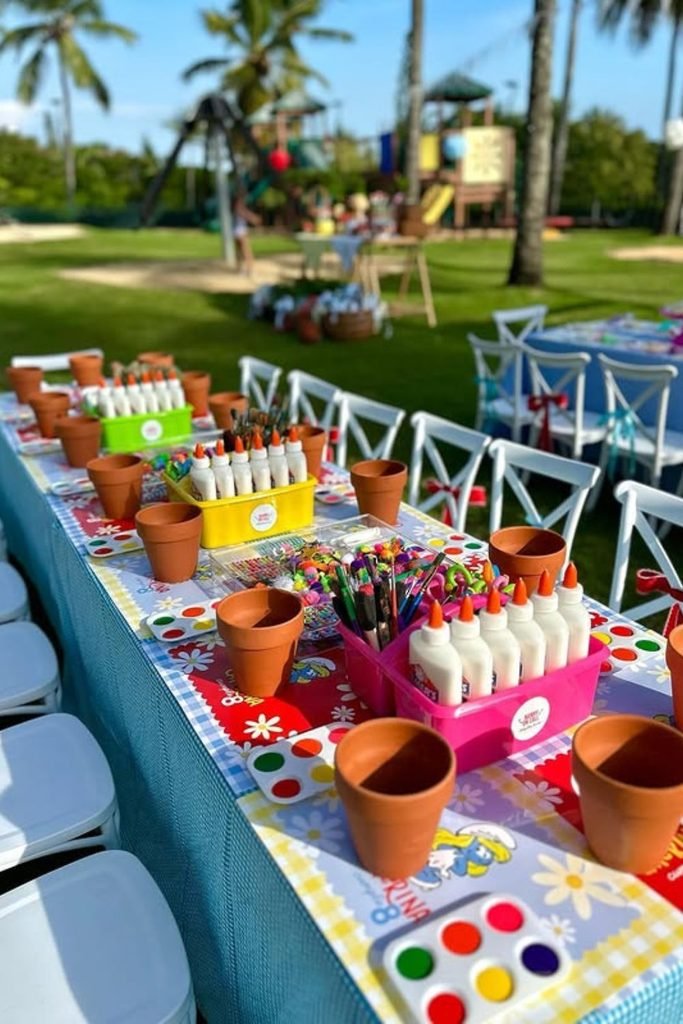
Fun Fact: I like craft activities because they can double as party favors, so you’re not paying for separate take-home gifts. Birdhouses, painted canvases, and decorated flowerpots can all go home with guests once they’re dry.
Whimsical Entrance Decor
I’d use the entryway to offer them their first clue of the concept, but without cluttering the walkway with enormous props.
You could add flowers or lanterns or signs or entertaining characters to decorate the doorway but I would leave the actual walking route completely plain.
1. Colorful Double Arch Entrance
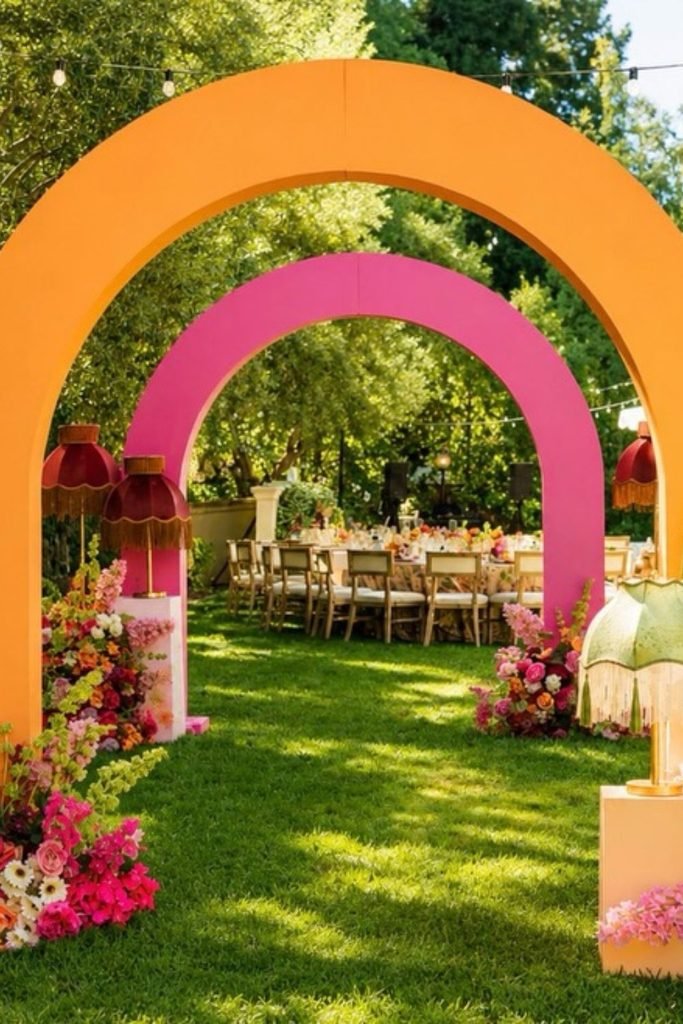
Clear entrance. No balloons at either edge. Pink and orange arches, flowers spilling, lamps fringing.
I would leave the center totally open and have flowers outside the walking path for entrance props are knocked easily when there are lots of people coming.
2. Storybook Garden Entrance
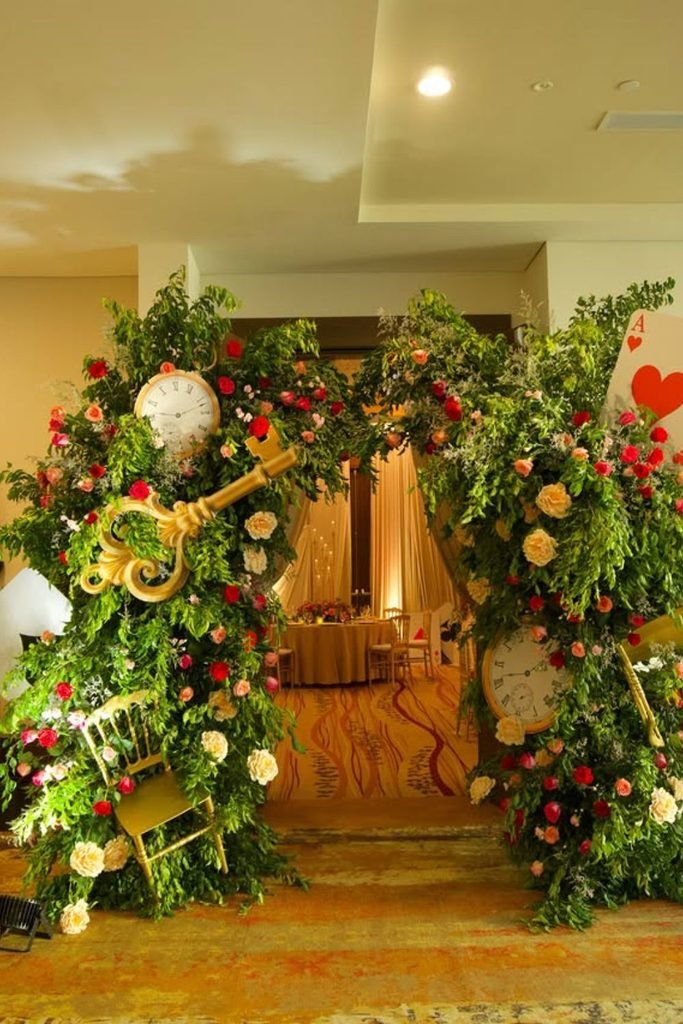
Giant clocks, playing cards, a gold key and lush vegetation made the gateway look like it was plucked from an Alice-inspired garden.
For me, I’d get rid of the chair near the entry – entrances get crowded fast, and beautiful furniture is not worth letting guests squeeze by.