
Makeup is not always easy. You might follow online tutorials, but still end up with patchy foundation, creased concealer, and makeup that wears off quickly.
This can make you wonder if you are doing something wrong – and often, the problem is just you do not know the correct order and method.
Yes, there is a right way to apply the makeup, and many people get it wrong simply because they skip important steps and do not understand why those steps matter.
In this article, I will explain you the correct step-by-step process that is professional.
You will learn how to prepared your skin, choose and use the right tools, and apply the makeup in a way that looks like natural and lasts.
It is a simple, clear routine that takes the confusion out of the process.
Table of Contents
- How to Apply Makeup Like a Professional?
- Step 1: Plan Your Look
- Step 2: Gather Your Tools
- Step 3: Prep Your Skin
- Step 4: Apply Primer
- Step 5: Use Foundation
- Step 6: Conceal Problem Areas
- Step 7: Set with Powder
- Step 8: Add Contour
- Step 9: Apply Blush
- Step 10: Highlight Key Points
- Step 11: Define Brows
- Step 12: Do Eye Makeup
- Step 13: Finish Lips
- Step 14: Lock with Spray
- Conclusion
How to Apply Makeup Like a Professional?
There is no single correct way to apply the makeup, and no rule that says you have to follow certain steps.
But here we have figured out a step that really works for us.
We have put together a step-by-step guide that actually makes sense – and helps you to create the look that feels fresh, polished, and totally you.
So, go ahead, open your makeup bag.
Step 1: Plan Your Look
Before you pick up the brush and sponge, take a moment to decide what kind of makeup look you are gone for.
Do you go to work, go out for the evening, and just keep it casual?

Think about the occasion and choose a look that fits – whether it is soft, bold, natural, and something in between.
This simple step makes it easier to choose the right colors and products, and it prevents you from over do and under go your makeup.
When you will start with a clear idea of the look you want, the whole routine feels faster and more focused.
Step 2: Gather Your Tools
Before you start the makeup, make sure all your tools are clean and within reach.
- Makeup Brushes
- Beauty Sponge
- Eyelash curler
- Tweezers
- Mirror with good lighting
- Brow brush and spoolie
- Lip brush
- Makeup palette and mixing tray
- Setting spray
Step 3: Prep Your Skin
Good makeup starts with the clean skin. Just wash your face with some gentle cleanser to get the rid of any dirt and old products that hang around.
Then throw the light moisturizer to keep your skin nice and hydrated.
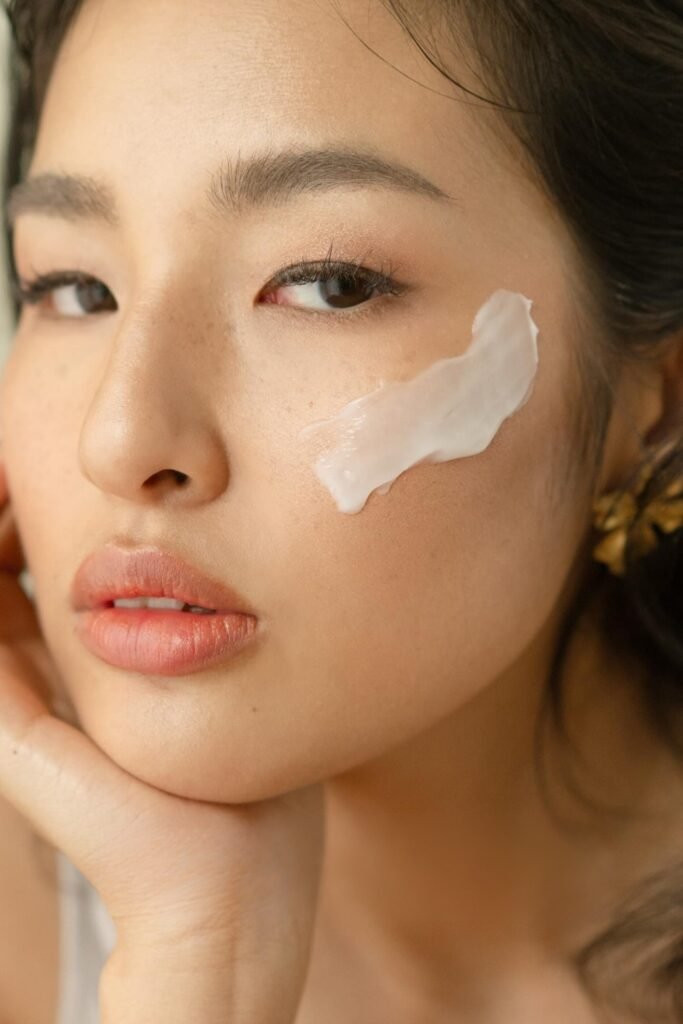
Trust me, it makes the big difference – your makeup will glide on better and stick around longer.
Skip this part, and your makeup might end up look dry, flaky, and uneven.
Give your moisturizer a couple of minutes to soak in before jump into the next step. It will make it look and feel a lot smoother.
Step 4: Apply Primer
Primer is like a secret weapon for smoother makeup. It fills in any little bumps, pores, and fine lines so your foundation goes on way better.
Plus, it helps your makeup last longer – super helpful if you have got oily skin and it is crazy humid out.
Just take a tiny bit on your fingers and spread it all over your face. Focus on spots where makeup disappears fast, like your T-zone.
Let it chill for a minute before you start your foundation – that pause makes a difference.
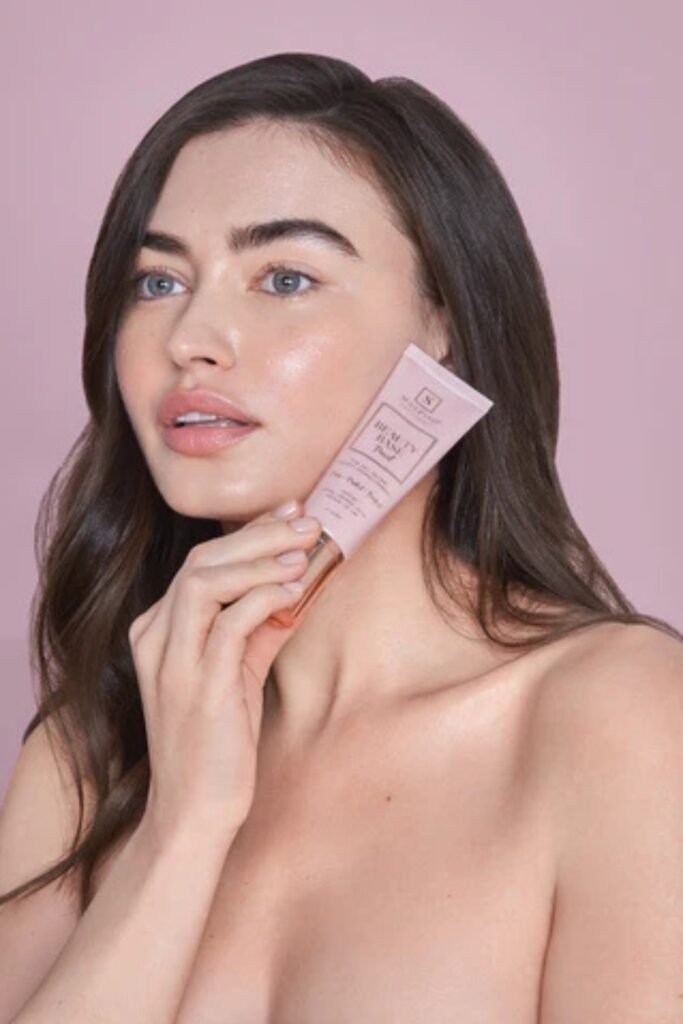
Step 5: Use Foundation
Foundation is like your base coat – it smooths things out and helps your skin look more even.
A great trick is to start in the centre of your face, like your nose, chin, and cheeks, then blend it out.
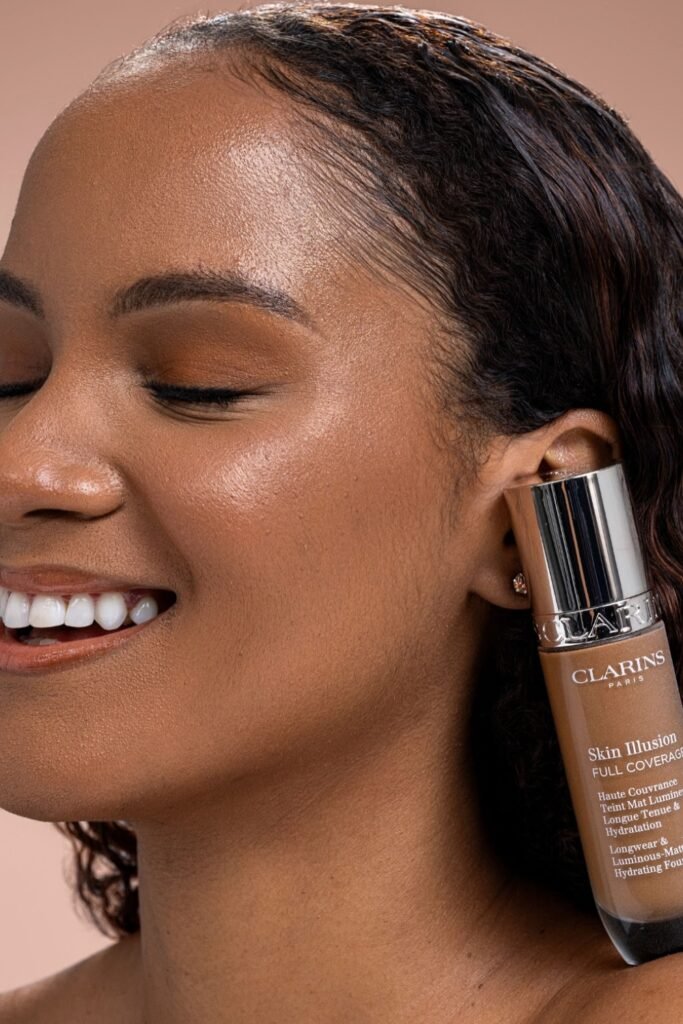
That way, you would not end up with too much product along the edges.
Use whatever tool feels right – your fingers, a brush, and a sponge. Just be sure to blend all the way to your hairline, jaw, and neck.
No one wants foundation lines. Light layers always win over thick ones. You can always build more if you need it.
Step 6: Conceal Problem Areas
Concealer is your backup for foundation misses – dark circles, red patches, breakouts, you name it.
Just dab a little under your eyes to brighten them up and help you look more awake, even if you did not sleep well.
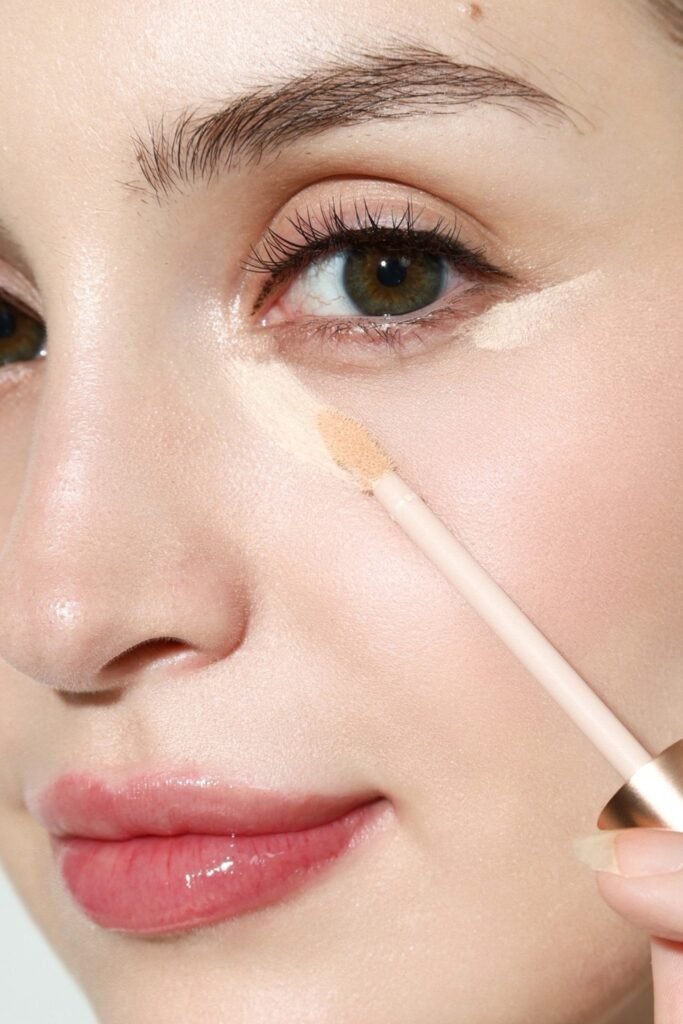
For blemishes and red spots, apply a tiny bit right where you need it.
The key is to blend gently – with your finger, a brush, and a sponge – so it sinks into your skin and does not sit there looking heavy.
Use the shade that matched your foundation to cover the spots, and one shade lighter under your eyes for that fresh and lifted look.
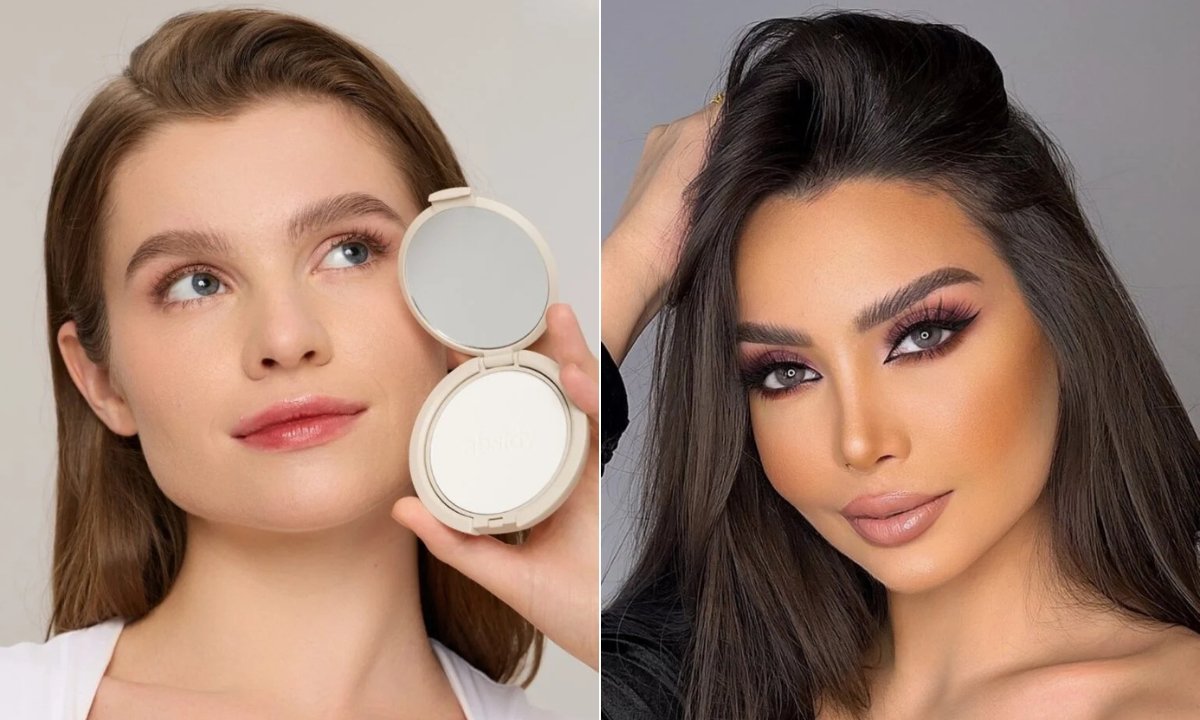
Step 7: Set with Powder
If you want your makeup to last and not look shiny halfway through the day, set it with the powder.
Just grab a fluffy brush and puff to press a little powder on the spots that get oily, especially your T-zones.
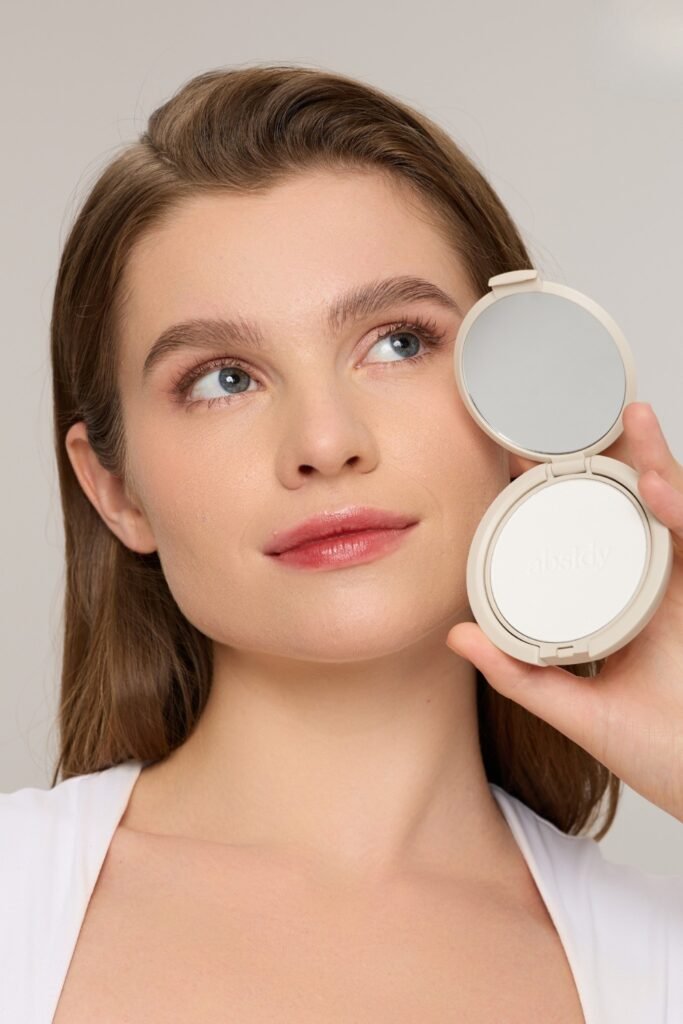
Do not pile on though – especially if your skin is dry. Too much can make your face look dry and cakey.
Just a light layer is all you need to keep in place and give your skin a smooth and finished vibe.
Step 8: Add Contour
Contour adds shape and structure to your face in a really natural way.
Choose a powder and cream that is slightly darker than the skin tone, and applied it gently under your cheekbones, along your jawline, and on the sides of your nose.
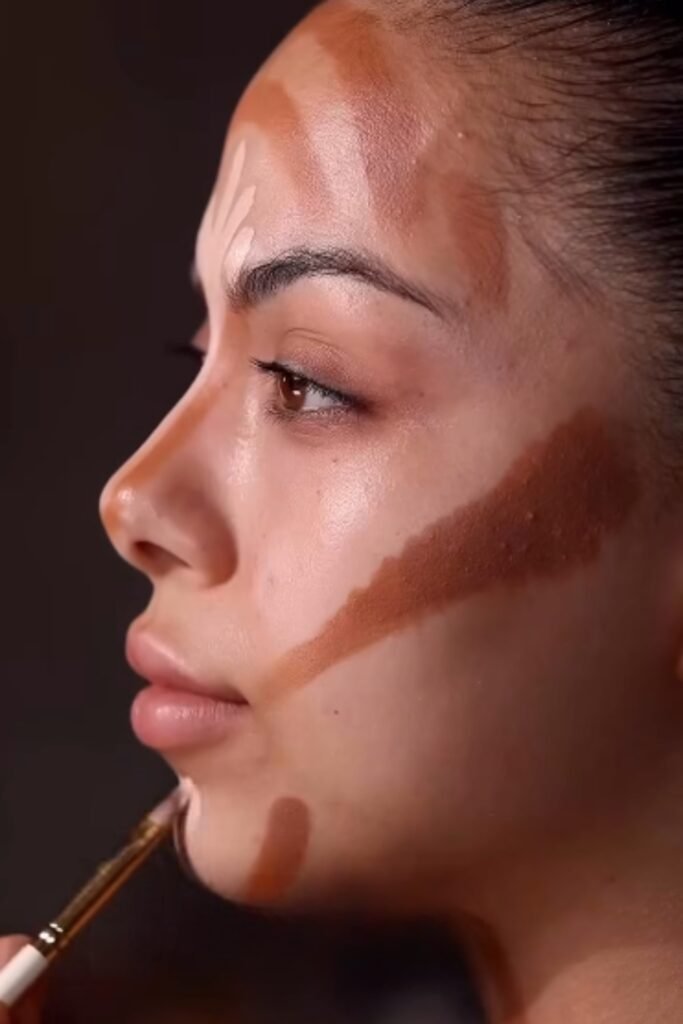
These areas help to create soft shadows that make your features look more defined.
Make sure to blend well using a brush and sponge so there are no sharp and harsh lines.
The idea is to enhance your face – not make the contour stand out too much.
Step 9: Apply Blush
Blush add the warmth and a healthy glow to your face after you have applied your foundation and powder.
Just give a gentle smile and apply blush to a apples of your cheeks, then blend it upwards towards your temples.
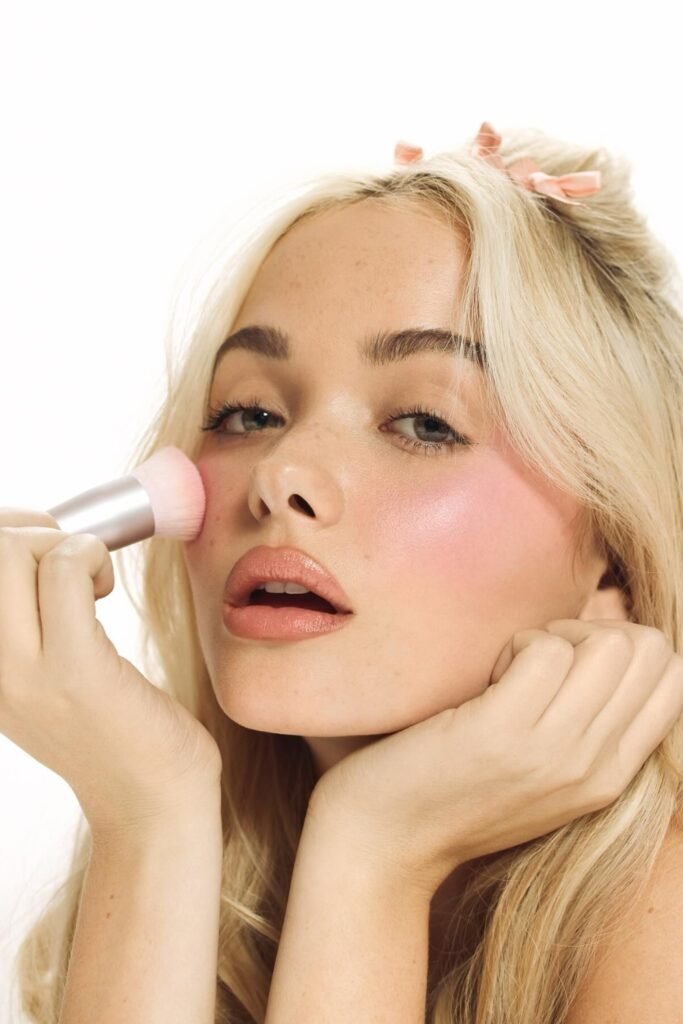
This technique helps your face look fresh and naturally lifted. Go for soft shades like pink, peach, and neutral tones that match your skin tone.
Start with a light touch and make sure to blend well so the color melts into your skin and does not look too bold.
Step 10: Highlight Key Points
Highlighter gives your face a lovely, subtle glow that makes the skin look fresh and radiant.
Just dab a small amount onto some high points of the face – like tops of your cheekbones, bridge of your nose, your brow bone, your cupid’s bow.
These are the spots where the light naturally hits. You can use a soft brush and your finger to blend it in gently so it melts into your skin.
You do not need a lot – just enough to get that healthy, luminous look without appear too greasy and too shiny.
Step 11: Define Brows
Your brows seriously frame your whole face, so get them right makes a big difference.
Start by brush them upward with a spoolie to get a clear view of their natural shape.

Then take a pencil and brow powder and fill in any sparse spots use the small strokes – think soft and hair-like, not bold or blocky.
You want them to look fuller, not like they were drawn on. Once you have filled them in, brush through again to smooth out.
Finish with a brow gel – clear and tinted – to lock them in place and keep them look great all day.
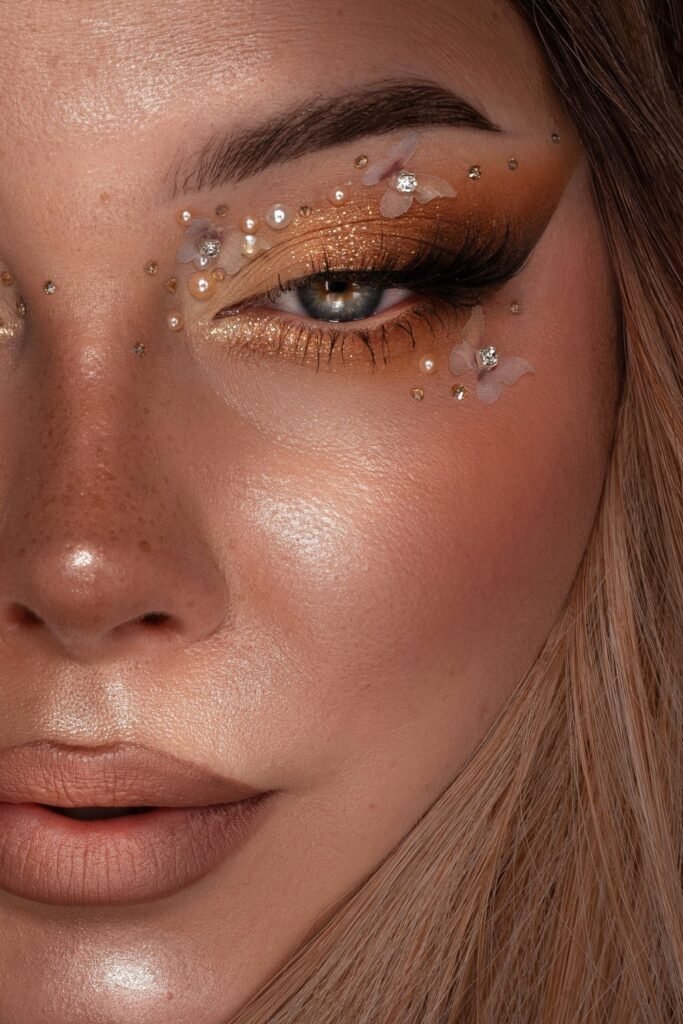
Step 12: Do Eye Makeup
Start off with some eyeshadow to give your eyes a bit of depth and color. Sweep a light shade all over your lid – that is your base.
Then take a slightly darker shade and pop it into the crease to give your eyes some shape.

Blend everything out so it looks soft and smooth, no sharp lines. After that, go in with eyeliner right along your lash line to define your eyes.
Keep it light and thin if you want a natural vibe, and go a bit thicker if you feel bold.
Finish up with mascara – wiggled the brushes from the base to the tips of your lashes.
Step 13: Finish Lips
First finish the first – swipe on some lip balm. It keeps your lips soft and stops your lipstick from goes patchy and looks dry.
Grab a lip liner and trace the shape of your lips, then fill them in a bit.
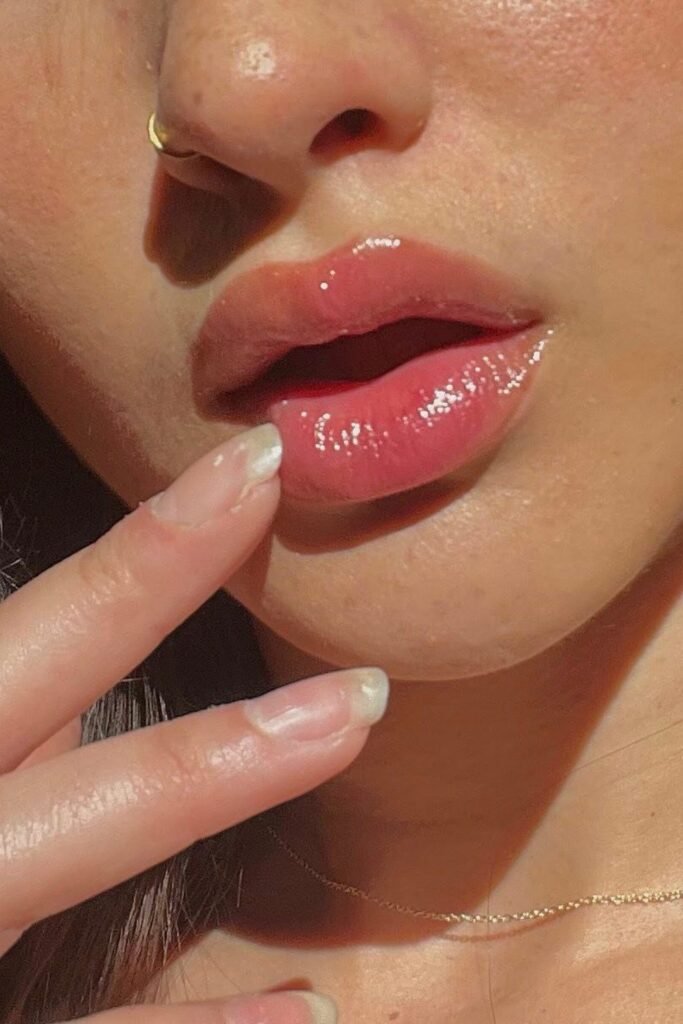
This helps your lip color stay in place and not smudge all over. Now go ahead and apply your lipstick and gloss.
Pick a shade that suits your whole makeup vibe – light for everyday and bold for when you want to make a statement.
Just tidy up the edges when you are done so it all looks clean and put together.
Step 14: Lock with Spray
Alright, you have done all your makeup – now it is locked in. Grab your setting spray and hold it about an arm’s length from your face.
Give yourself a light mist in an X and then a T pattern. That way, you are covered evenly.
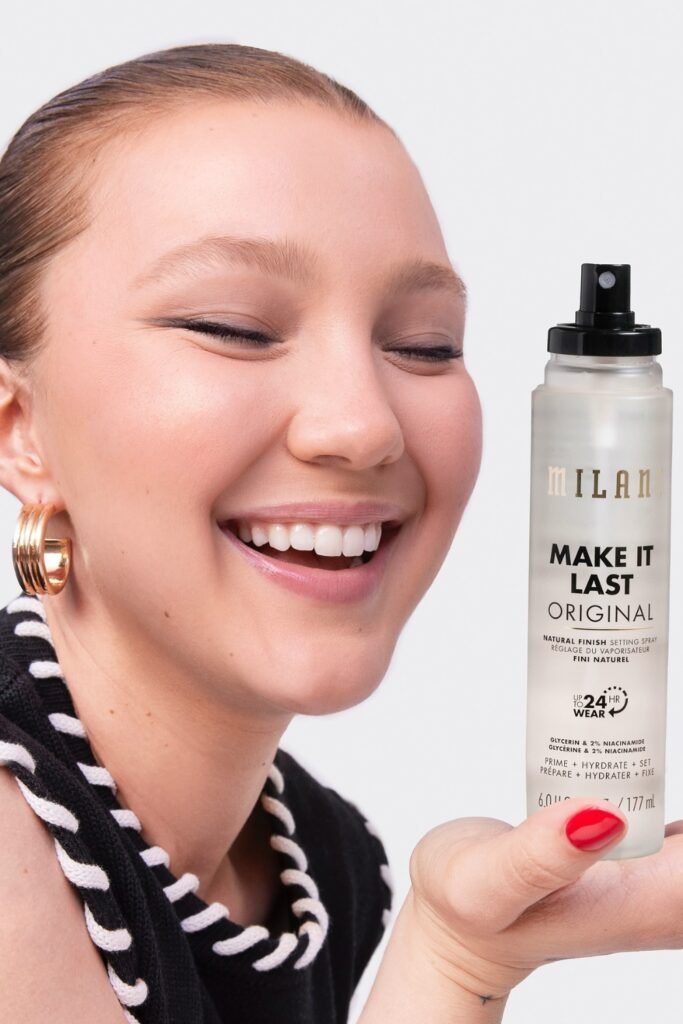
Let it dry on its own – no need to touch and pat.
This simple step keeps your makeup from smudges and faded throughout the day and blends together for that natural, skin-like finished.
Conclusion
To get that polished and professional makeup look, you do not need fancy products and tricky methods.
What really matters is to have a clear plan, use the right tools, and follow the steps in the right order.
Once you start this, everything gets easier. Your makeup will apply more smoothly, stay in place longer, and feel more natural on your skin.
And the best part? The more you practice this routine, the more confident you will become.