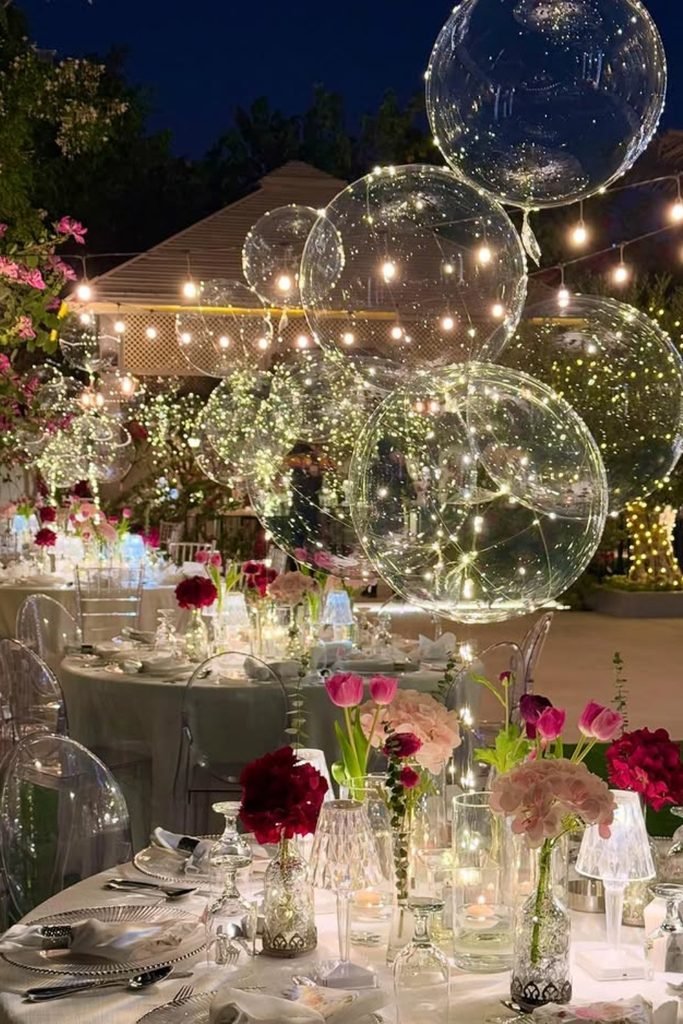
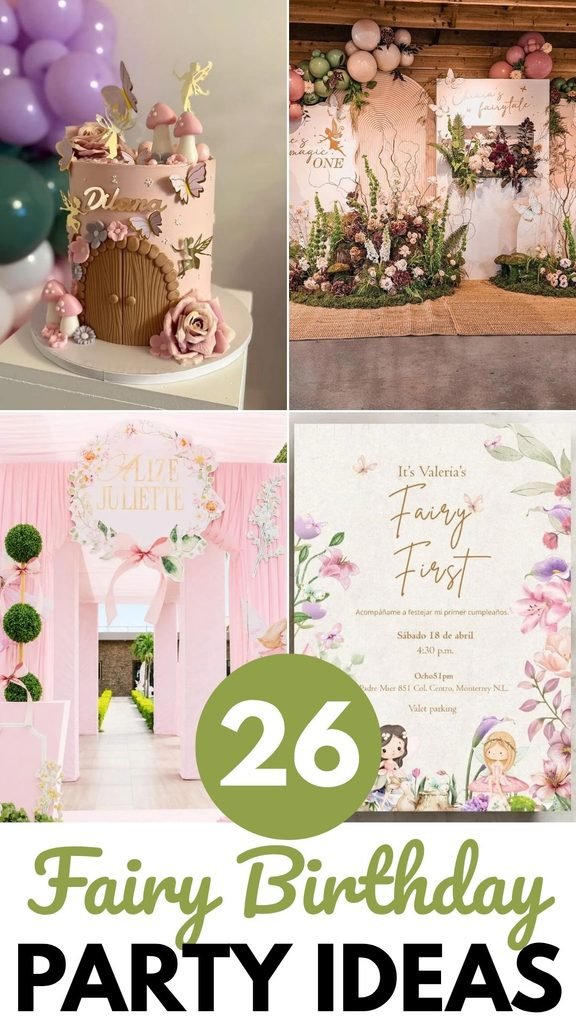
26 Fairy Birthday Party Ideas
One fairy party I helped set up had tiny wings hanging from chairs, moss tucked around the cake table, and enough glitter to follow us home.
You should mix woodland pieces with soft colors and a few unexpected details, so the whole setup feels fun without turning into a costume-store aisle.
Inside this article, I’m sharing 26 fairy birthday party ideas for cakes, backdrops, tables, activities, favors, and all the small details that pull the theme together.
Let’s jump in!
What Is a Fairy Party?
To me, a fairy party is a nature-inspired birthday theme built around flowers, wings, woodland details, soft colors, and playful little surprises.
Think garden paths, mushroom decor, tiny fairy doors, flower crowns, and twinkle lights instead of covering every surface with glitter and pink.
Kids usually connect with the dress-up side first, so wings, wands, and simple fairy accessories can help the theme feel interactive rather than decorative.
From the setups I’ve helped with, the theme works best when you choose one direction, like woodland fairy, garden fairy, or pastel fairy.
Small details matter more here than expensive decor because even moss, flowers, paper butterflies, and warm lights can carry the whole idea.
You’ll want the party to feel playful enough for kids while still giving you plenty of room to keep the setup practical.
Fairy Party Invitation Cards
Invitation cards set the mood before anyone arrives, so I like designs with flowers, tiny wings, mushrooms, or soft woodland details.
You can keep the wording simple and playful, then match the card colors with the party decor so everything feels connected from the start.
1. Fairy Invitations
Floral fairy invitations create the first hint of the party theme, and I like designs that show the mood without adding too many tiny details.
Soft illustrations, butterflies, and woodland elements work nicely here, but I’d skip overly detailed wording that makes the important information harder to find.
Order printed invitations around 3-4 weeks before the party, especially if you need custom designs, matching envelopes, or extra copies.
2. Woodland Cards
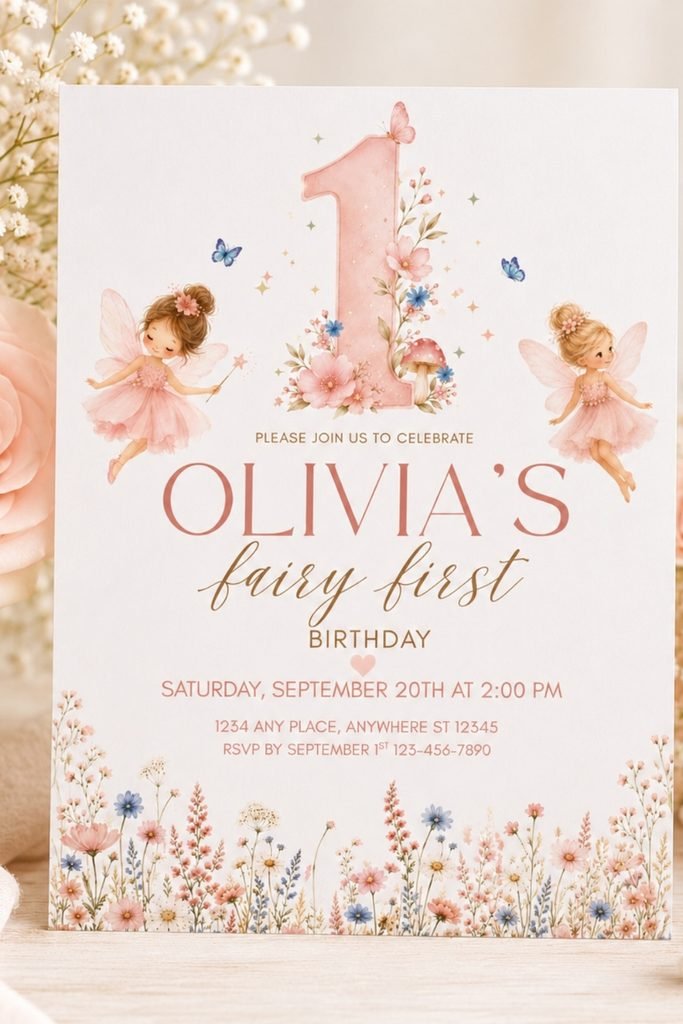
Woodland invitation cards with mushrooms and fairy doors feel more playful than traditional designs, and I think they suit younger birthday themes well.
Digital versions can save money, with platforms like Canva offering templates that usually cost less than custom printed sets.
Check every spelling and date before sending, because fixing incorrect invitations after delivery can become an unnecessary expense.
3. Fairy First
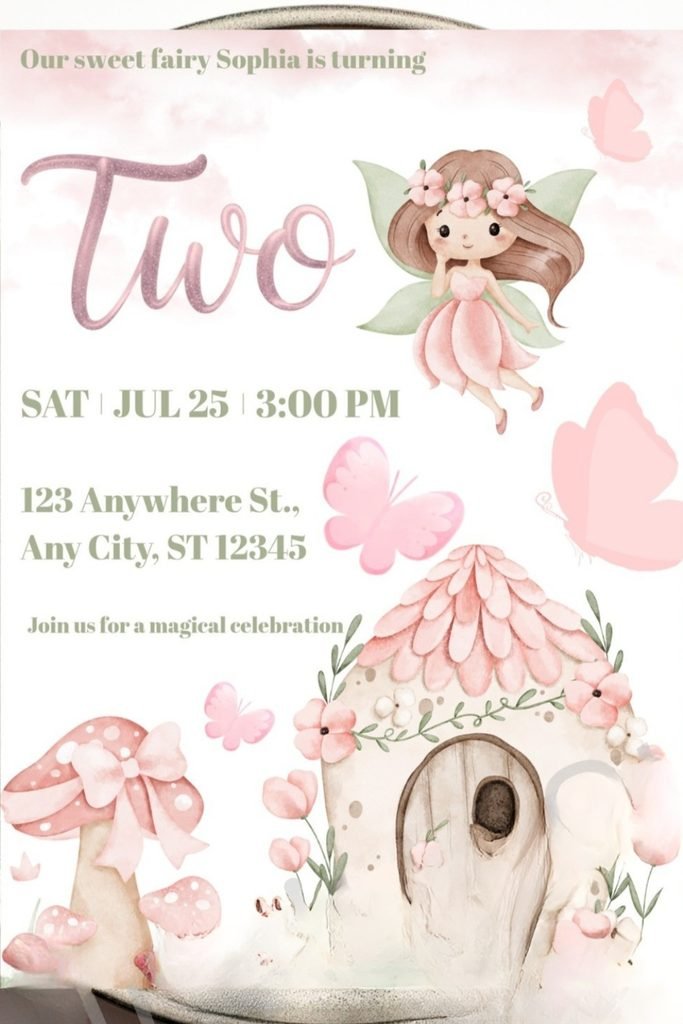
Fairy first birthday invitations need softer details, and I like keeping them simple since guests mostly need clear party information.
Baby-themed fairy designs usually work best with gentle colors instead of crowded illustrations covering every corner of the card.
Send these at least 4-6 weeks early for first birthdays because families often plan around naps and weekend schedules.
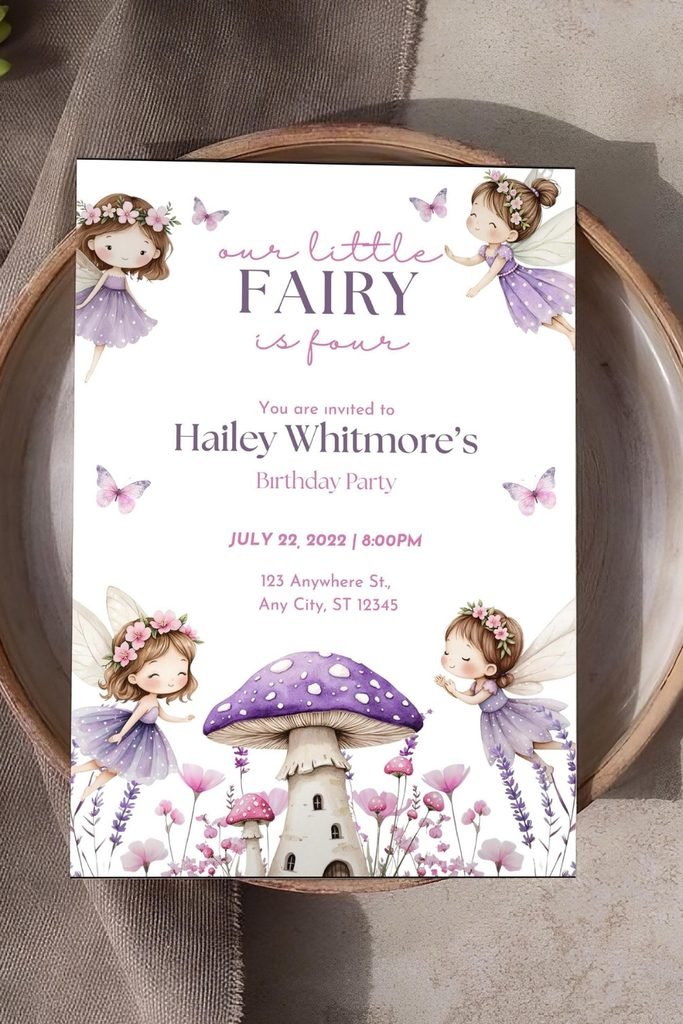
4. Floral Fairy
Floral fairy invitations bring a garden feeling through flowers and butterflies, but I think the design should match the actual party colors.
I prefer choosing the invitation palette first because changing decor colors later becomes harder once guests have already seen the theme.
Save a digital copy of the final invitation, since you may need it later for matching signs or thank-you cards.
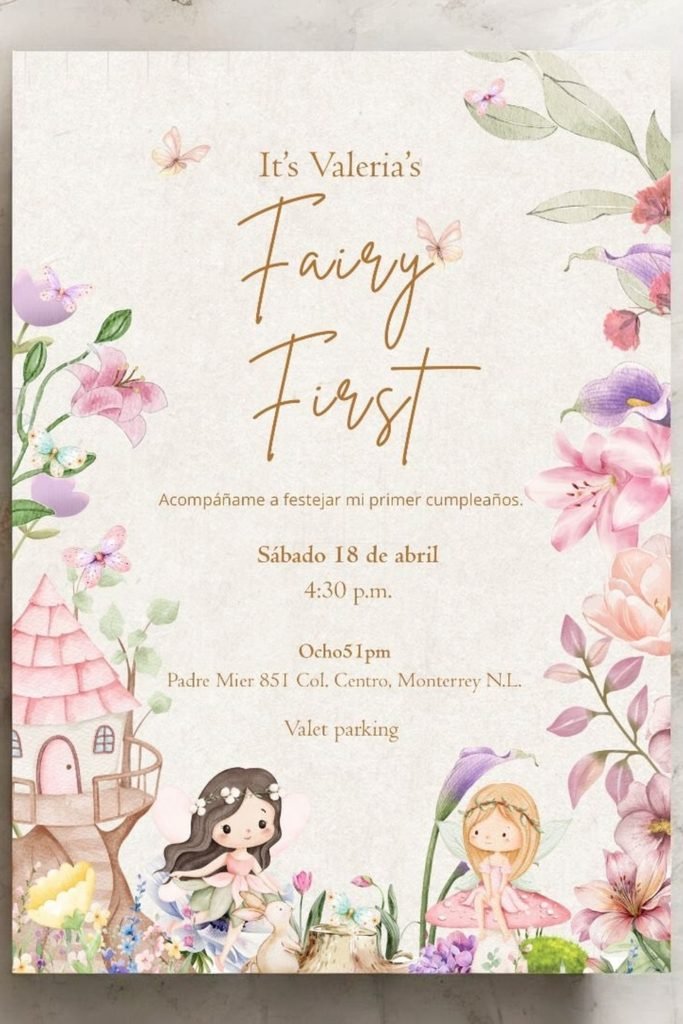
Prep Ahead: Create a guest list before designing invitations. It helps you know the exact quantity and avoids paying for extra unused cards.
5. Floral Invite
Floral fairy invitations feel gentle and garden-inspired, and I like how the flowers create the theme without needing too many extra illustrations.
I’d choose readable fonts over fancy lettering here, because guests should find the date, location, and RSVP details quickly.
Printed invitations with thicker cardstock usually feel more special, but digital versions can work better when you need last-minute guest changes.
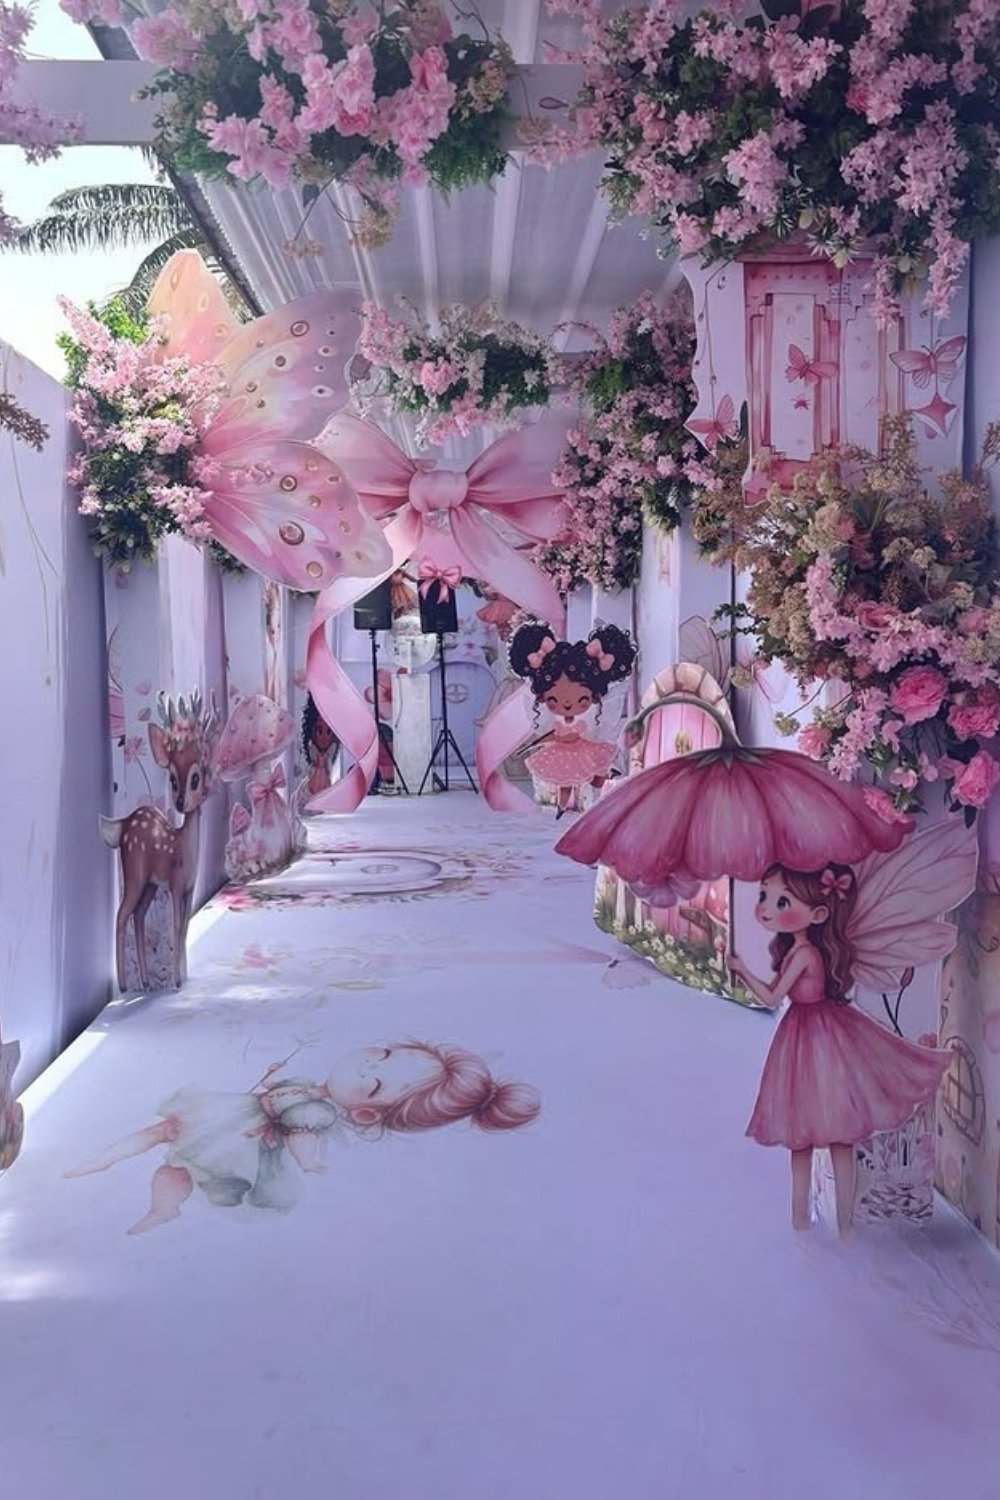
Fairy Party Entrance
Party entrances are where the theme first starts to feel real, so I like using flowers, fairy signs, lanterns, or a small garden-style arch.
You can keep it simple near the doorway, then add one playful detail like wings, mushrooms, or a fairy trail to guide guests inside.
1. Fairy Entrance
Fairy entrance arches create the first themed moment, and I like using one strong doorway feature instead of decorating every nearby wall.
Outdoor fabric drapes need secure clips because wind can quickly pull loose panels away from frames during afternoon parties.
I’d set up the entrance before guests arrive, since crowded walkways make adjusting large props much harder once children start exploring.
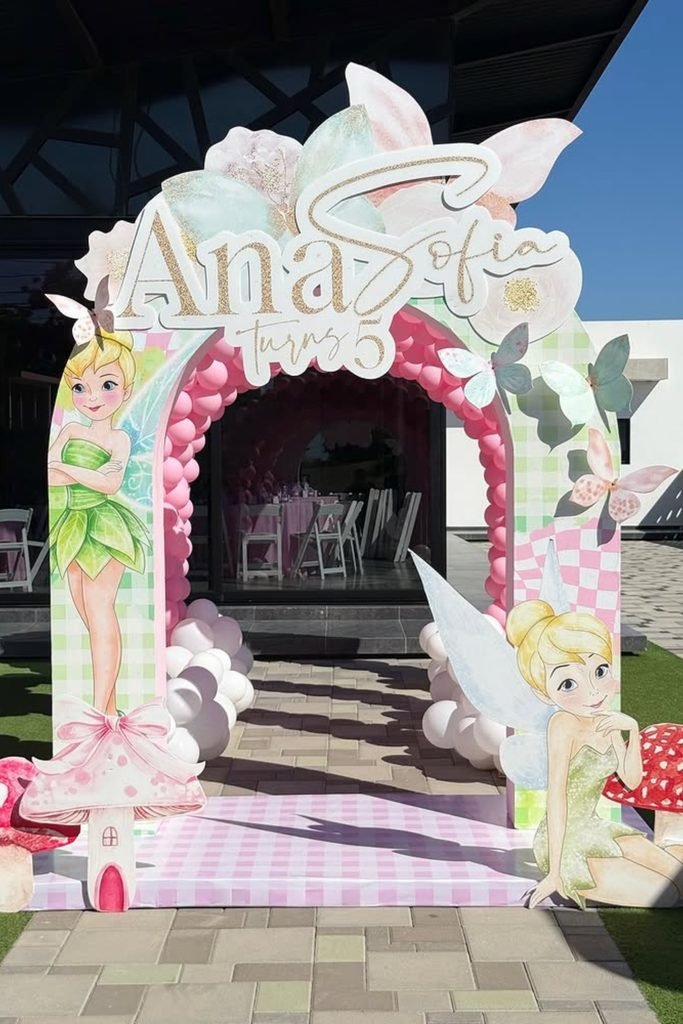
2. Garden Gateway
Flower-covered gateways feel inviting, but I think they work better with open space around them instead of too many hanging decorations.
Large entrance structures can need several hours for installation, especially when adding fabric, signs, flowers, and balloon details together.
Keep the walkway clear underneath, because kids running toward activities won’t always notice low decorations around their feet.
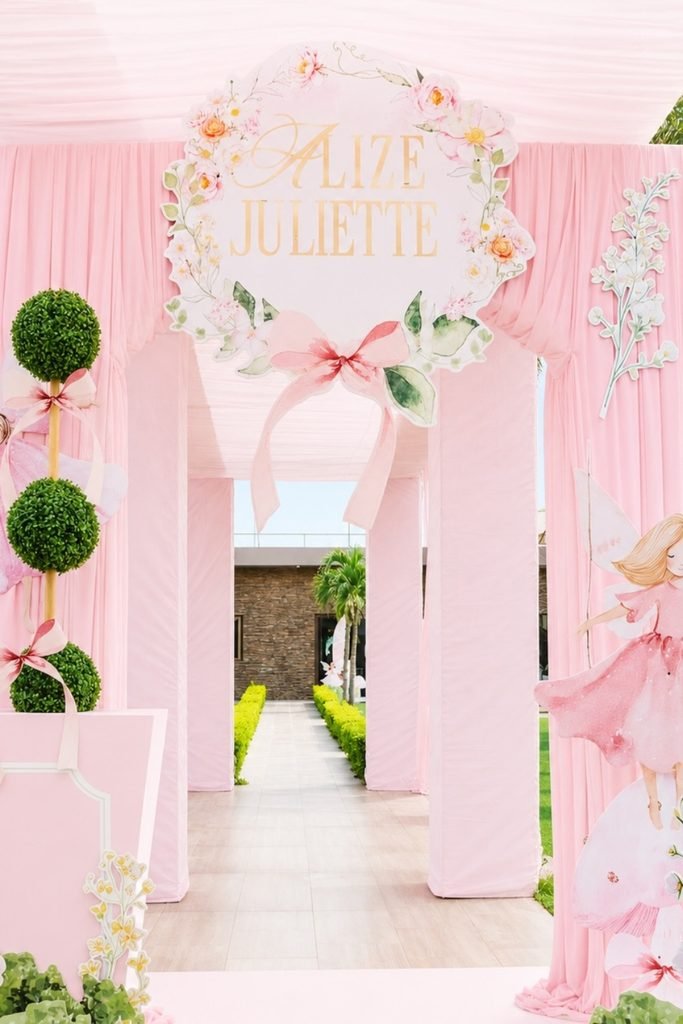
3. Fairy Tunnel
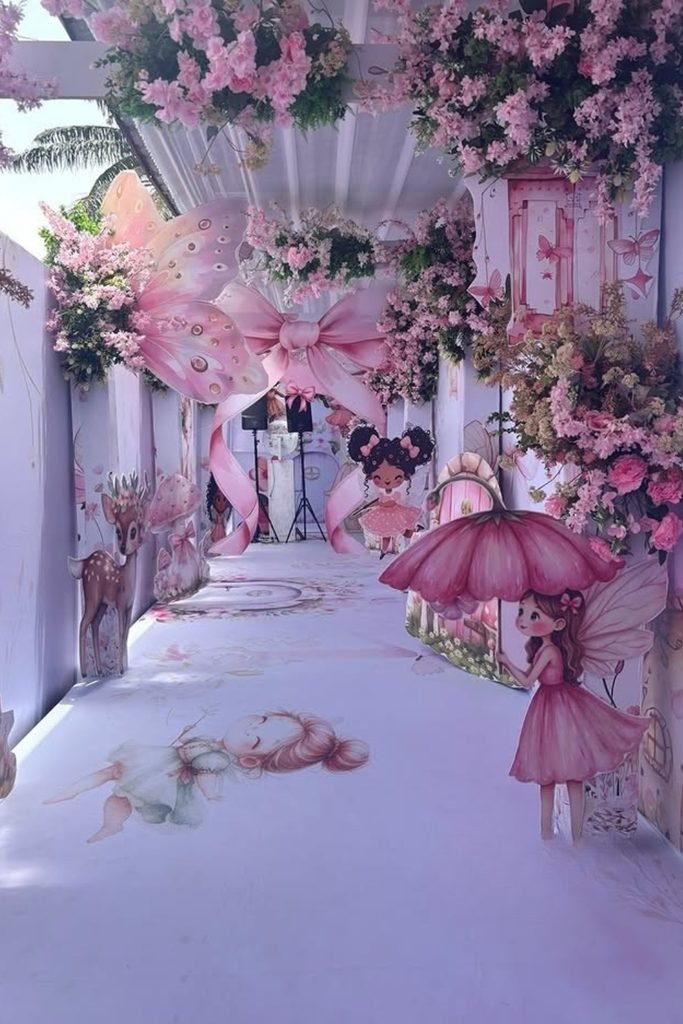
Covered fairy tunnels create a fun arrival path, but I’d avoid making them too narrow for groups of children walking together.
Artificial flowers and fabric panels are easier here because they can handle outdoor conditions better than delicate fresh arrangements.
Plan the lighting before attaching decorations, since hiding wires afterward becomes frustrating and can leave the tunnel looking messy.
Fairy Birthday Cakes
Birthday cakes give you an easy place to carry the theme, and I like designs with flowers, butterflies, mushrooms, or tiny fairy details.
You can keep the cake simple, then use the topper, frosting colors, and surrounding table decor to make it feel much more special.
1. Fairy Cakes
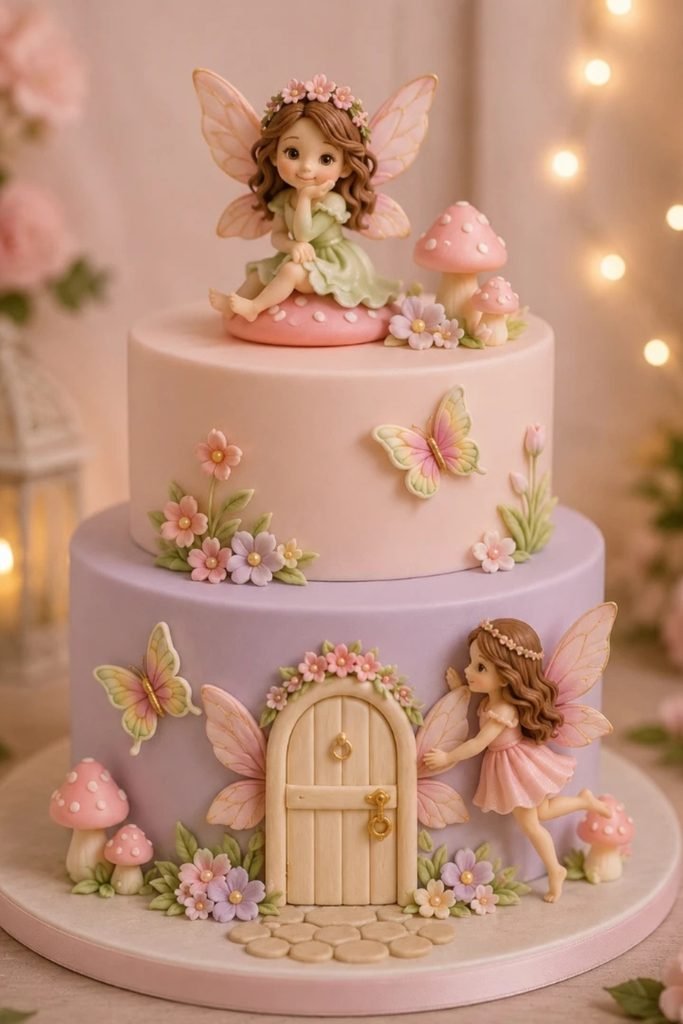
Fairy cake toppers with mushrooms, flowers, and tiny doors need careful placement because heavy decorations can sink into softer frosting.
I like the garden-door details here, but I’d avoid adding too many edible pieces since kids usually care more about the slice than every tiny accent.
Order custom cakes at least one week early, especially from local bakers, because detailed fondant work usually takes extra preparation time.
2. Tinkerbell Cake
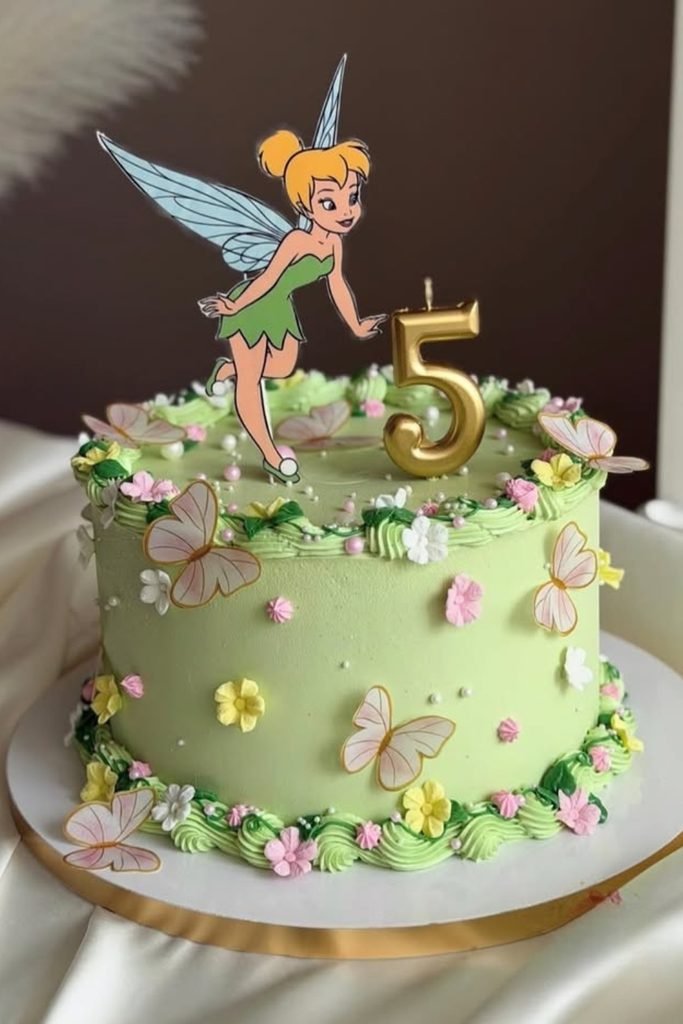
Character cake toppers instantly tell kids the theme, but I think they work best when the rest of the cake stays simple.
Edible toppers can cost around $5-$15 extra depending on detail, so you can save money by focusing on one standout decoration.
Keep the cake refrigerated until close to serving time, because buttercream designs can soften quickly in warm party spaces.
3. Fairy Door Cake
Fairy door cakes have a cute woodland feel, and I like how one strong feature can replace lots of smaller decorations.
Wood-textured fondant details take extra skill, so homemade versions may need practice before the actual birthday arrives.
Add fresh flowers only right before serving, because some blooms release moisture that can affect frosting texture.
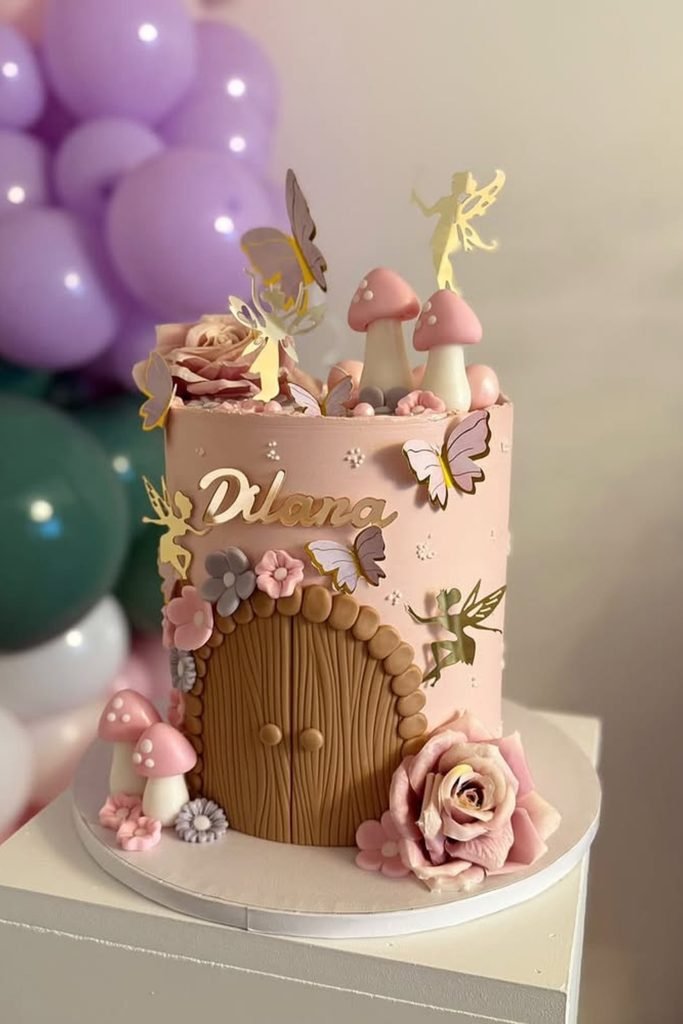
4. Garden Fairy Cake
Garden fairy cakes with delicate flowers look lovely, but I’d skip overcrowding the top because too many pieces make cutting awkward.
Small fairy figurines should be removed before slicing, especially around younger children who may grab decorations without noticing.
Prepare the serving knife, plates, and candles nearby before the cake reveal so the moment doesn’t turn into a rushed search.
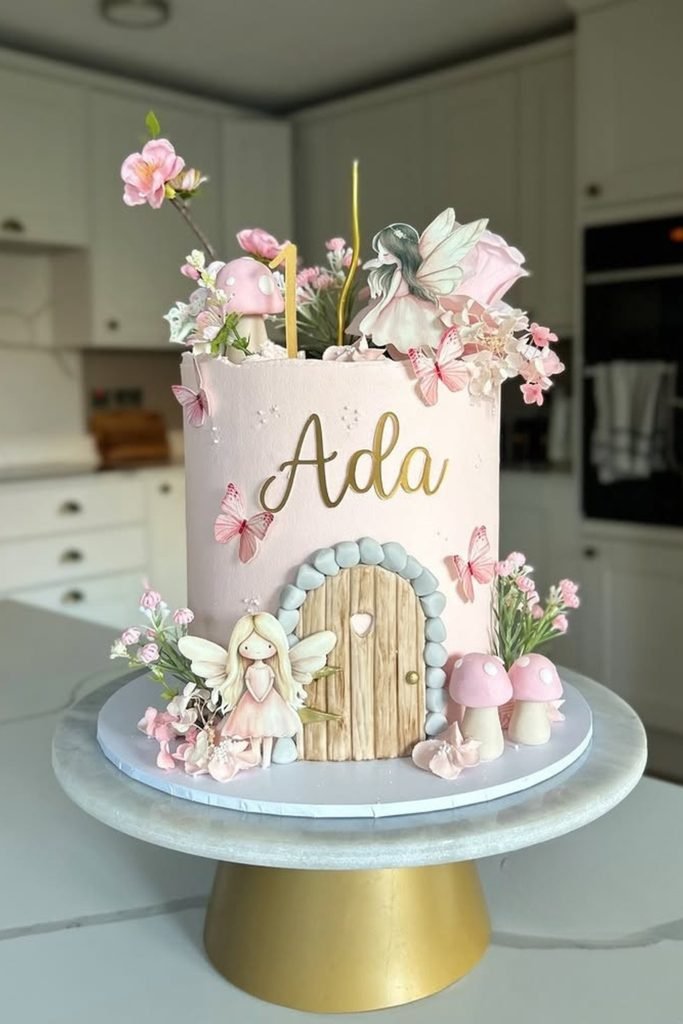
5. Woodland Cake
Woodland cake designs with fairy doors and mushrooms bring the theme together, but I think the details matter more than adding extra decorations.
I like the natural wood texture here because it gives the cake a story, while still keeping the colors soft and birthday-friendly.
Fondant details can take several hours to create, so I’d ask the baker about their timeline before choosing a heavily decorated design.
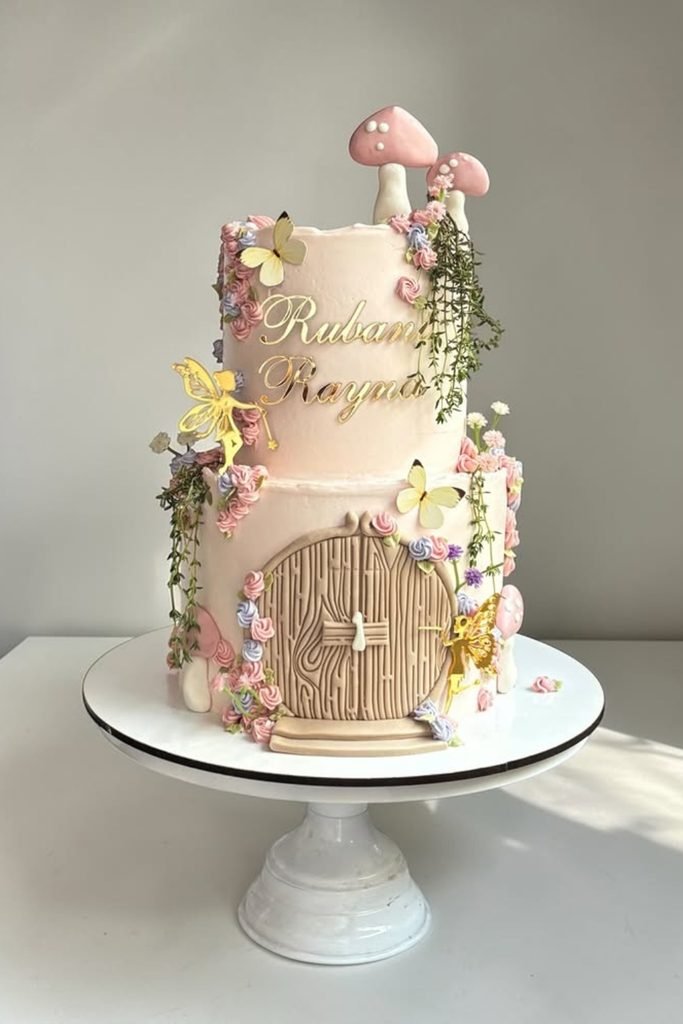
Fairy Party Backdrops
Backdrops usually become the busiest photo spot, so I like using flowers, greenery, butterflies, fairy wings, or soft fabric without cramming everything together.
You can build the setup around one strong feature, then keep the surrounding details lighter so photos still look clean and the fairy theme stays clear.
1. Woodland Backdrop
Woodland backdrops with moss, ferns, and natural textures need careful balance, because too much greenery can hide the fairy details.
I like the earthy style here because it feels different from the usual pink setups, but it needs enough lighting for indoor spaces.
Real moss can dry out quickly, so preserved moss or faux greenery usually saves time when you’re preparing several days before the party.
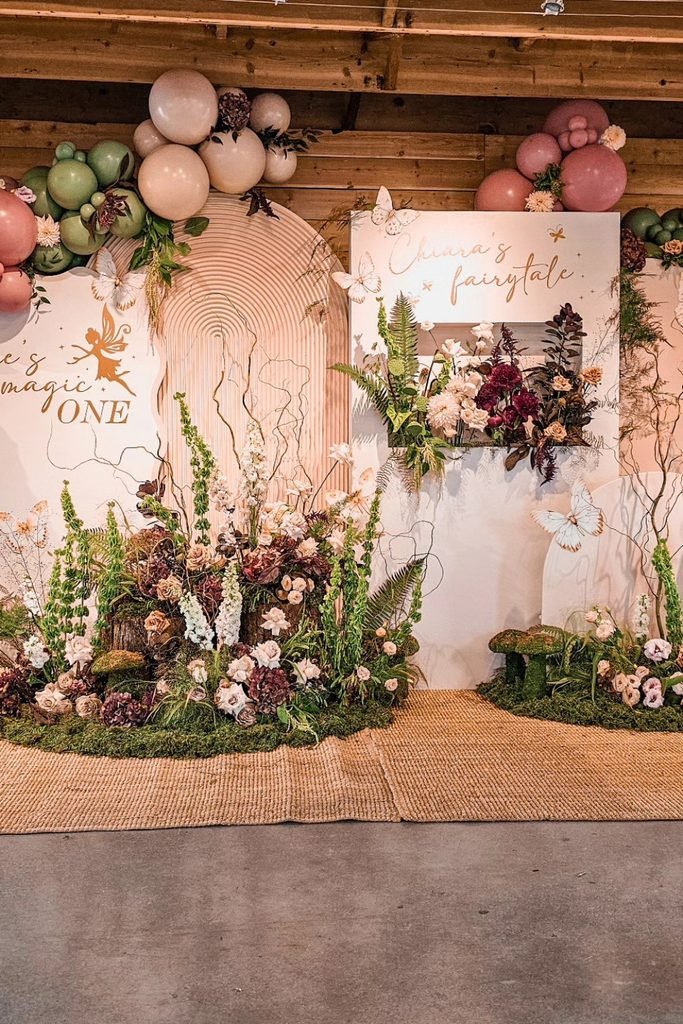
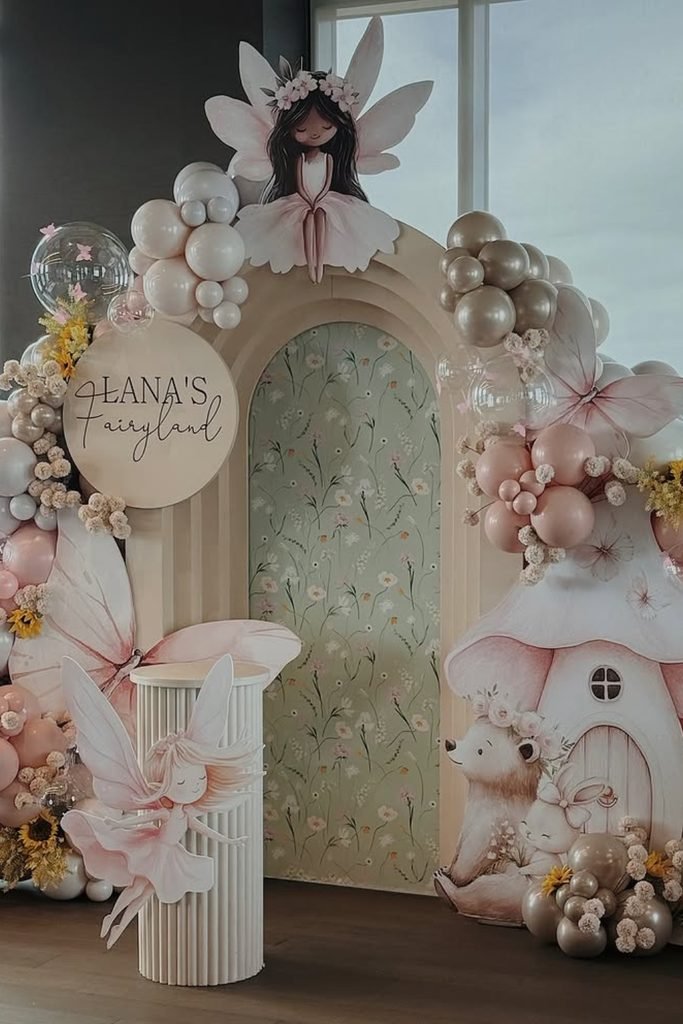
2. Fairy Arch
Balloon arches mixed with fairy wings create a strong photo area, but I think they work best with fewer extra props around them.
Large arches often take two people to install properly, especially once balloons, flowers, and signs start adding weight to the frame.
Set the arch location first before decorating the floor, because moving a finished balloon structure usually causes loose balloons and uneven sections.
3. Garden Swing
Flower swings bring a softer fairy garden feeling, and I like them more for photos than as an actual play area.
You’ll want to check the weight limit before letting kids sit on decorative swings, since many display pieces aren’t built for regular use.
Adding fresh flowers can make the setup beautiful, but I’d skip expensive blooms here because they may wilt before the party ends.
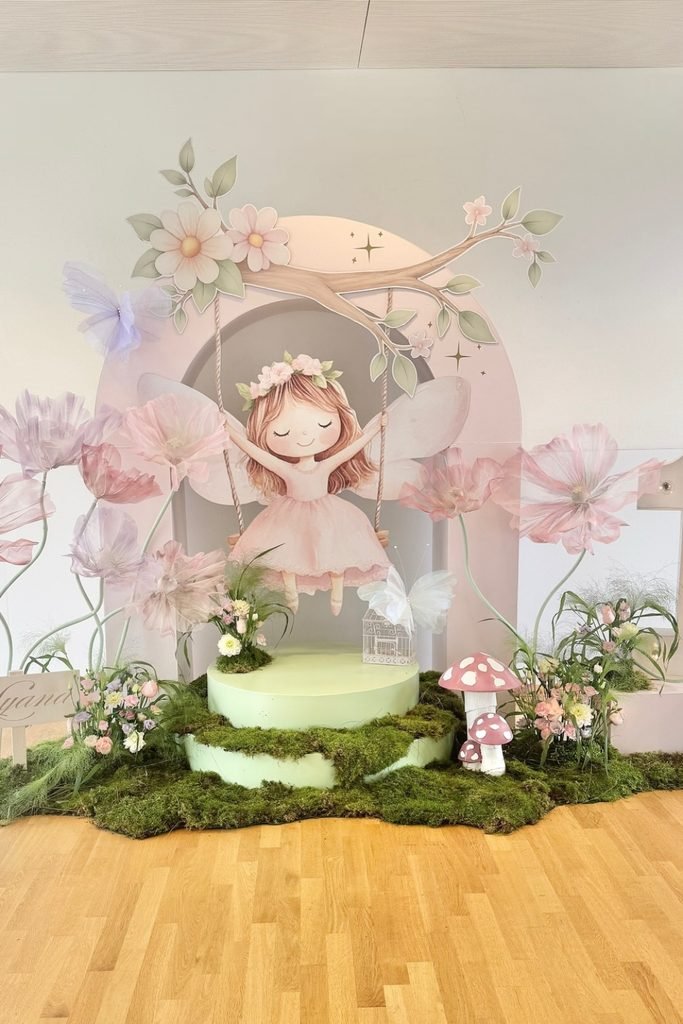
Safety Note: Decorative swings should stay supervised during parties. Many photo props are designed for pictures only, not repeated climbing or swinging.
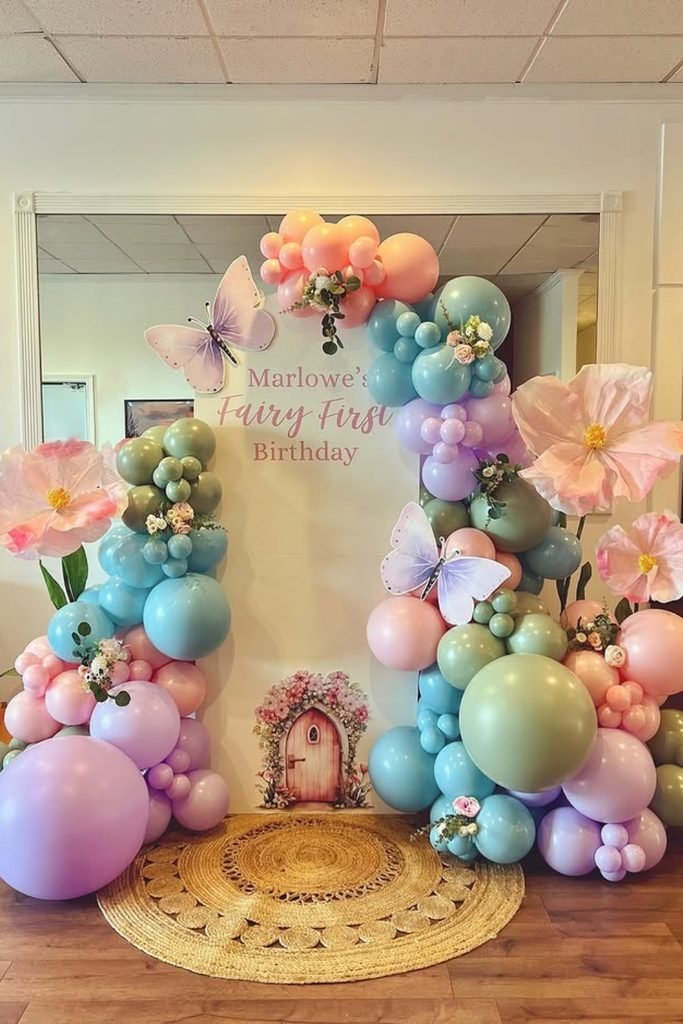
4. Balloon Entrance
Colorful balloon entrances are easy to recognize, but I think they need a fairy detail like flowers or butterflies to avoid feeling like a regular birthday setup.
Balloon installations often need 3-5 hours depending on size, so last-minute assembly can create unnecessary stress before guests arrive.
Keep balloons away from sharp branches or outdoor heat, because popped balloons can leave tiny pieces that younger kids may pick up.
5. Butterfly Backdrop
Butterfly backdrops already carry the fairy theme strongly, so I like keeping the extra decorations limited instead of filling every empty space.
Pastel balloon garlands can take 2-3 hours to build depending on size, especially when you’re adding smaller balloons and arranging color groups.
I’d place the butterfly cutouts after the main setup is finished, because moving balloons around can easily knock off lighter paper pieces.
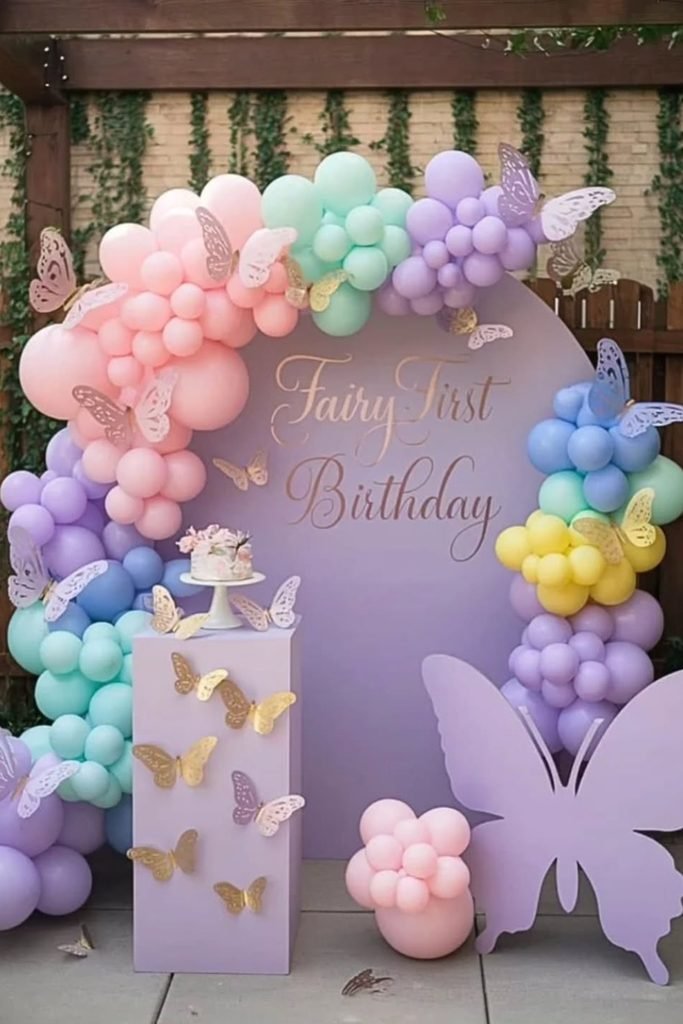
Prep Ahead: Inflate and group balloon colors the night before, then attach the garland closer to party time so the balloons stay fuller.
Fairy Party Table Decor
Table decor is where I like bringing in moss, flowers, mushrooms, tiny lanterns, or butterfly details without making the eating space feel crowded.
Small centerpieces work better than tall pieces here, especially when you want kids to reach snacks, talk easily, and still enjoy the fairy theme.
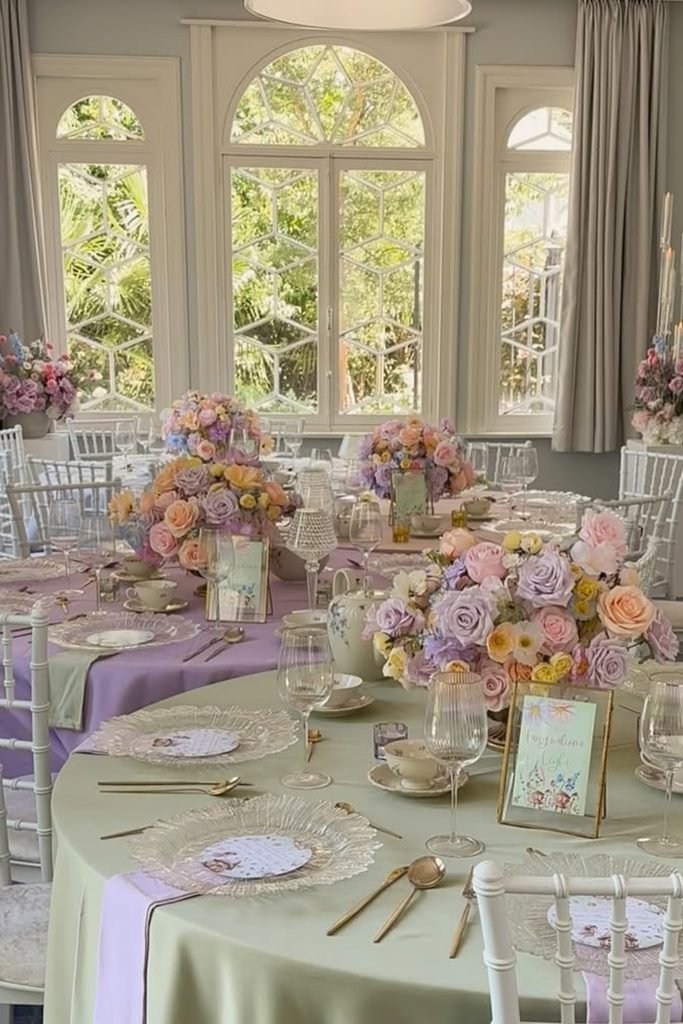
1. Pastel Florals
Pastel floral centerpieces work best when you keep them low enough for kids to see across the table without leaning around flowers.
I like the lavender and mint mix here because it carries the fairy theme without making every place setting feel sugary or crowded.
Set the framed menus and teacups before flowers arrive, since shifting full arrangements later can knock glassware out of alignment surprisingly fast.
2. Garden Wings
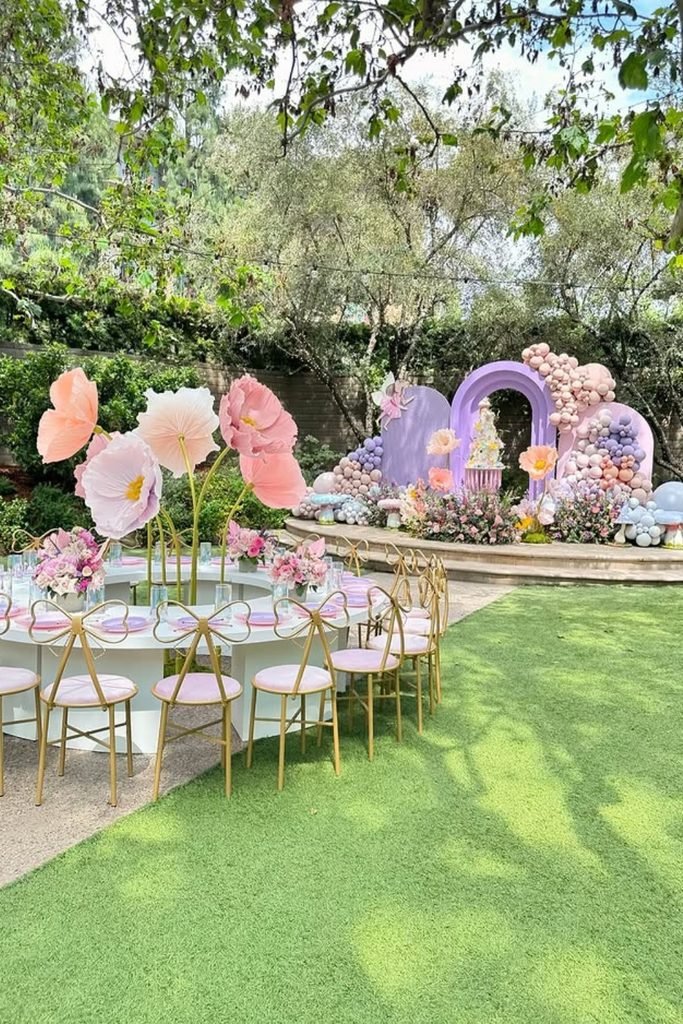
Butterfly-back chairs already do plenty of theme work, so I’d let them carry the fairy reference instead of adding wings everywhere else.
Outdoor paper flowers need sheltered placement, because one windy afternoon can bend tall stems or send lightweight petals across the lawn.
Give yourself extra setup time for those oversized blooms; I prefer securing bases first, then styling smaller table flowers after chairs are placed.
3. Bow Seating
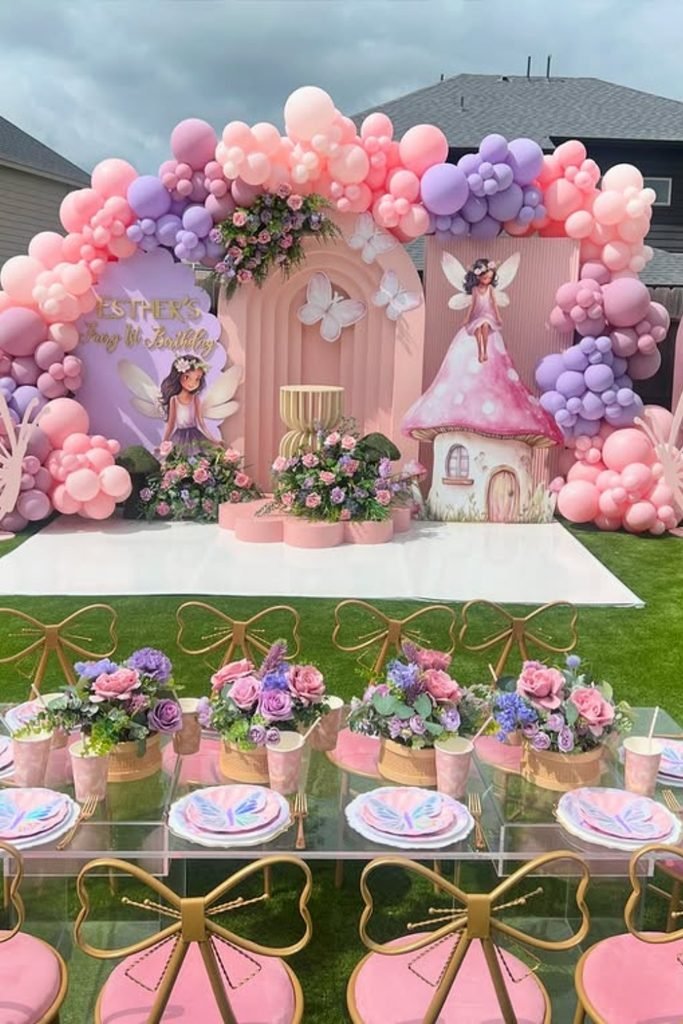
Gold bow chairs can handle the decorative job on their own, so I’d skip extra chair sashes and keep the table surface cleaner.
Clear acrylic tables show every crumb and fingerprint, which is why I think they look better after food service than during messy crafts.
Place floral baskets between settings rather than directly in front of plates, and you’ll leave enough elbow room for cups and party favors.
4. Mushroom Tables
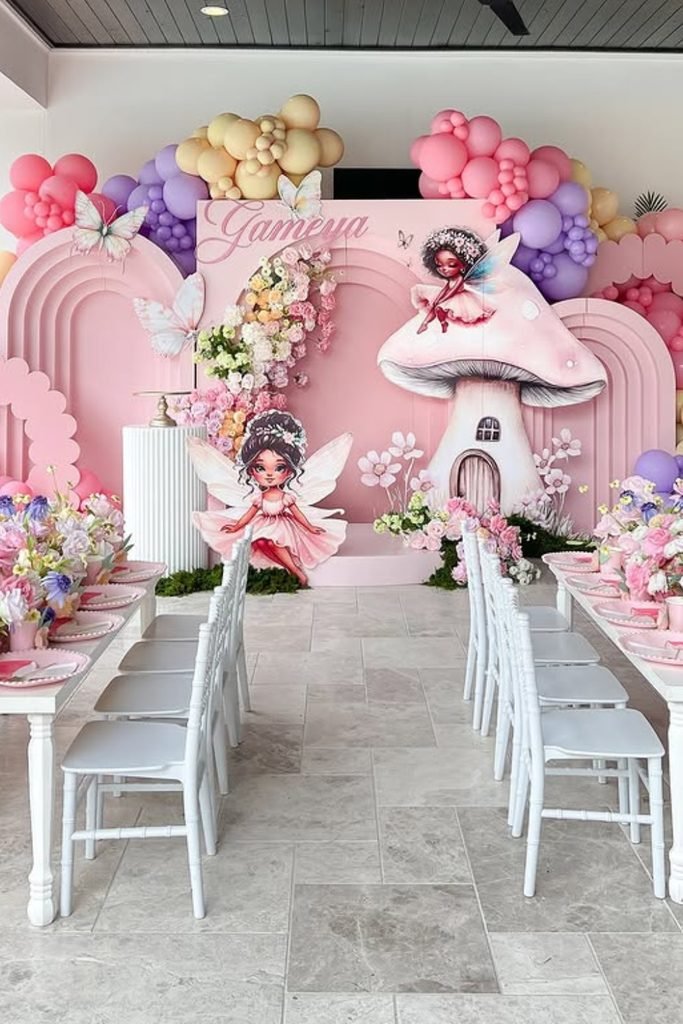
Pink mushroom graphics behind the tables already set the direction, so I like keeping the place settings simple instead of repeating mushrooms everywhere.
Long kids’ tables make serving easier, but dense flower arrangements can steal arm space fast once plates, drinks, and favors start piling up.
Keep centerpieces narrow and staggered, then leave clear gaps every few seats so an adult can reach in without moving half the decor.
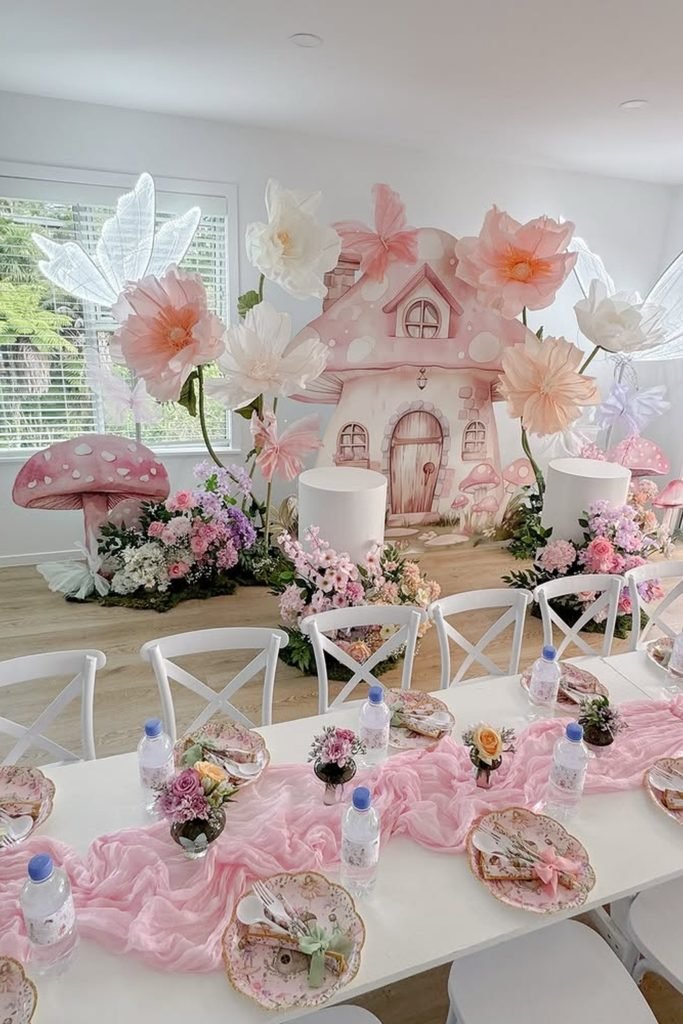
5. Ruffled Runner
Pink gauze runners wrinkle easily after transport, so I like laying them out early and smoothing only the sections guests will notice.
Small bud vases suit kids’ tables better than tall arrangements, because they leave plates, bottles, and little hands with breathing room.
From setup experience, fabric runners should go down before place settings, or you’ll end up nudging plates repeatedly while fixing every fold.
Fairy Lights
Fairy lights can soften the whole setup fast, and I like wrapping them around branches, backdrops, tables, or entrance frames instead of using them everywhere.
Warm white bulbs usually feel calmer than bright multicolor strands, so you can keep the party playful without making the space look too busy.
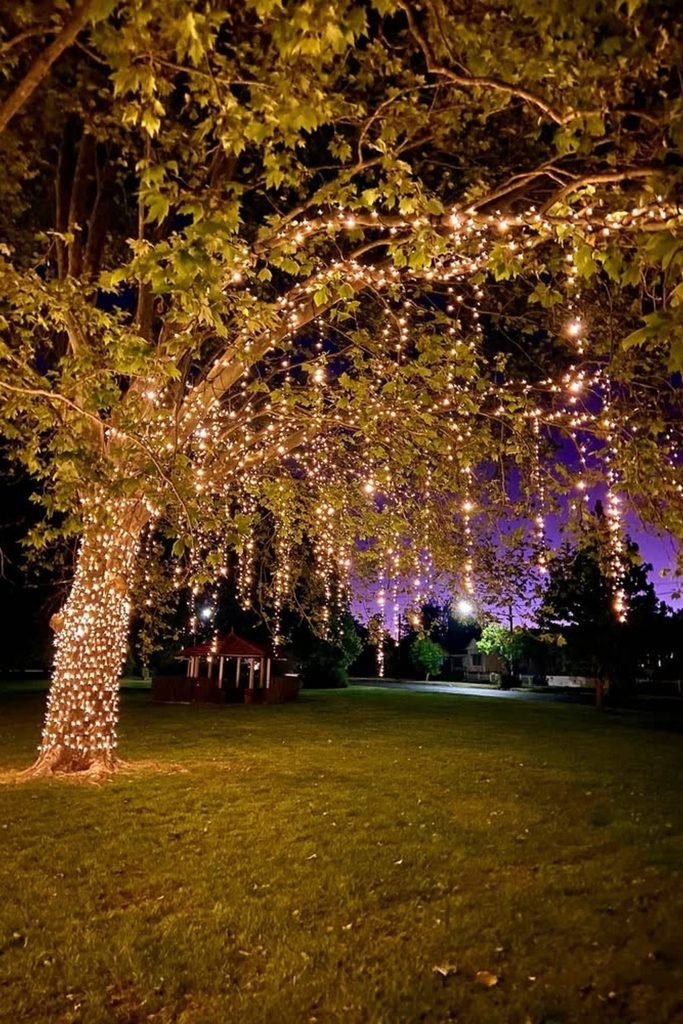
1. Tree Glow
Tree-wrapped warm lights need more strand length than they seem to, so I always measure the trunk and lower branches before setup.
Outdoor-rated LED strings make more sense here because damp grass and evening dew can turn cheap indoor lights into a frustrating problem.
Keep extension connections off the ground, and I prefer fewer lights placed neatly over fighting tangled cords across an entire tree.
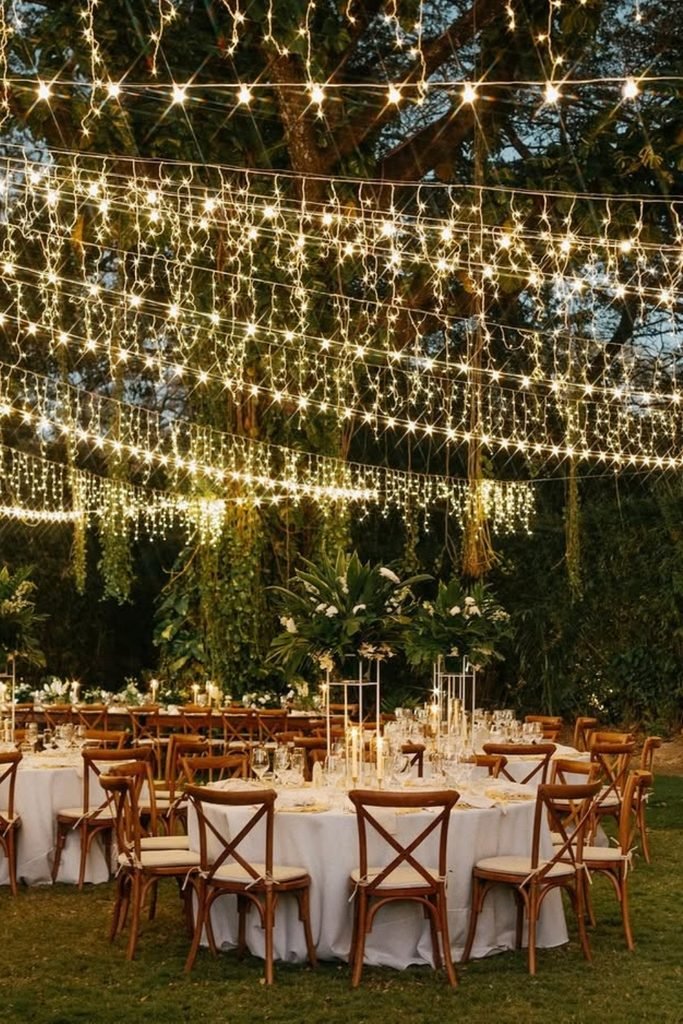
2. Light Canopy
Overhead curtain lights work best on sturdy supports, and I like checking the hanging points before tables or chairs are arranged underneath.
Plan at least thirty minutes for untangling long drops, because rushing usually leaves uneven sections and cords hanging lower than expected.
Secure every loose end above head height, especially around kids, since dangling strands can become something to grab during the party.
3. Bubble Lights
Clear balloons threaded with tiny lights need careful handling, and I like this idea more for evening tables than busy daytime parties.
Battery packs should stay hidden but reachable, because taping them too tightly inside arrangements makes switching dead batteries surprisingly annoying later.
Skip oversized bubbles near candles or hot bulbs; I keep them around LED lamps and flowers where heat stays out of the setup.