23 Brown Theme Birthday Party Ideas
Brown can look boring fast, but the right mix of chocolate, caramel, beige, and cream turns it into a rich party palette.
Warm shades give you plenty of room to play with balloons, desserts, table decor, backdrops, and small details without making everything feel too dark.
In this article, you’ll find 23 brown theme birthday party ideas that feel stylish, inviting, and easy to adapt for different ages and budgets.
Let’s jump in!
Which Brown Birthday Style Fits Your Party?
Brown can shift from soft and cozy to bold and dramatic, so the right style depends on the mood you want to create.
A teddy bear or woodland setup works beautifully for a gentle look, especially with beige balloons, cream accents, greenery, and warm wood details.
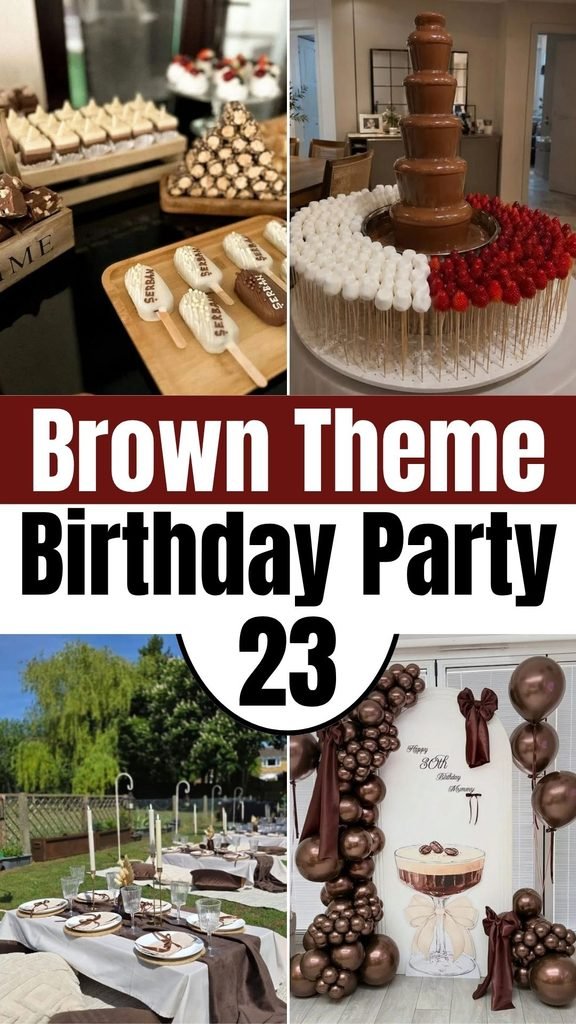
For something richer, chocolate-inspired decor brings deep brown shades into desserts, table styling, cake details, and playful candy displays.
Western themes create a stronger rustic feel through cowboy hats, leather-inspired accents, wooden signs, boots, and darker espresso or chocolate tones.
A neutral boho setup keeps everything modern and relaxed, pairing warm brown shades with pampas grass, soft fabrics, arches, and simple balloon arrangements.
Cocoa Candy Corner
Chocolate bars, caramel bites, brownies, and cocoa-colored treats make this station feel rich without needing complicated decorations.
Mix lighter beige sweets with deep brown candies so the display stays balanced instead of looking heavy or overly dark.
1. Candy Bars
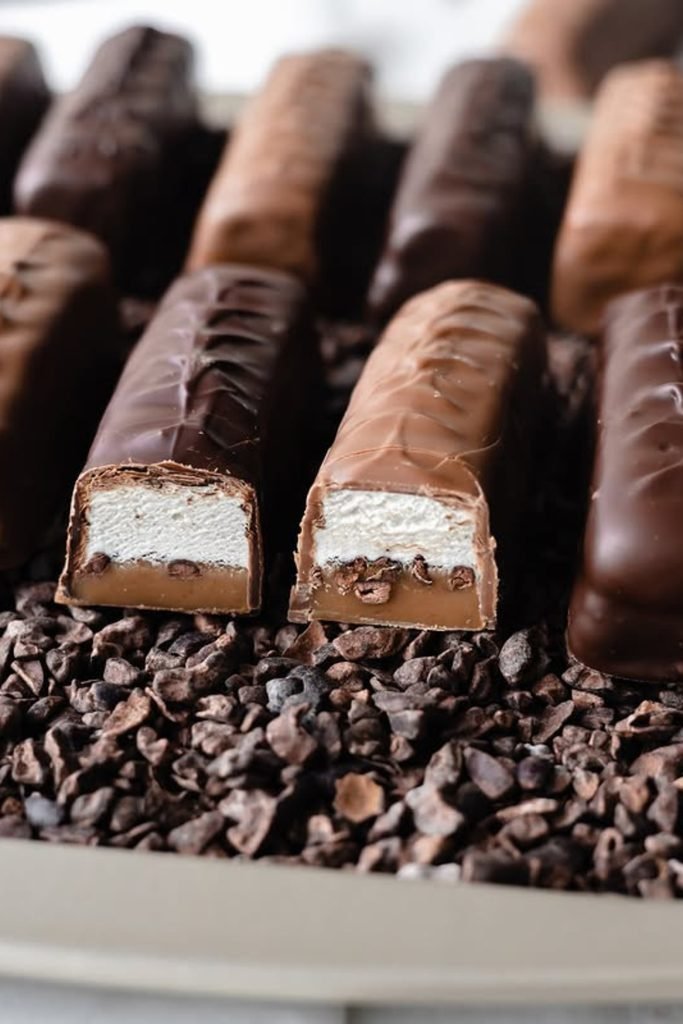
Chocolate-coated bars with creamy centers give your dessert table a rich option that feels especially inviting beside smaller bite-sized treats.
Cut a few bars open before serving so guests can immediately see the different fillings instead of guessing what sits inside.
Scatter cocoa nibs underneath for a simple presentation trick that adds texture while keeping the entire chocolate display warm and coordinated.
2. Dessert Boxes
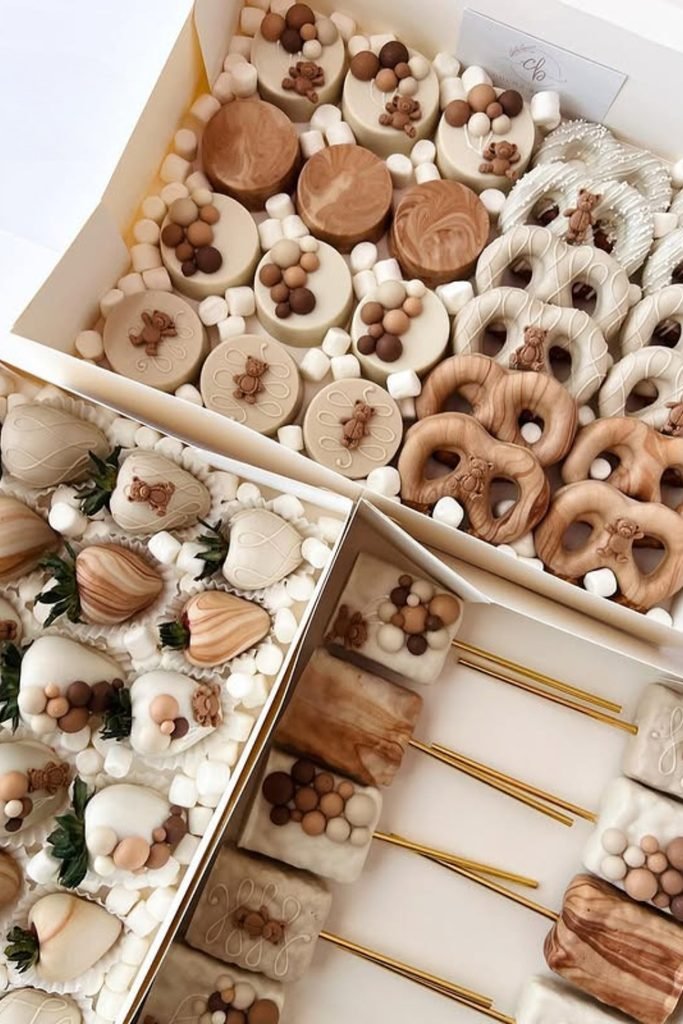
Mixing strawberries, pretzels, marshmallows, and chocolate treats gives guests plenty of choices without making your dessert selection feel overly complicated.
Keep everything within the same cream, caramel, and chocolate palette so different shapes still look connected when arranged together for serving.
Use separate boxes for each treat style, making it easier to refill popular sweets while keeping your dessert station organized throughout.
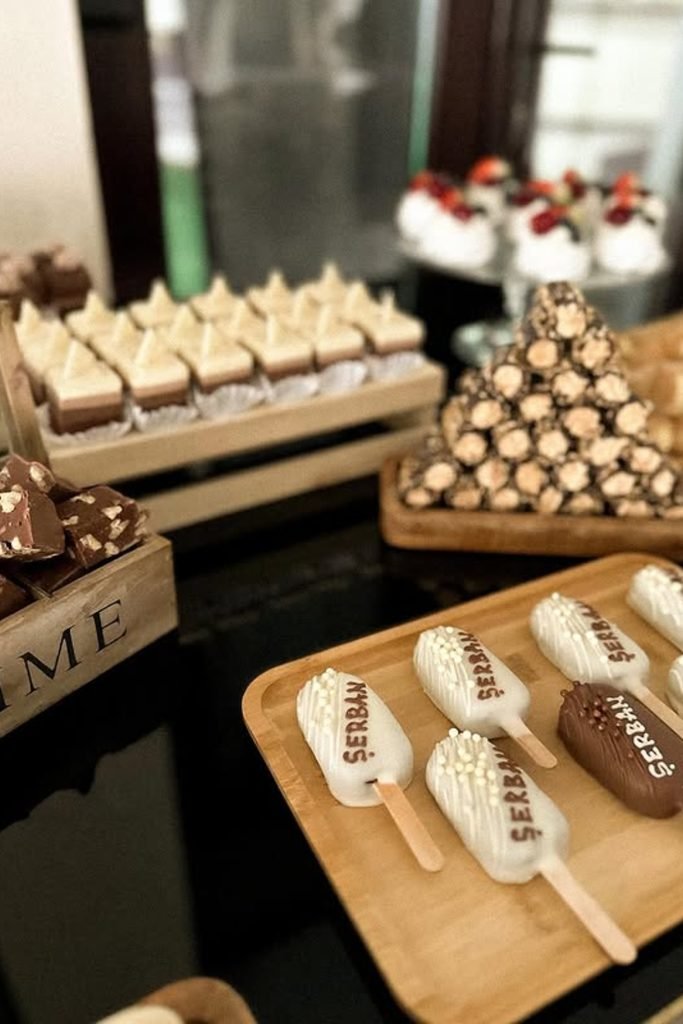
3. Treat Display
Give individual desserts their own trays when you want a larger sweet table to feel organized instead of crowded or randomly arranged.
Wooden boards bring warmth beneath chocolate bars, mini cakes, and popsicles, while different tray heights help every dessert remain easy to spot.
Leave a little breathing room between each section so guests can reach their favorite treats without disturbing the neighboring dessert arrangements.
Flowing Cocoa Treat
Fresh fruit, marshmallows, pretzels, and wafer sticks give guests plenty of dipping choices without making the table feel repetitive.
Keep napkins and small plates close because chocolate drips get messy fast, especially once several guests gather around the fountain.
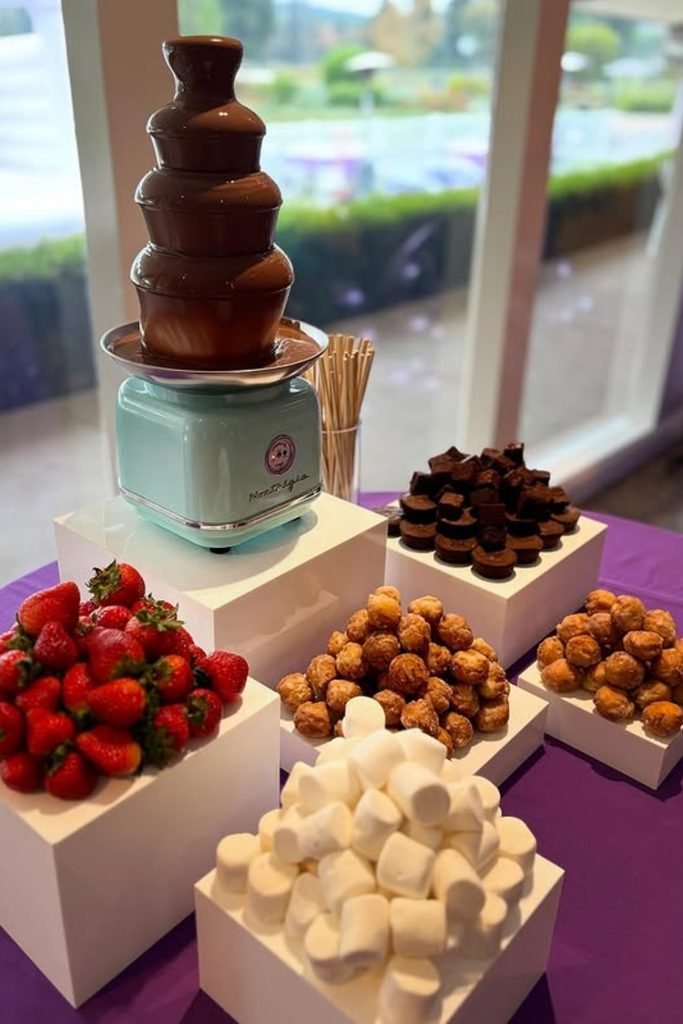
1. Dipping Station
Pair a flowing chocolate fountain with strawberries, marshmallows, brownie bites, and pastry balls so guests can build their own sweet combinations.
Use raised white stands around the fountain to separate each dipping option while giving the entire station a clean, organized appearance.
Keep wooden skewers beside the fountain so everyone can dip comfortably without touching shared treats or creating unnecessary mess around the table.
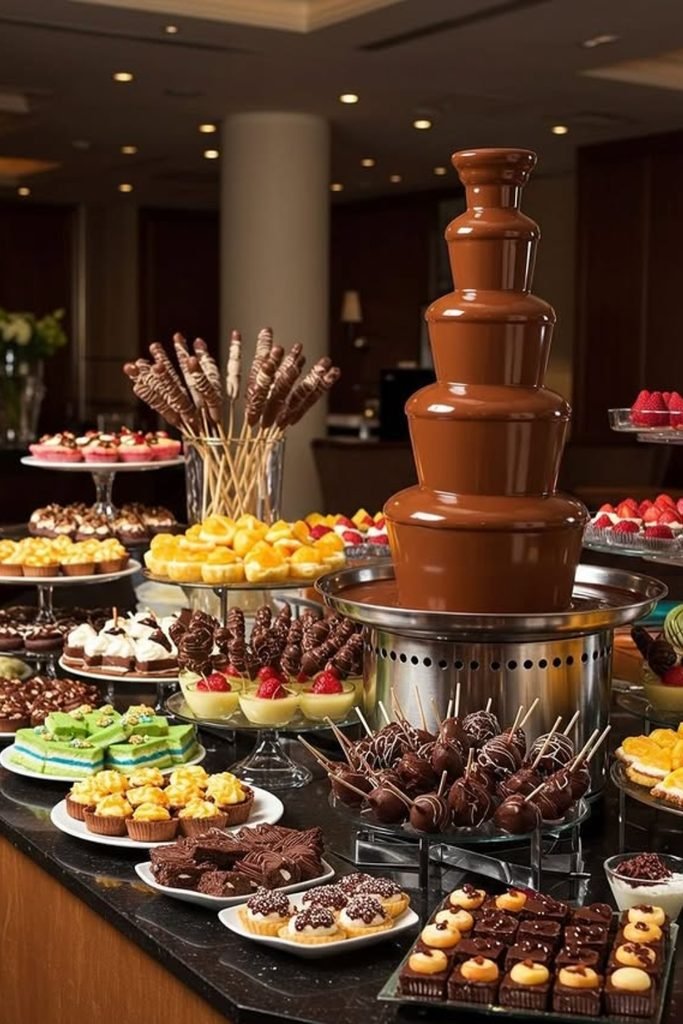
2. Dessert Fountain
Make the chocolate fountain your centerpiece, then surround it with fruit, mini cakes, cookies, and chocolate-covered treats for plenty of variety.
Arrange desserts at different heights around the fountain so smaller sweets remain visible and guests can reach everything without crowding one area.
Add dipping sticks in tall containers nearby, giving guests an easy way to grab fruit or treats before approaching the flowing chocolate.
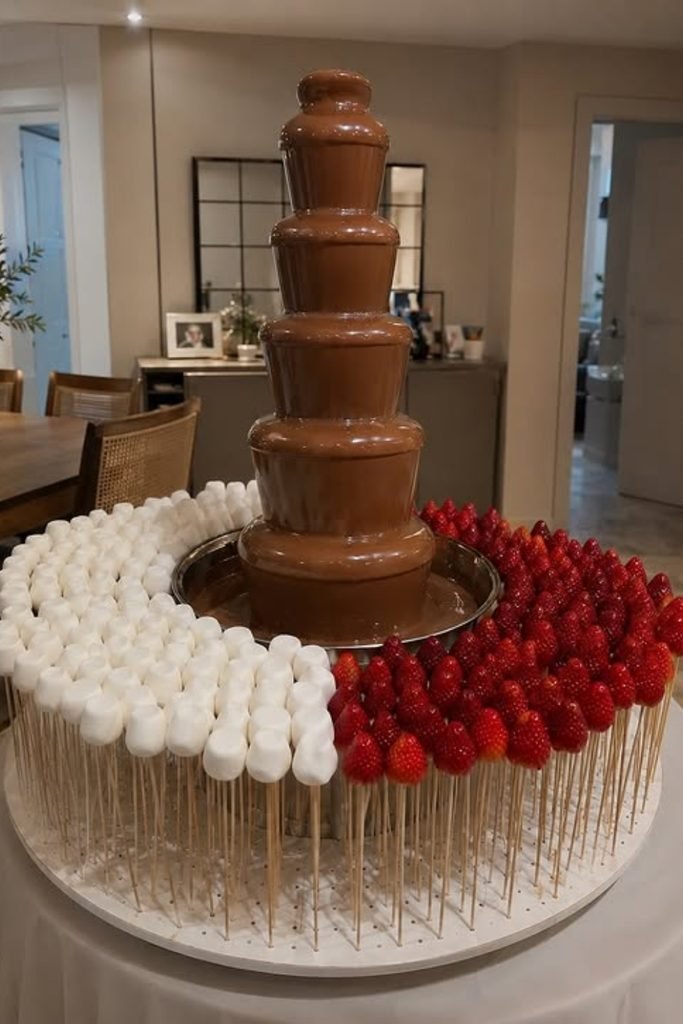
3. Dipping Circle
Arrange strawberries and marshmallows in a full circle around the chocolate fountain when you want serving to feel simple and visually satisfying.
Thread each treat onto individual skewers beforehand so guests can grab one quickly and dip without handling fruit or marshmallows directly.
Keep contrasting ingredients grouped into separate sections because the red strawberries and white marshmallows naturally make the chocolate centerpiece stand out.
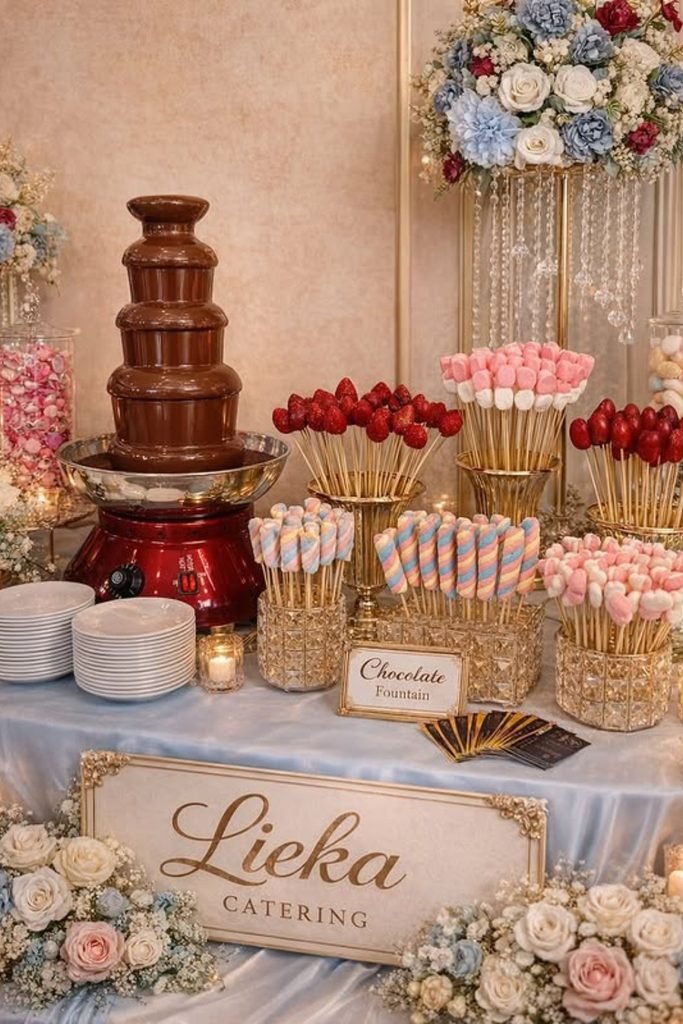
4. Elegant Fountain
Dress up a chocolate fountain with gold containers, pastel marshmallows, strawberries, and soft florals when your dessert table needs an elegant finish.
Place dipped treats upright in decorative holders so guests can easily choose something while the different colors remain visible across the display.
Finish with candles and floral arrangements around the edges, keeping decorative pieces away from dipping areas so serving stays comfortable and practical.
Cocoa Takeaways
Kraft bags, chocolate treats, mini candles, or beige favor boxes keep the brown palette going without making the gifts feel repetitive.
Choose something guests can actually use or eat, because decorative favors often end up forgotten once the party is over.
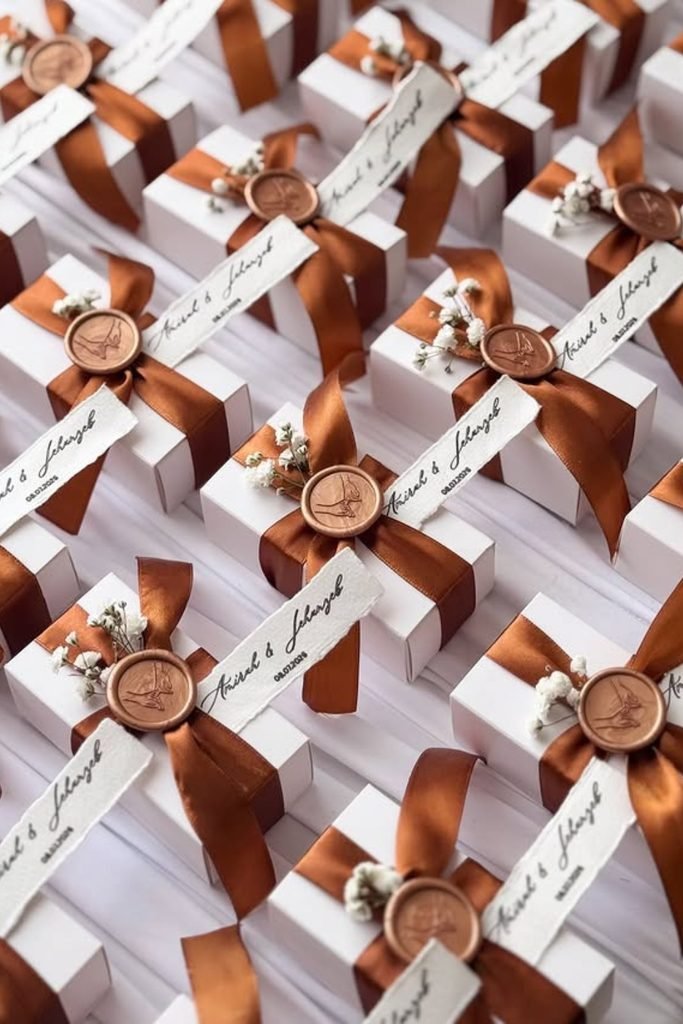
1. Ribbon Boxes
Turn simple favor boxes into something more personal by wrapping each one with satin ribbon, a wax seal, and tiny dried flowers.
Add a small handwritten name tag beneath the ribbon so every guest receives a favor that also works beautifully as place décor.
Choose ribbon in a warm chocolate shade when you want plain white packaging to connect naturally with a chocolate-themed dessert or favor table.
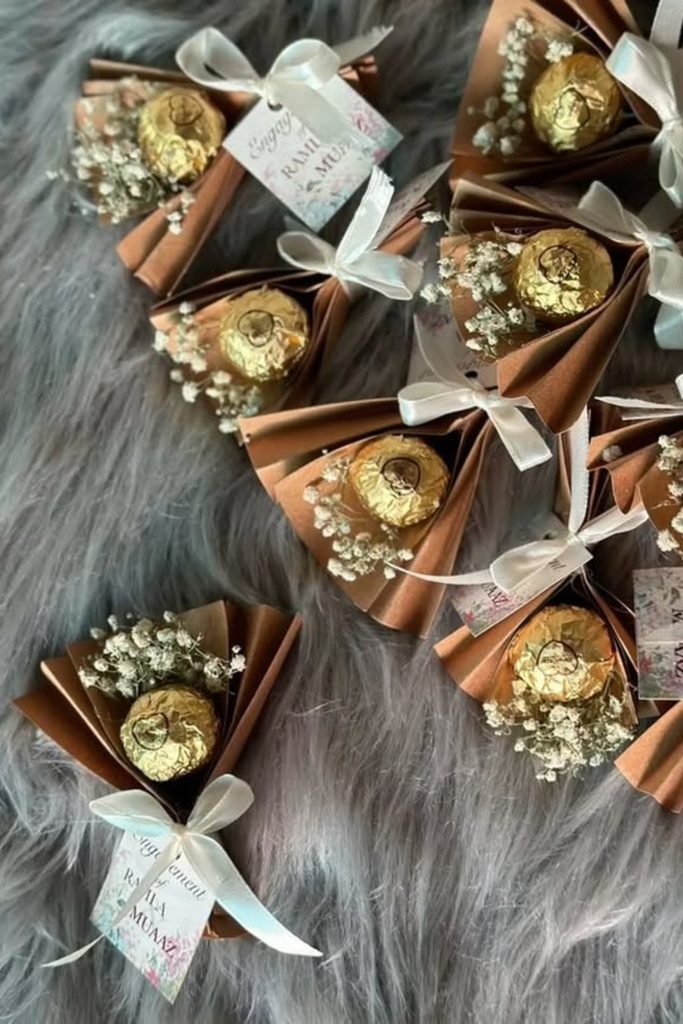
2. Chocolate Bouquets
Wrap individual chocolates in folded brown paper with delicate dried flowers when you want favors that resemble tiny handcrafted floral bouquets.
Tie each bundle with a slim white ribbon and personalized tag, giving guests something polished without requiring complicated favor packaging.
Gold-wrapped chocolates work especially well here because their metallic finish adds contrast against the brown wrapping and soft white floral details.
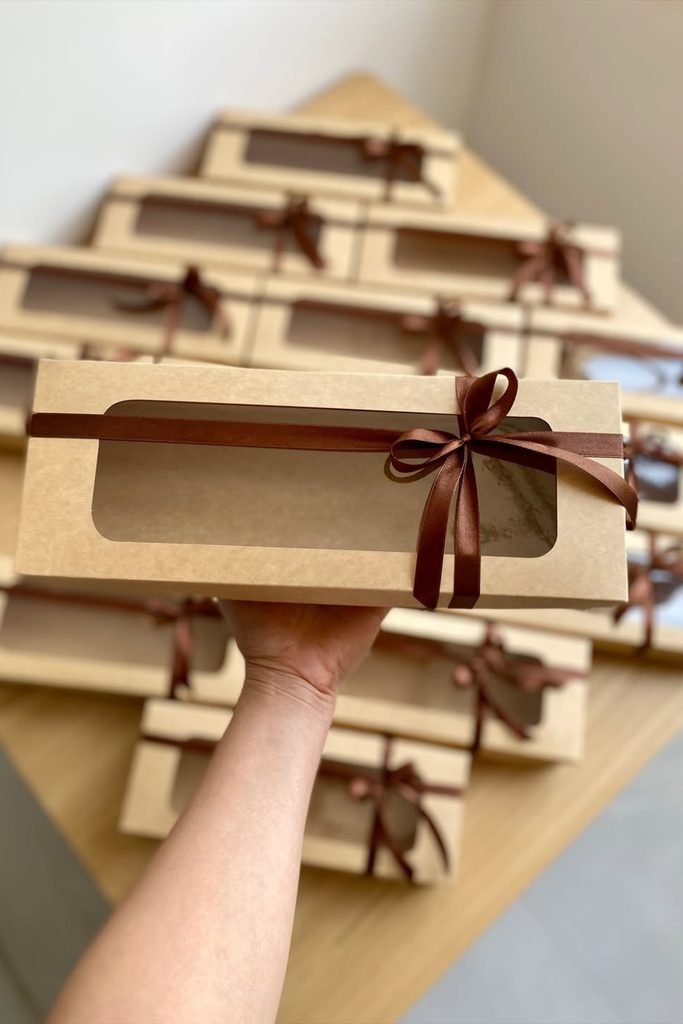
3. Favor Boxes
Use windowed kraft boxes when you want guests to see the chocolate treats inside while still keeping every favor neatly protected.
Wrap a narrow brown ribbon around each box and finish with a small bow, keeping the packaging simple enough for larger guest lists.
Stack finished boxes together near your dessert table or exit area, making them easy for guests to collect before heading home.
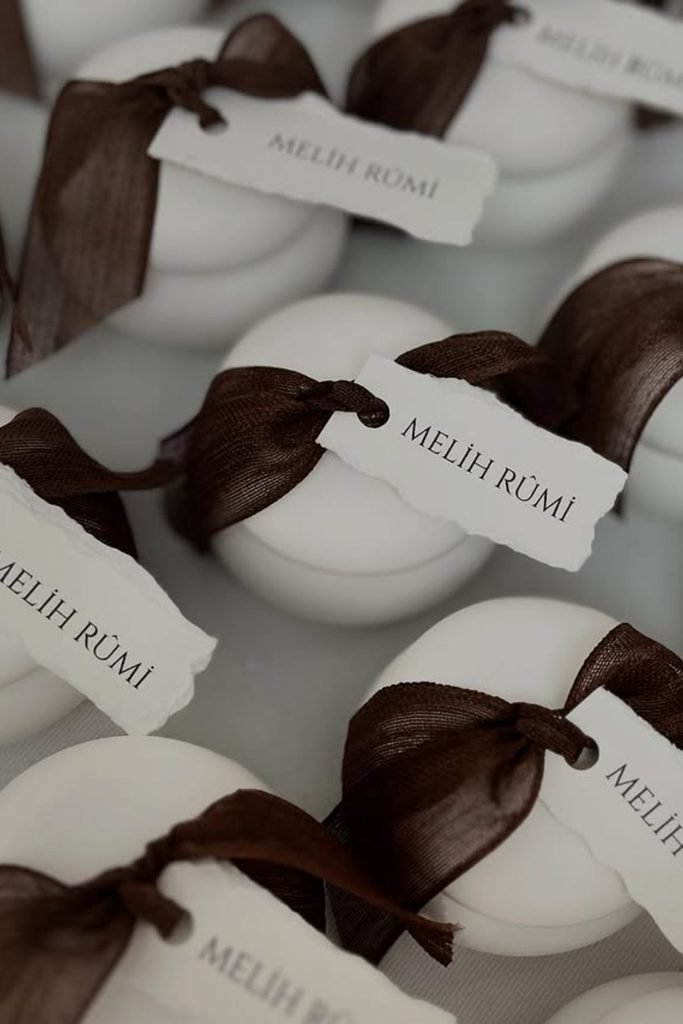
4. Chocolate Favors
Small round favor boxes feel more finished when you wrap each one with sheer chocolate-brown ribbon and attach a personalized name tag.
Keep the containers white if you want the dark ribbon to stand out clearly while matching other chocolate details around your celebration.
Place one favor at every seat for a personal touch, or group them together near the exit for easy guest pickup.
Caramel Candle Glow
Amber jars, caramel tapers, and warm brown candles can soften the setup without competing with balloons, desserts, or table decor.
Keep scented candles away from food tables, since strong vanilla or cocoa fragrances can overpower desserts and make the space feel stuffy.
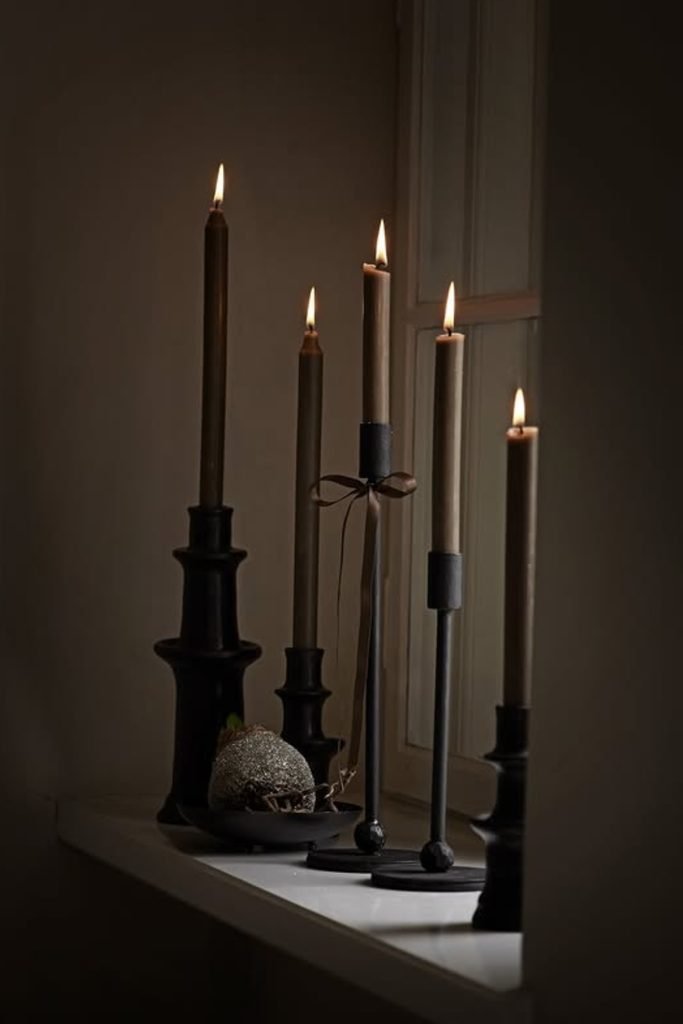
1. Taper Candles
Mix tall chocolate-brown tapers with holders in different heights when you want a candle arrangement that feels layered rather than overly matched.
Keep the surrounding décor minimal so the warm flames and deep brown tones become the main focus without making your display feel heavy.
Place this grouping along a windowsill, dessert table, or entry console where the varying candle heights can create a softer evening atmosphere.
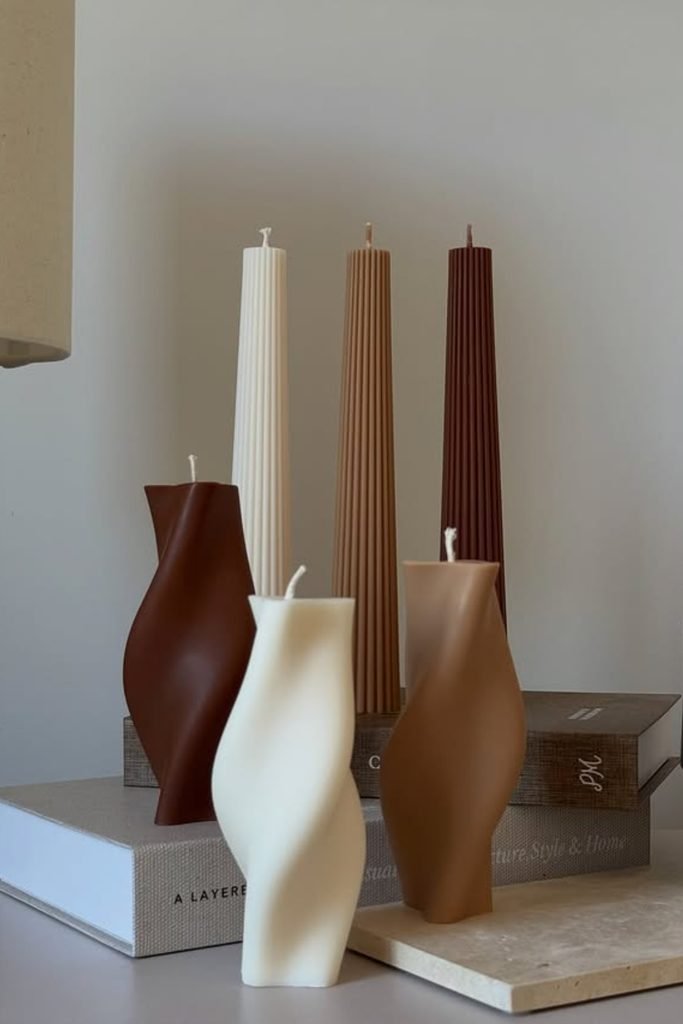
2. Sculptural Candles
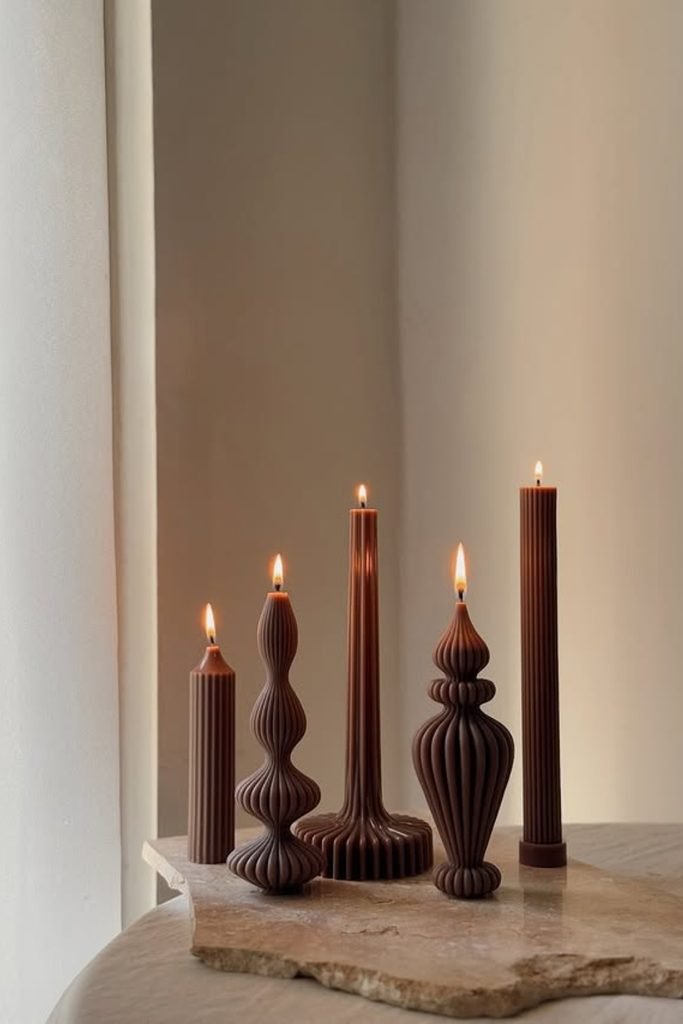
Bring more personality into your chocolate-brown palette by mixing sculptural candles with tall ribbed tapers in cream, caramel, and cocoa shades.
Use books or stone trays underneath selected candles to vary their heights, helping every unusual shape remain visible within the arrangement.
Keep surrounding accessories simple because the curved silhouettes already provide plenty of movement, making this setup especially useful for modern celebrations.
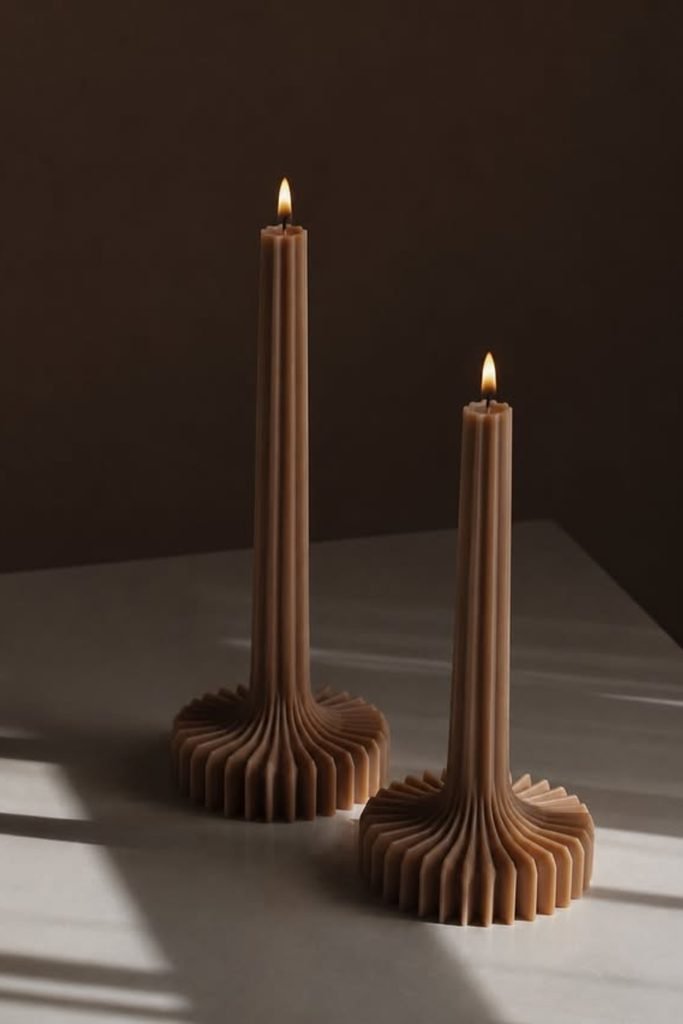
3. Ribbed Candles
Choose ribbed brown candles with wide sculptural bases when you want something decorative enough to stand beautifully without separate candle holders.
Pair two different heights together so the arrangement gains dimension while keeping the matching texture consistent and visually calm across your table.
Set them where natural or soft ambient light can highlight the deep grooves, making those textured details much easier for guests to notice.
4. Cocoa Candles
Build a striking centerpiece with chocolate-brown candles in several sculptural shapes, combining slim columns with curved pieces for more visual interest.
Keep every candle within a similar cocoa palette so dramatic silhouettes feel connected instead of turning the centerpiece into a busy collection.
Arrange them on a stone slab or neutral tabletop, giving the rich brown wax enough contrast to become the strongest decorative feature.
Mocha Photo Wall
Layered brown panels, beige fabric, balloons, and simple signage can create a strong photo area without making the setup feel too busy.
Stick with two or three brown shades, because piling on every neutral tone can make the backdrop lose its shape and contrast.
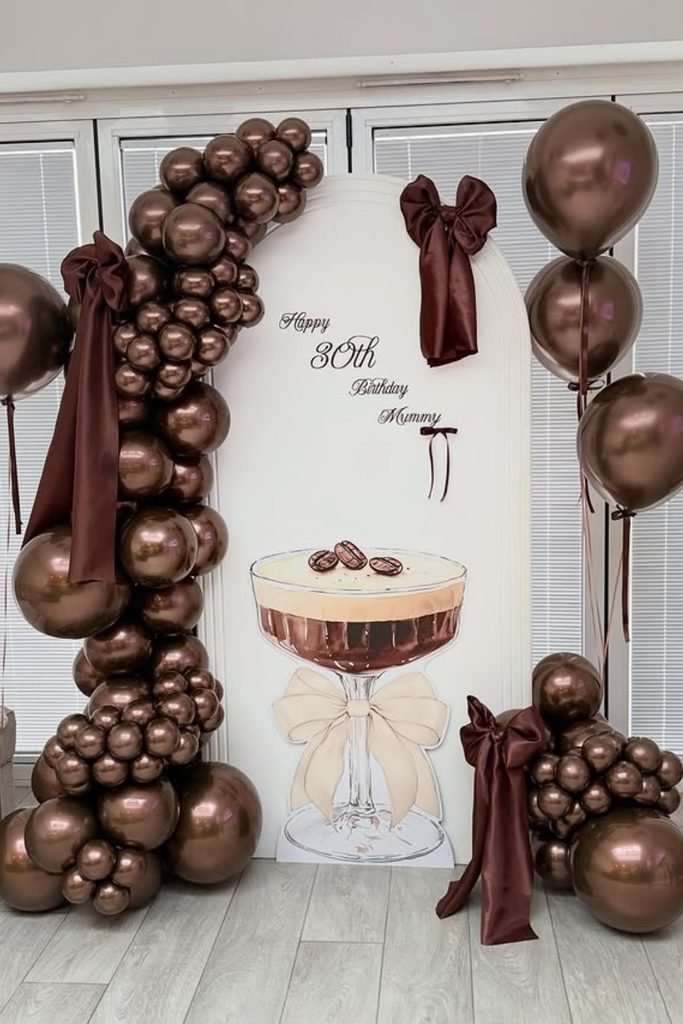
1. Bow Backdrop
Frame a simple white backdrop with metallic chocolate balloons and oversized satin bows when you want the photo area to feel polished.
Keep balloons concentrated along one side, then balance the opposite edge with smaller clusters so the backdrop never feels visually overcrowded.
Add a themed illustration or personalized message in the center, giving guests a clear focal point when they stop for photos.
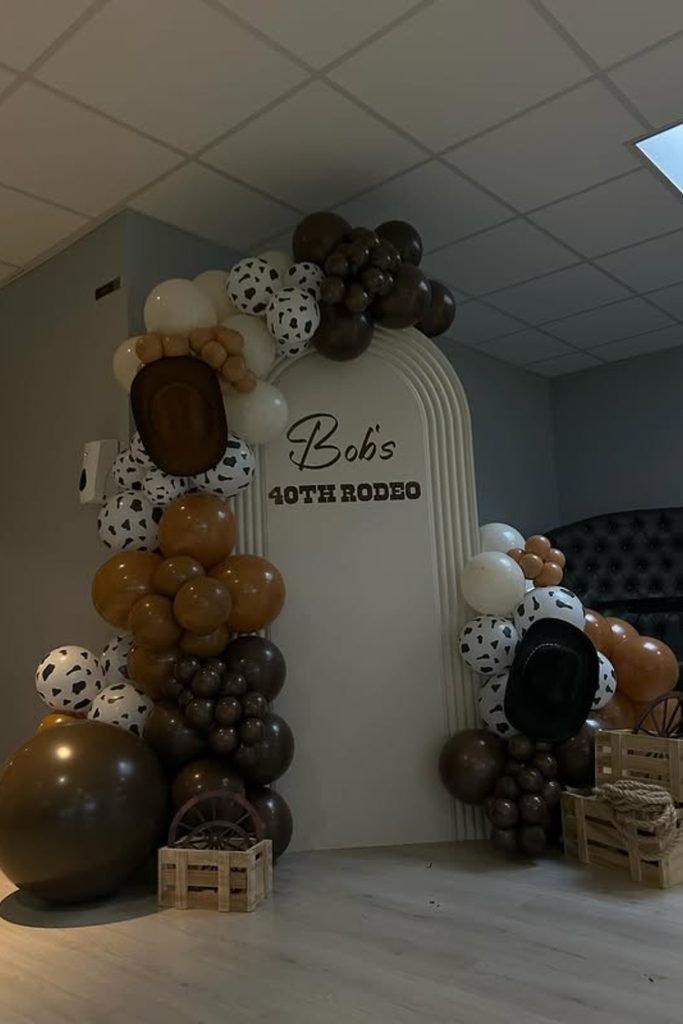
2. Rodeo Backdrop
Bring a western twist into brown party décor by combining chocolate, caramel, cream, and cow-print balloons around a softly arched backdrop.
Tuck cowboy hats and wooden crates between balloon clusters to strengthen the rodeo theme without filling every open space with decorations.
Build clusters in different balloon sizes because that variation creates depth and keeps the earthy brown palette from looking too flat.
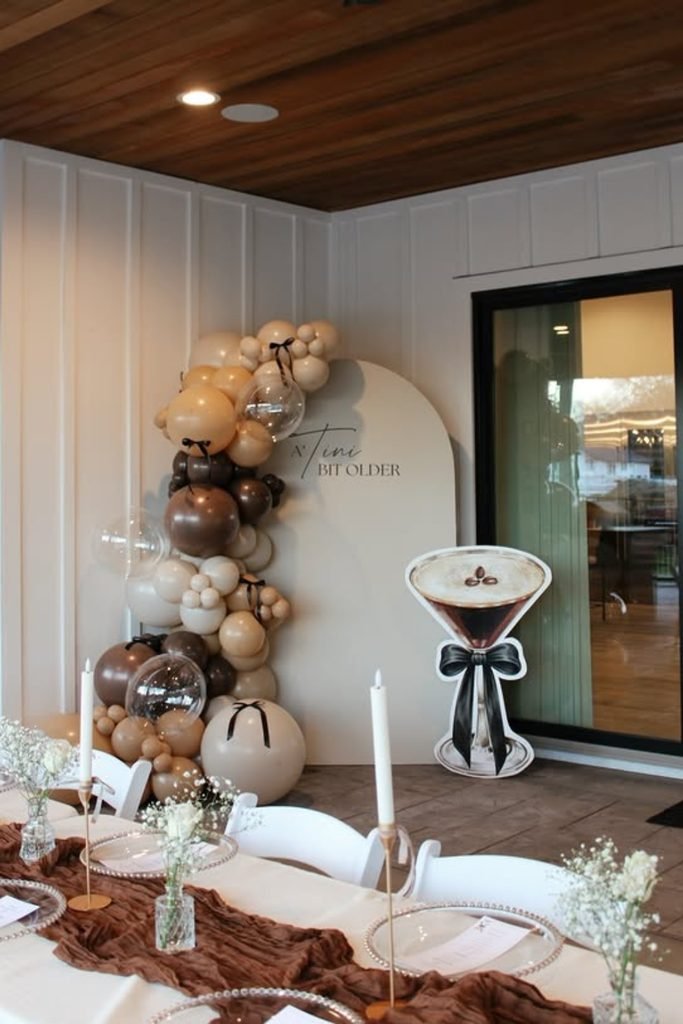
3. Mocha Backdrop
Pair mocha, cream, and transparent balloons around a neutral arch when you want your dining area and photo backdrop to connect naturally.
Carry the chocolate color onto the dining table with textured fabric, then soften it using white candles and delicate floral arrangements.
Add one oversized themed prop beside the arch rather than extra decorations, keeping the setup interesting while leaving comfortable space for photos.
4. Western Backdrop
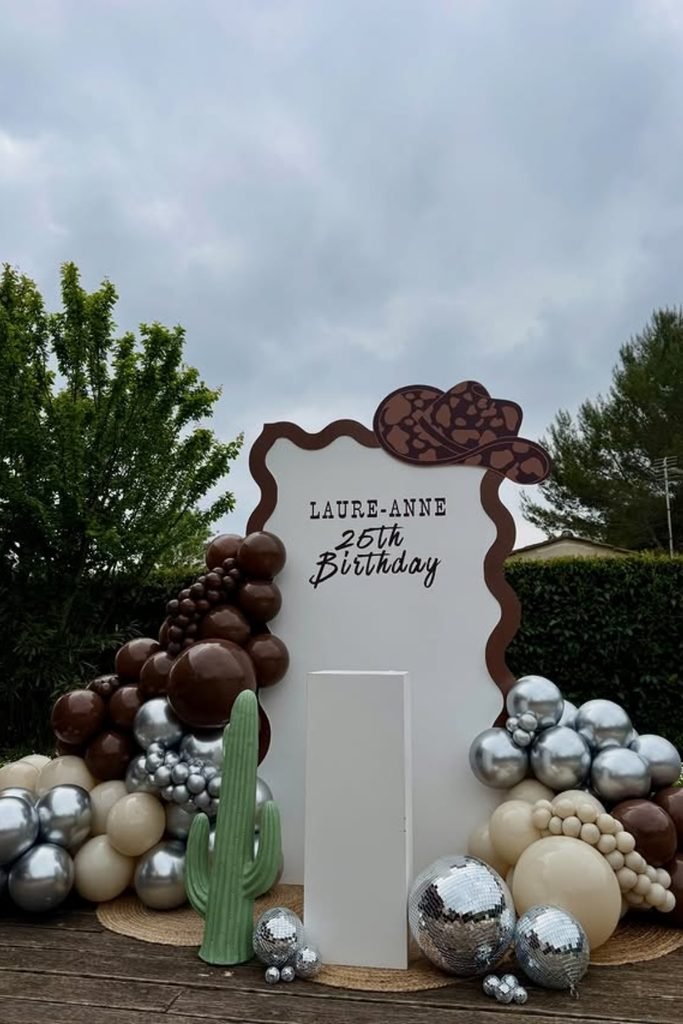
Mix deep chocolate balloons with cream and metallic silver when you want a western backdrop that feels playful without becoming overly rustic.
Use cactus props, disco balls, and cowgirl graphics around the base to bring personality while keeping the central photo space mostly open.
Choose several balloon sizes across both sides, letting metallic pieces catch outdoor light and break up the heavier dark brown sections.
Cocoa Picnic Spread
Low wooden tables, brown cushions, woven mats, and neutral tableware make the setup feel relaxed without losing the birthday theme.
Keep the food simple and easy to carry, because outdoor picnic setups get frustrating fast once sauces, glassware, or bulky serving pieces appear.
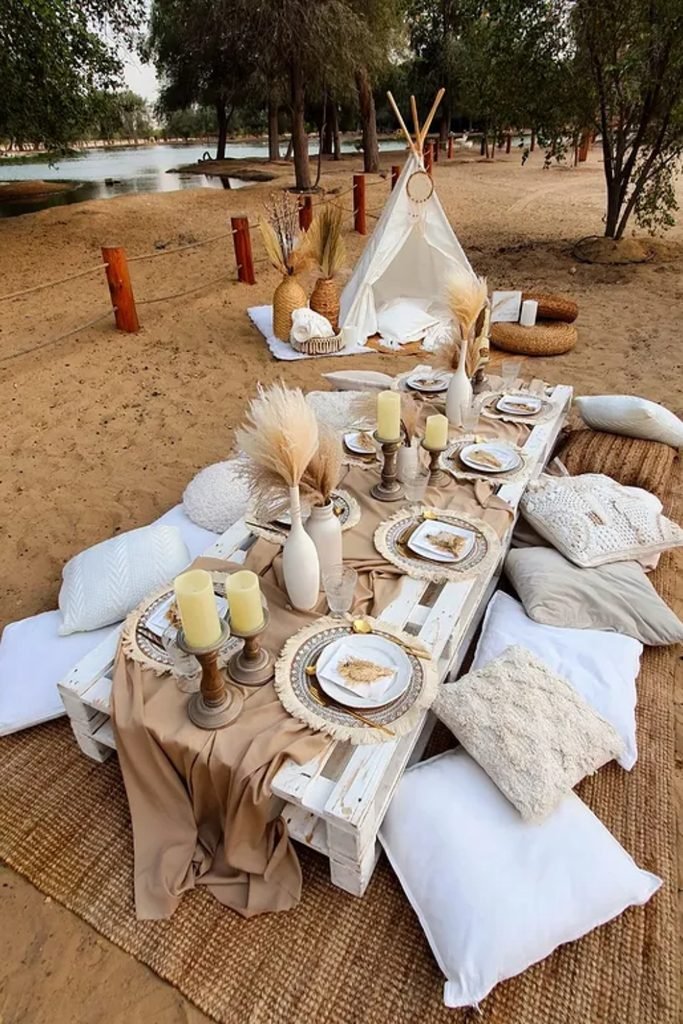
1. Boho Picnic
Create a relaxed chocolate-themed picnic with low pallet tables, layered neutral cushions, woven rugs, and soft brown fabric running through the center.
Add pampas grass and chunky candles between place settings to bring height and texture without making the low dining setup feel crowded.
Finish with a small teepee nearby for extra character, especially when you want the outdoor gathering to feel cozy and thoughtfully styled.
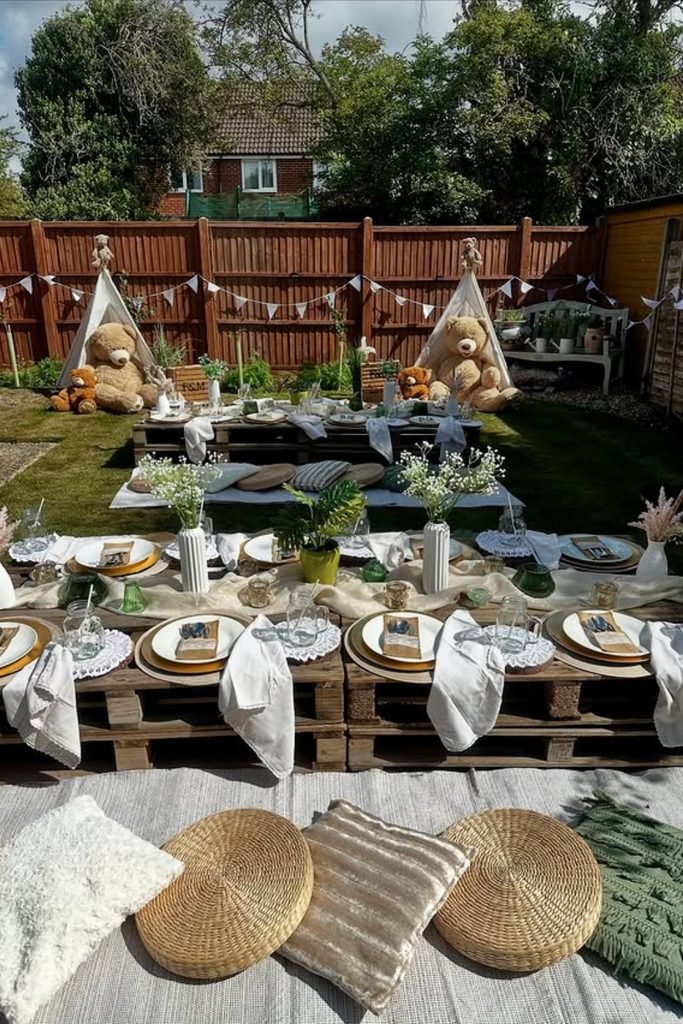
2. Garden Picnic
Turn a backyard into an inviting picnic area using pallet tables, woven floor cushions, teddy bears, and small teepees behind the seating.
Layer white linens with chocolate, beige, and green accents so the natural garden surroundings become part of the overall earthy color palette.
Place simple flowers and greenery along each table instead of oversized centerpieces, leaving plenty of comfortable room for serving food and drinks.
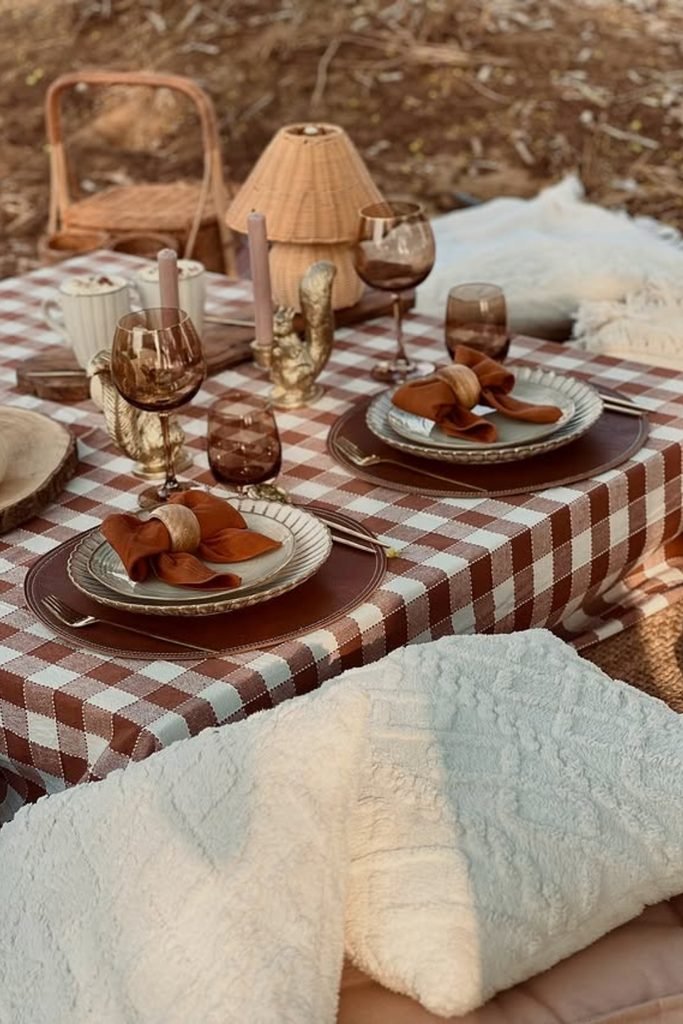
3. Checkered Picnic
Bring chocolate brown into your picnic through a gingham tablecloth, brown plates, amber glassware, and rust-colored napkins for a warmer setting.
Layer soft floor cushions around the table so guests can sit comfortably while keeping the low picnic arrangement casual and visually inviting.
Add woven accessories and warm metallic details sparingly, letting the checkered pattern provide most of the character without overwhelming your place settings.
4. Lawn Dining
Set long low tables across the lawn when you need relaxed outdoor seating that still feels coordinated for a larger chocolate-themed celebration.
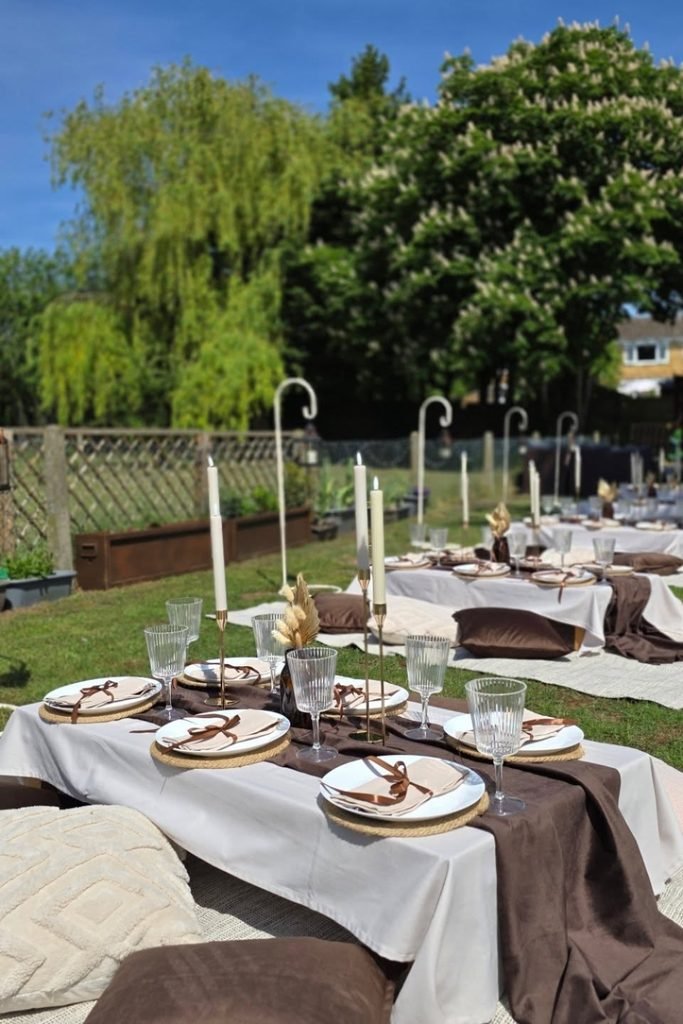
Run deep brown fabric across crisp white tablecloths, then repeat that shade through napkin ribbons and floor cushions for easy visual consistency.
Use tall taper candles and clear glasses to add height without blocking conversation, keeping each place setting practical for comfortable outdoor dining.