
Round Face Contour Hack That Actually Works
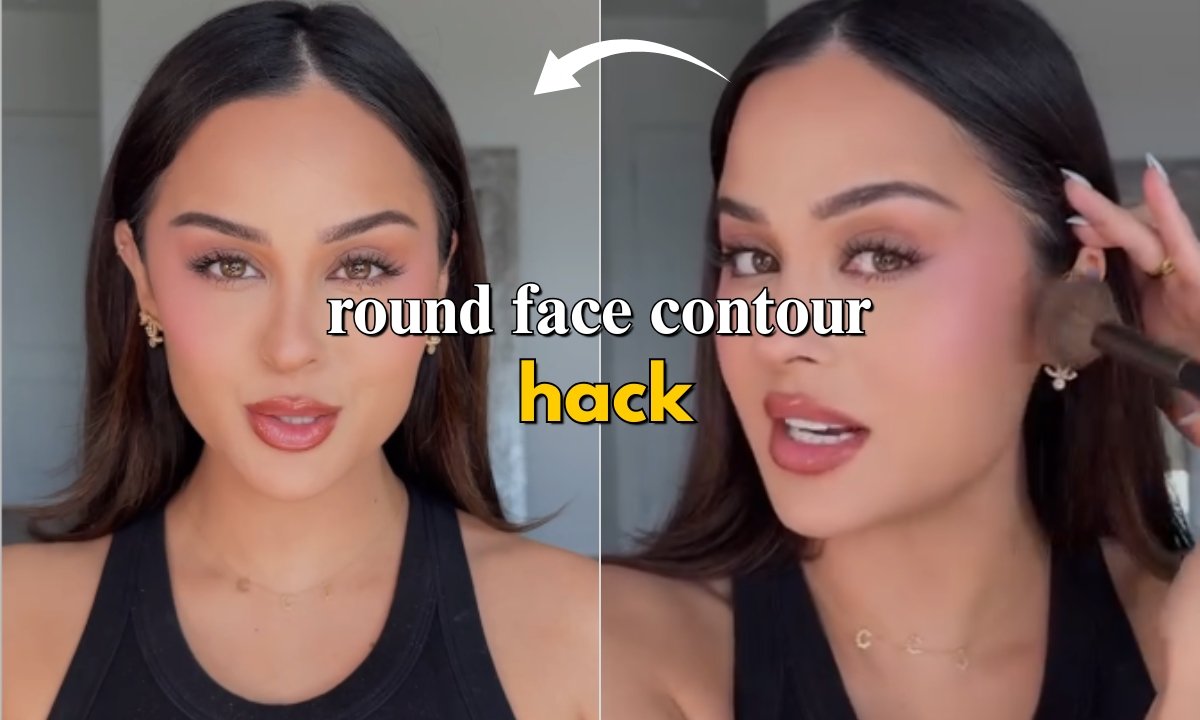
You have tried contouring yourself but your cheeks still look round and your face still looks flat – nothing changes.
You can follow all the steps, use high quality products and even blend it like a pro – but your face is like, Contour…? Where…?
It’s not your fault. The main problem is that most of the tutorials are designed for only one-size-fits all, but round faces? They need their own game plan or technique.
In this post, I will show you exactly how to contour the round face, where to place it – so you will actually see the shape and lift you have been going for.
Let’s dig in!
Contents
Why Contouring a Round Face Feels So Hard
Round face usually has full cheeks, a soft jawline and natural shadow, that’s why the basics can’t work on it.
If you place your contour in the wrong areas then it can make your face look wider.
You are not doing it wrong but the method you are using is not for your face shape.
Everyone says, Contour here, here, here.. – no one says it for round cheeks, that’s why it can’t work.
Related: How to Apply Blush the Right Way
Tools You Actually Need
For contouring, you don’t need a full makeup kit. Just a few right tools can make a big difference.
Here are some tools that actually helps
- Contour stick or powder
- Sponge or blending brush
- Mirror with the good lighting
- Small brush for nose contour
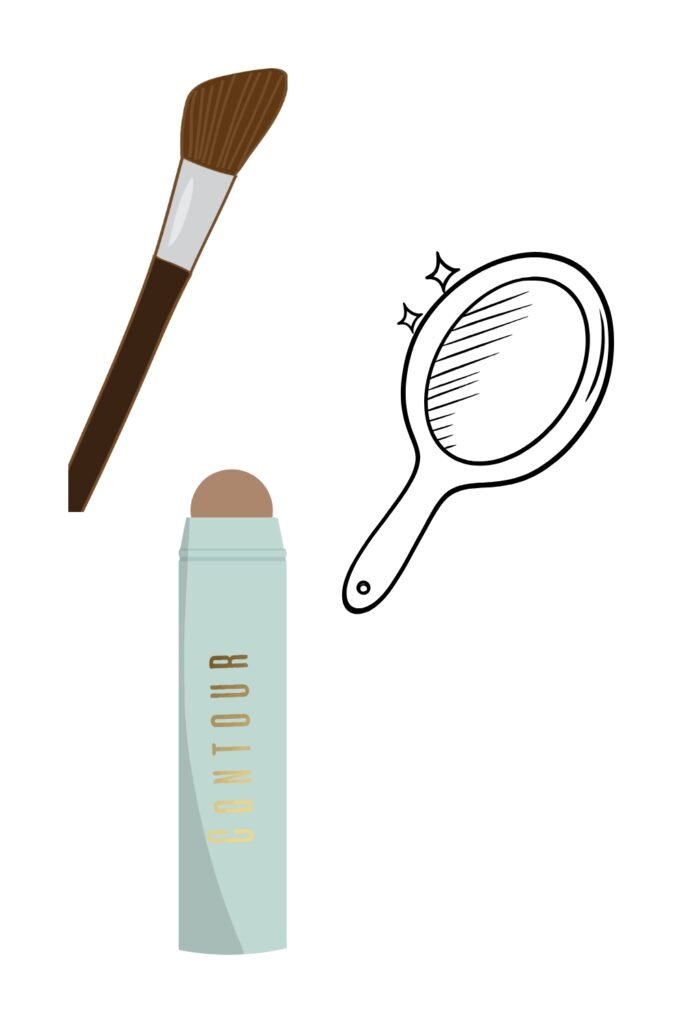
That’s it. Keep it very simple. Right tools will help your contour look sharp.
Step-by-Step: How to Contour a Round Face
You can follow these steps to create a well defined shape, add some definition and make your look sharp.
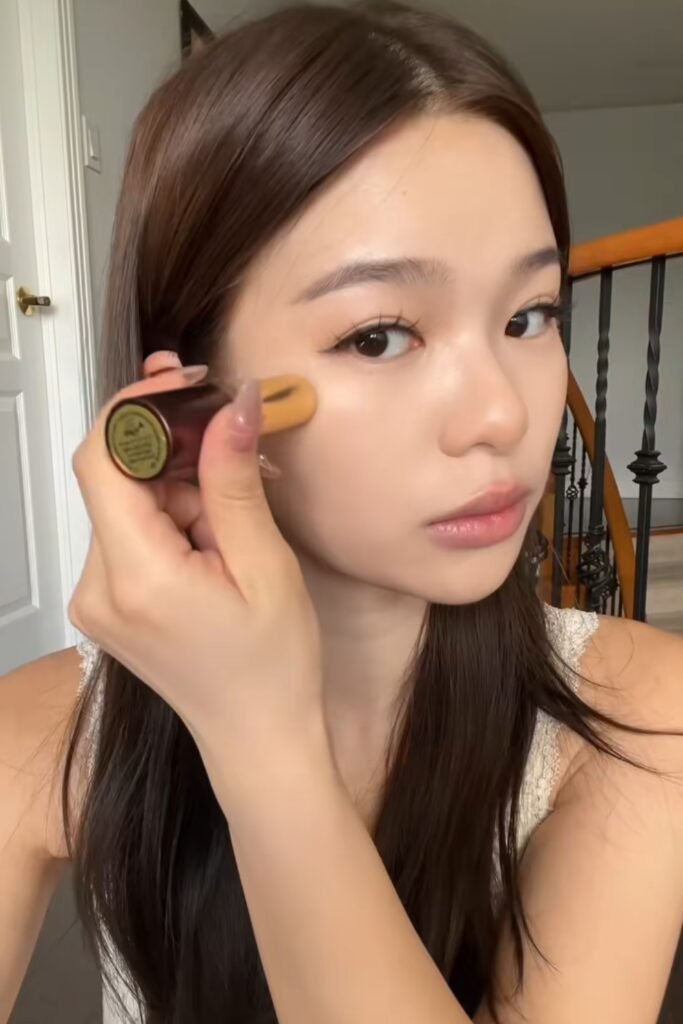
Step 1: Start with a Smooth Base
Before starting, you can wash your hands very well. Moisturize your face with moisturizer or primer.
Then apply foundation and concealer. Make sure everything is even and well blended.
It will help you to create a smooth base and keep the contour to stay in place.
Step 2: Map Your Contour
Firstly, choose a contour stick or powder. Draw a diagonal line from the top of your ear – just a bit above your cheeks hollow.
Do not go too low – it can put your features down. End your contour line halfway to your mouth.
Apply the Contour:
- Around the side of forehead
- Along the jawline
- Side of your nose
Step 3: Blend It Upward
Take your brush or sponge to blend your contour upward. Blending down can make your face look droopy.
Avoid blending in circles and dragging out the product too far – just soften the edges and keep it where you can place it.
Step 4: Highlight the High Points
For some shimmer, add some concealer and highlighter to following parts
- Under the eyes
- Centre of forehead
- Bridge of nose
- Chin
This type of contrast will enhance your contour and bring light to the centre of your face.
Step 5: Set It in Place
At the end, use a setting spray or powder to look your look – especially when you use creamy products.
What Is Vertical Contouring?
Vertical contouring is trending everywhere from tiktok to beauty blogs and it is a game changer technique for round face.
Instead of curved lines, it uses straight, lifted lines to create length and structure.
How it works
- Uses vertical lines to lift the face
- To add more roundness, you can skip skin temples and jawline
- Main focuses on upward motion
- To blend easily, use cream contour.
Why it is better for round faces:
- Traditional contour adds width to the face
- Vertical lines can create some length
- Over shape the structure
- Better lift for round faces
Product Tips by Skin Type and Undertone
| Skin Type / Undertone | Best Product Type | What to Look For | What to Avoid |
| Dry Skin | Stick or Cream | Hydrating,Blendable,dewy finish | Powder formulas |
| Oily Skin | Powder | Matte finish, long wear | Oily cream formulas |
| Combination Skin | Cream and light powder | Cream for some shape and powder to set it | Heavy layers and thick textures |
| Cool Undertone | Cream and powder | Taupe and shadow like gray brown shade | Warm and orange toned products |
| Warm Undertone | Cream and powder | Soft brown | Red and ashy tone products |
| Neutral/Olive Undertone | Any kind of formula | Balanced and neutral brown shades | Too red and yellow tone products |
Common Mistakes You Might Be Making
- Dark contours can make your face look harsh and muddy.
- Placing the contour too low can drag your face down.
- Blending badly can make visible lines on your face.
- If you skip the setting spray in the end then your contour can fade.
- Applying contour too close to your mouth actually makes your face look wider.
- Contouring the forehead or chin can add unwanted roundness to your face.
How to Make It Look Good in Daylight and Photos
For Daylight:
- Use lesser product
- Blended well
- Stick to cream formulas
- Skip the shimmer
In Photos:
- Apply some light contour
- Use extra powder
- Highlight the centre areas
- Adjust it before you leave
Conclusion
You do not need to change your face. You just need to understand the shape.
A round face is not the actual problem, it’s just the need for different techniques.
Keep your step simple, pick the right shades, make your line sharp and don’t overthink anything.