
25 DIY Compost Bin Outdoor Ideas for 2026
You compost to turn kitchen leftovers into something helpful, not to offer the rats a new area to eat.
But a loose lid, open bottom, or leftover food crumbs on the surface can rapidly make your DIY bin more hassle than you bargained for.
Soggy compost, foul smells and a bin that is hard to turn and the basic project suddenly feels complicated.
In this article, you’ll find 25 DIY compost bin outdoor ideas that help you recycle garden waste, and create nutrient-rich compost.
Let’s jump in!
How Can I Stop Rats Entering My Compost Bin?
First, make food inaccessible to rats. Make sure your compost container has a tight top and if animals may dig under, line bottom with ¼-inch hardware cloth.
Check sides and corners carefully as even a small space can be an access site. The EPA guidance advises that holes be no larger than 1/4 inch.
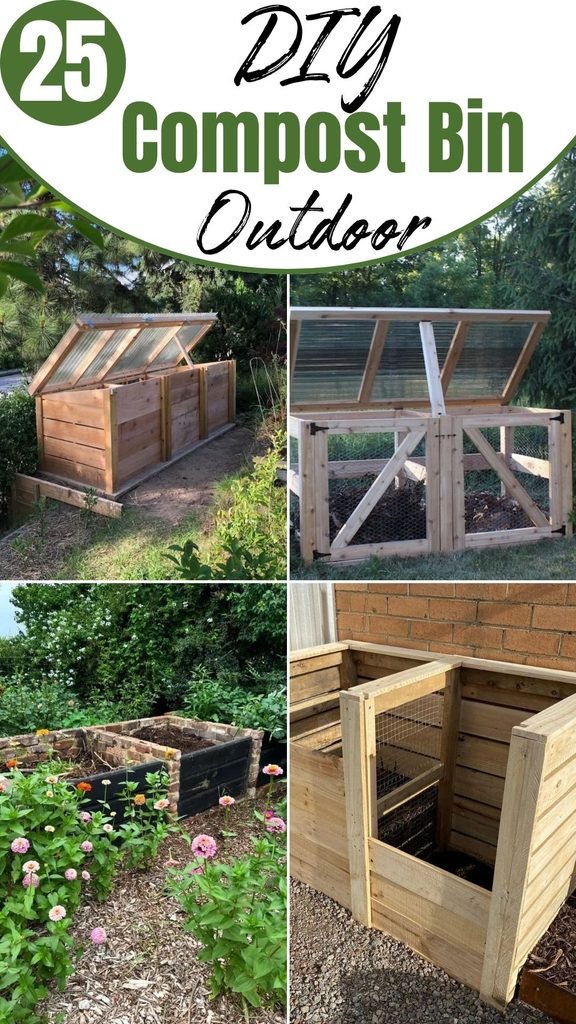
Bury fresh kitchen wastes into the mound and cover with several inches of dry leaves, crushed cardboard or other brown material.
Don’t add meat, dairy, bones or oily foods, as they may attract animals.
If you see signs of rats, go ahead and turn the pile and fix holes and remove other surrounding food sources that are simple to get to.
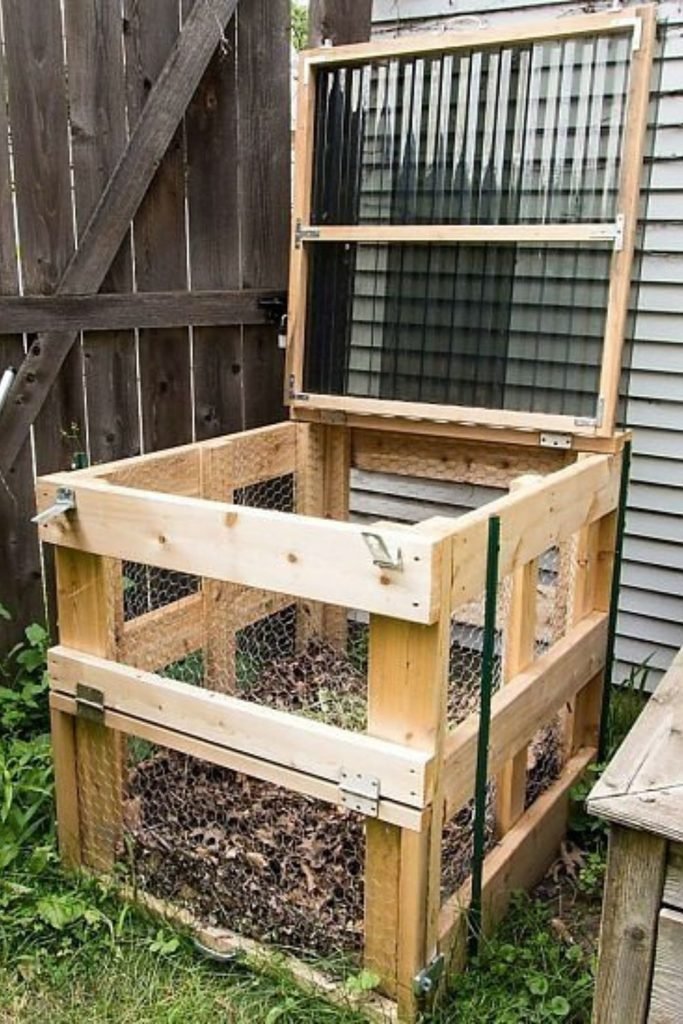
Screened Station
Keep compost contained without cutting off the airflow it needs by building a sturdy wooden frame and covering the open sides with fine wire mesh.
This is a wonderful set up for bigger backyards or next to vegetable gardens where you are routinely collecting leaves, grass clippings and kitchen trash.
Add doors on the front that open so you can turn and get the finished compost out without having to reach over the top.
A movable roof makes loading easier, as does the heavy rainfall control.
If you’re worried about rodents, instead of leaving easy digging access underneath, cover the bottom with hardware cloth with small openings.
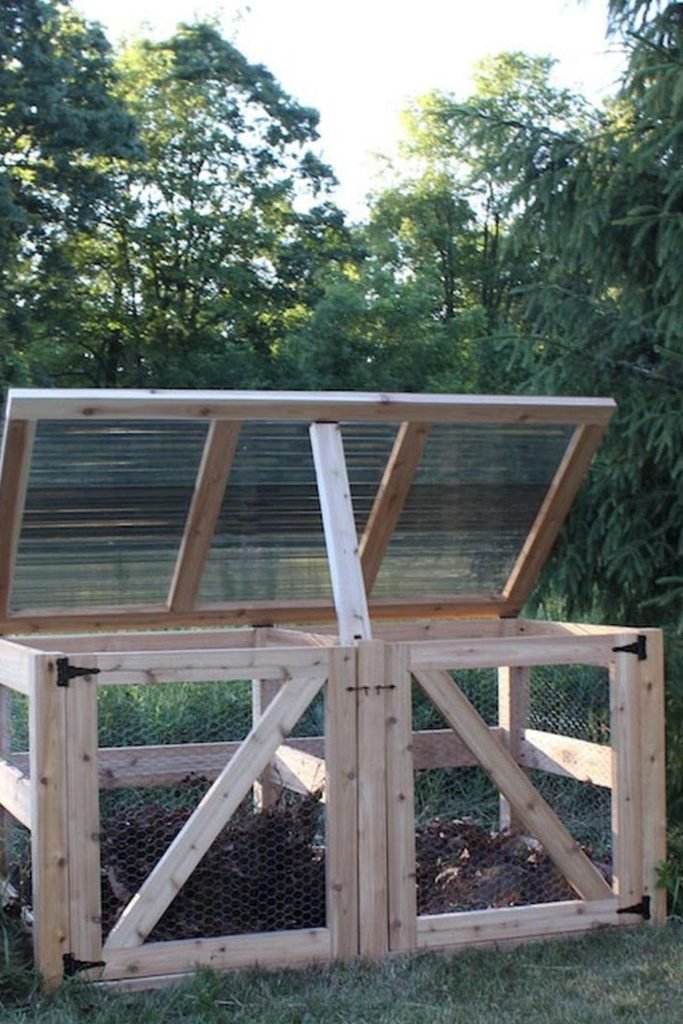
Rain Shelter
Heavy rain can throw off a compost pile quickly, so a roofed wooden bin works well in gardens that regularly get wet weather.
Build the sides with separated timber boards so the pile stays together but some air can get in .
Add a slanted hinged roof that sheds rain instead of trapping it within .
A clear or translucent roof is helpful if you want protection but don’t want the station to look big.
Allow room in front so you can turn and take out the compost easily and check on the pile during dry spells, as the covered arrangement may need watering now and again to maintain the proper moisture level.
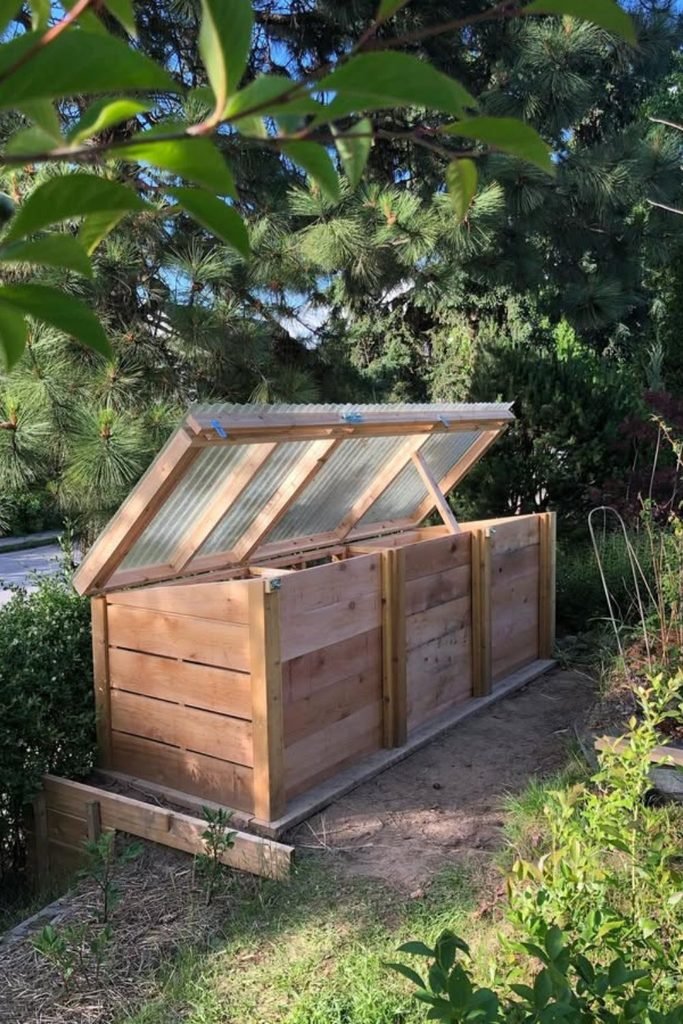
Brick Bays
Permanent compost bays make sense when your garden produces more waste than a small bin can handle.
Build individual compartments with reused bricks or blocks and fit removable timber boards across the front so that each bay can be opened.
One portion can accept fresh leaves and garbage, another pile keeps breaking down, so that the new material doesn’t continuously disturb the older compost.
Build a setup like this close to productive garden beds where completed compost is often used.
Leave adequate working room in the front for a wheelbarrow and pitchfork, and do not close in every side, as the pile needs air.
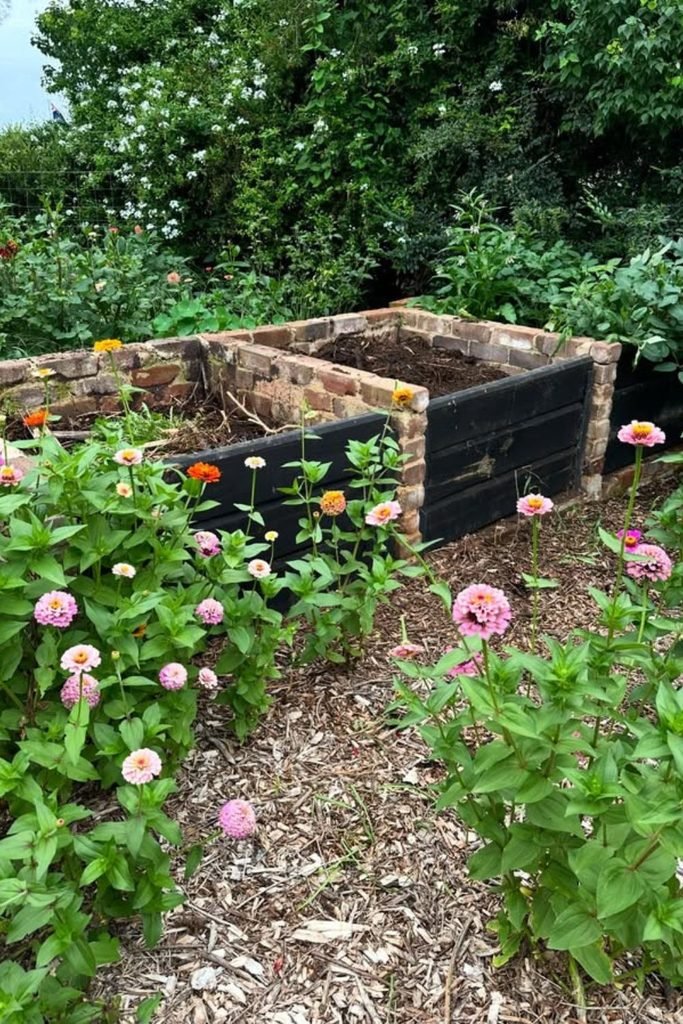
Split System
Separate bays keep compost moving without forcing you to mix fresh scraps into material that is already breaking down.
Use one side for new kitchen and garden garbage, whilst the second side is finishing up, then switch over once the first bay is full.
The building is easy to build next to a shed, garage or productive garden using timber planks, and small holes between the boards enable air get to the pile.
If you need ventilation between portions without loose stuff spilling across, use a mesh divider.
Be sure to make the fronts removable or partially open so that it is manageable to turn and dump completed compost into a wheelbarrow.
Triple Rotation
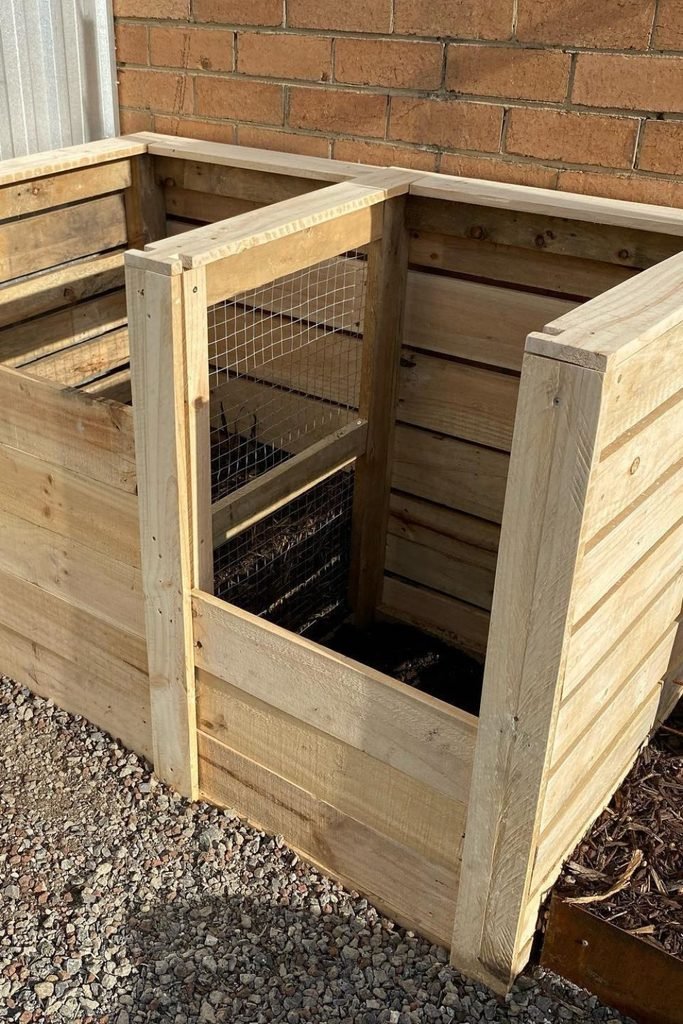
Large gardens produce enough leaves, clippings, and spent plants to overwhelm a single compost pile, so three bays give you room to keep each stage separate.
Fill the first area with fresh material, transfer half decomposed compost to the second and leave the last for material that is almost ready to use.
Make each bay broad enough so you can turn around easily. Leave small spaces between the horizontal boards so air may circulate.
An open-top design is good for a protected garden space, but if heavy rain routinely leaves your compost soaked, adding removable covers can assist.
Living Cover
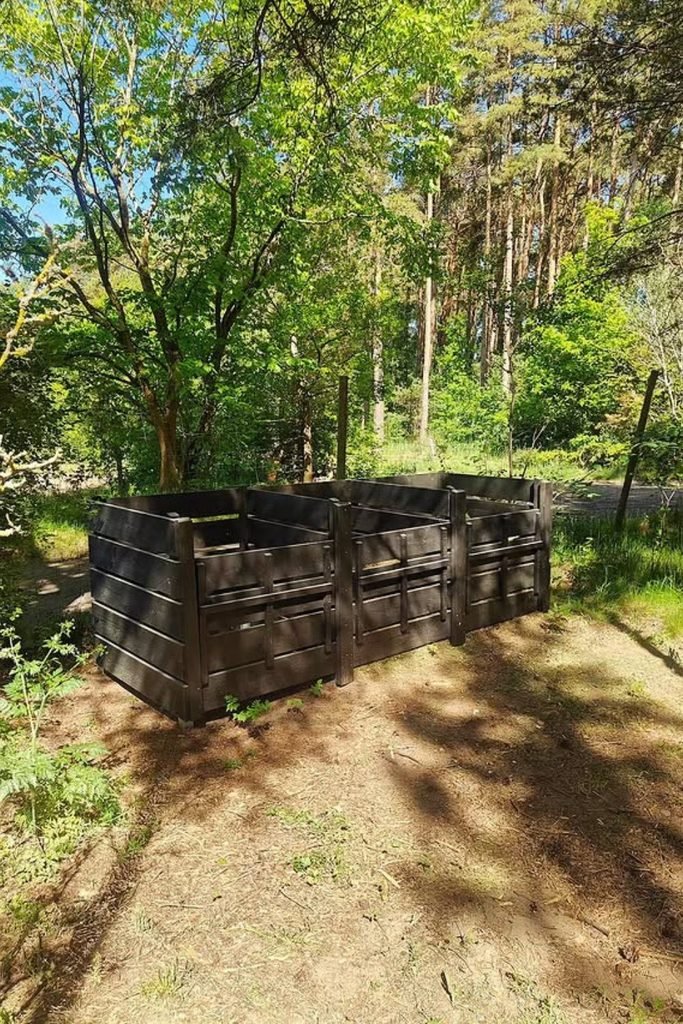
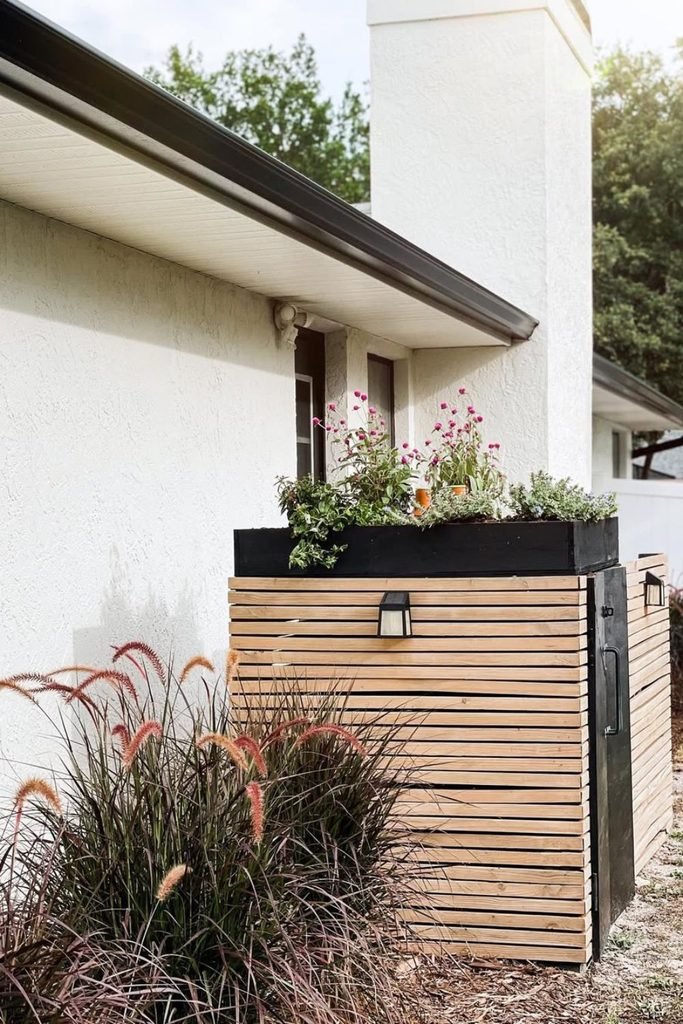
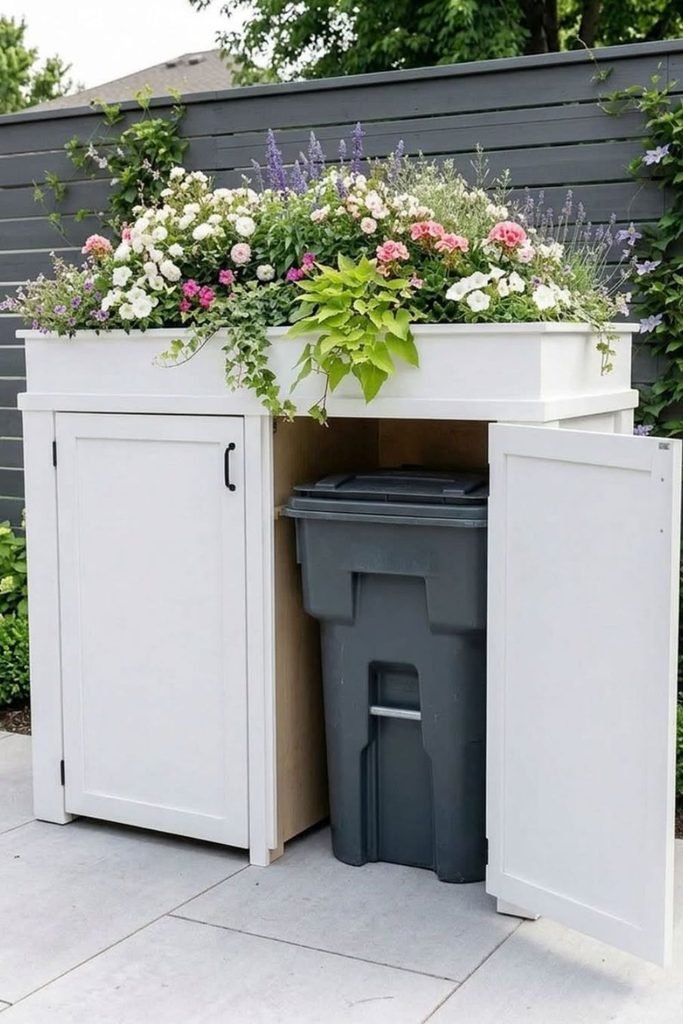
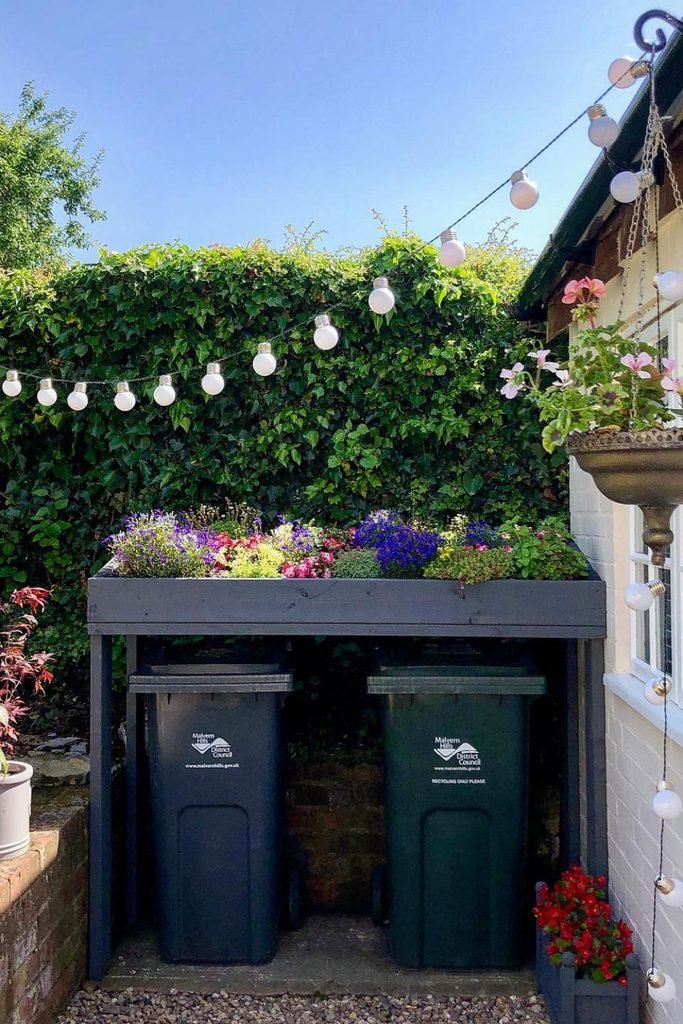
Turn a compost or waste-storage corner into part of the garden by building a slatted wooden surround with a shallow planter across the top.
It’s especially great next to patios, side yards or other places where simple dumpsters look out of place.
Pick a robust frame that can carry the weight of wet soil, line the planter separately.
So water isn’t continuously running onto the bins, and go for shallow-rooted herbs, succulents or compact flowers.
Keep the front open so you can easily roll containers in and out and the spaced side boards provide screening without the structure feeling entirely closed.
Lidded Bays
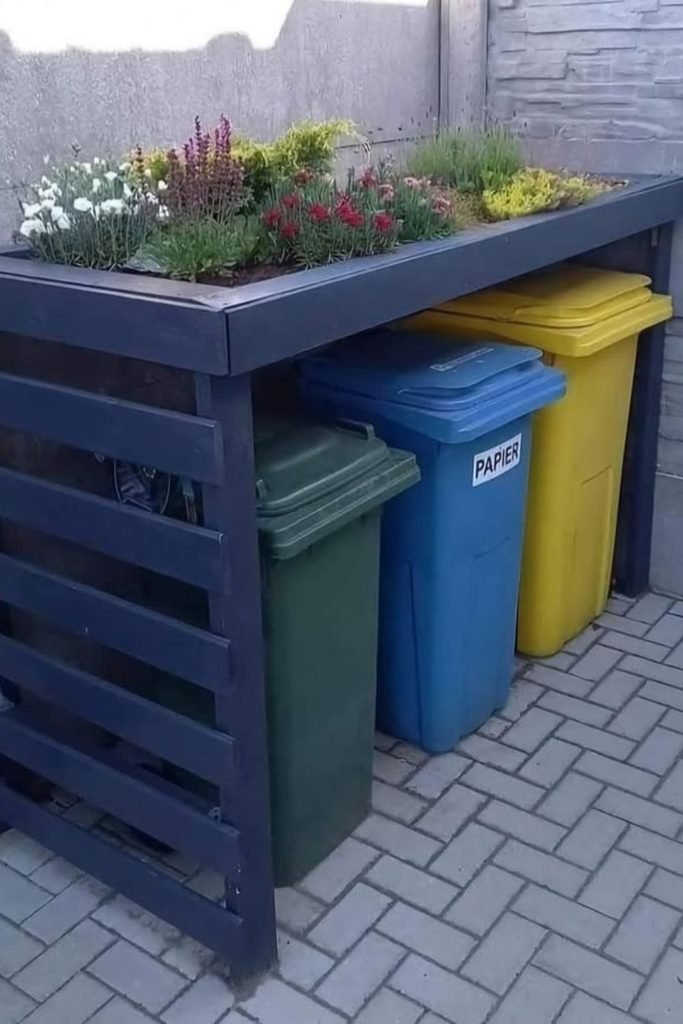
Separate lids give you better control when each compost bay is at a different stage.
Open one part, add additional scraps into it, close it and move to the next bay when it’s full.
Slatted timber walls include holes to allow air to circulate through piles, making them ideal for big gardens with a constant supply of leaves, grass and plant.
Construct each lid on robust hinges so that you can raise it easily without taking off the whole cover.
Access panels from the front make it much easier to turn and harvest than digging down from the top.
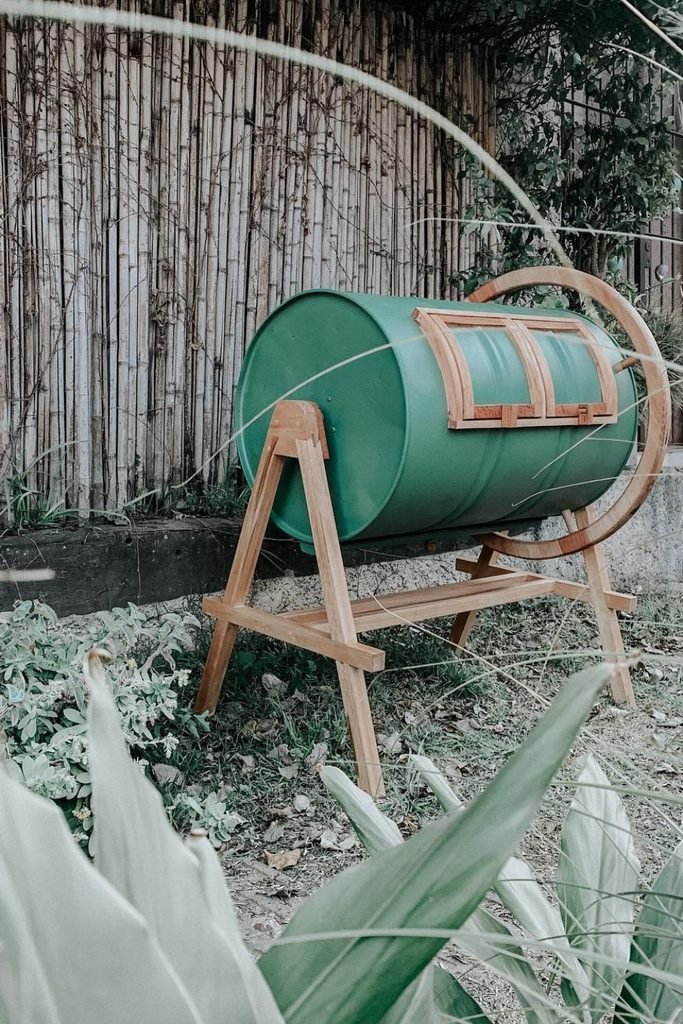
Barrel Tumbler
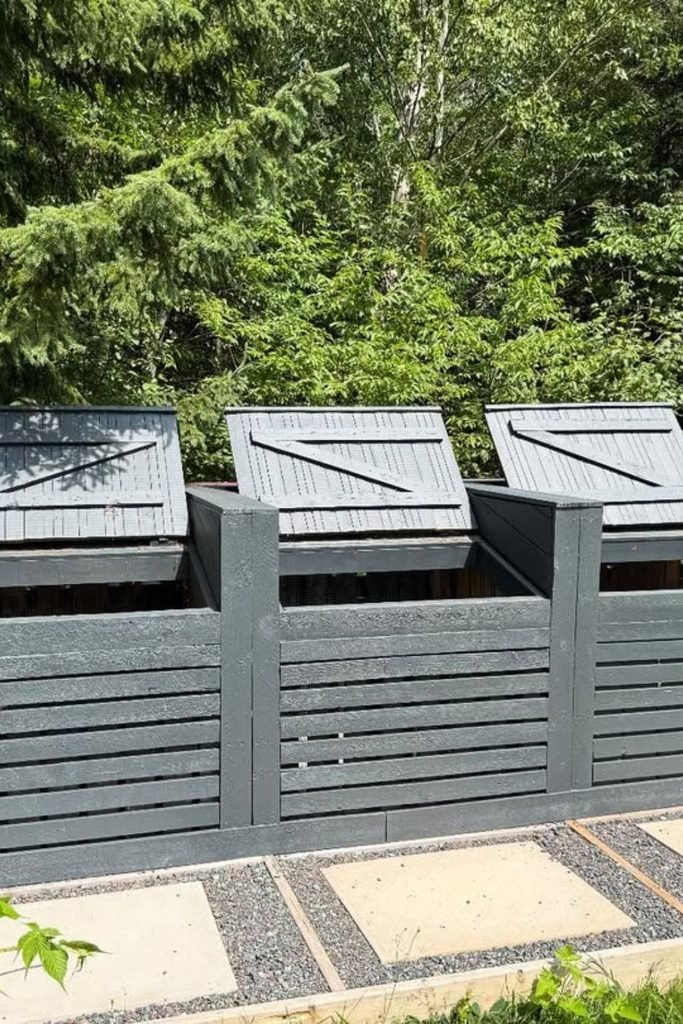
Skip the heavy pitchfork turning when you want a compost system that can be mixed with a quick rotation.
Place a solid barrel horizontally on a strong wooden frame and then attach a wide, secure hatch so kitchen scraps.
This design is an excellent choice for small backyards where a pile would take up too much space.
Drill small holes around the barrel for ventilation but not so many that the contents dry up rapidly.
Keep the barrel balanced on its supports, especially when wet compost adds a lot of weight.
Harvest Door
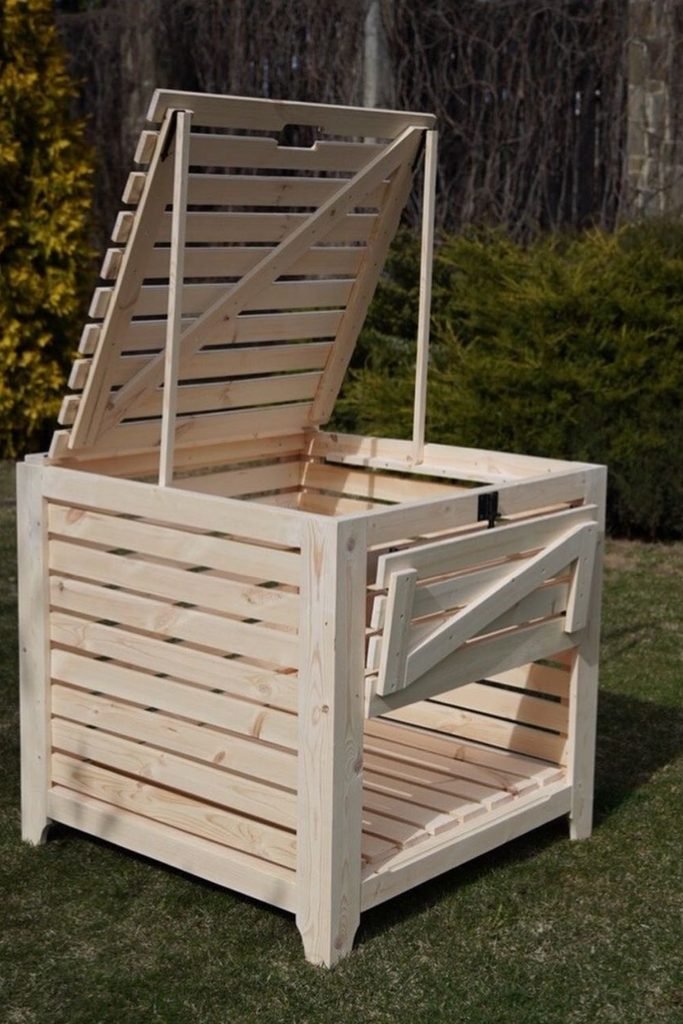
Digging finished compost out from the top becomes frustrating once a bin fills, so build access into the lower front from the beginning.
The moveable door gives access to older material at the bottom as the fresher pieces break down on top.
Pair it with a larger top lid for ease of loading, and leave small gaps between the wooden slats to allow the pile to breathe.
This design is a good fit for medium-sized backyards where you desire one permanent bin instead of multiple bays.
Make the gap at the bottom large enough for a shovel or small container.
Use robust hardware, soggy compost can press against the door with a fair amount of weight.
Metal Bays
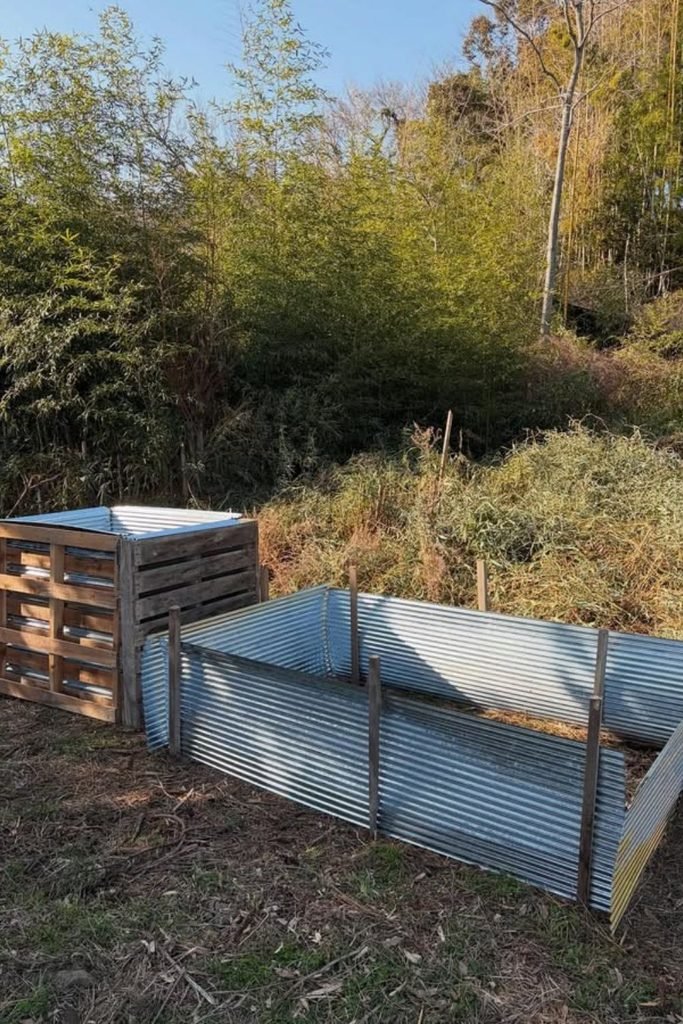
Gardeners dealing with bulky leaves, weeds, and seasonal cuttings need more capacity than a compact household bin can provide.
Use corrugated metal sheets fastened to stout timber supports to create huge bays without the need for thick wooden walls, great on larger plots or near woodland gardens.
Split the enclosure into sections so fresh material can be kept apart from heaps that are already breaking down.
Leave one front panel removable so a wheelbarrow and garden fork may reach close when you turn or empty each section.
Since solid metal hinders airflow on the sides, don’t overstuff the contents and include some chunky twigs or other heavy materials to keep the air moving.
Pallet Station
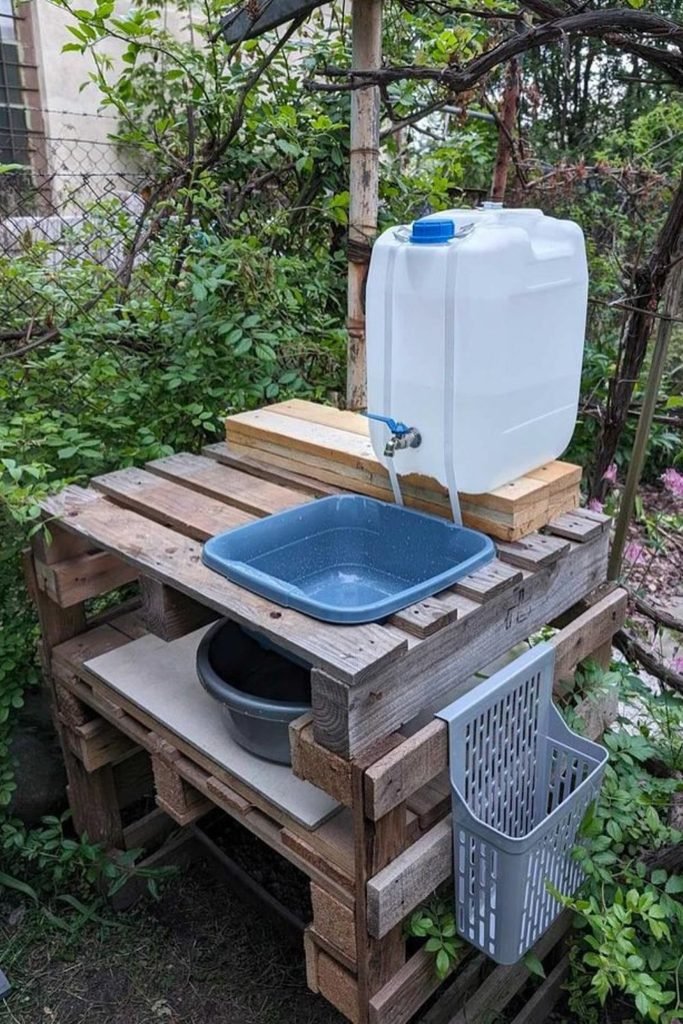
Make garden chores easier by turning reclaimed pallets into a small work station beside your composting area.
A raised platform provides a place to sift scraps, shred cardboard, rinse containers or prepare items before it hits the pile.
If your compost pile is a distance from an outdoor faucet, use a basic water container with a tap so you may moisten dry layers without pulling a hose across the yard.
Buckets and tools are stored together on the shelves below, and a side basket can contain gloves or small supplies.
Select sound, untreated looking pallets with a known treatment history. Keep the lumber up off of frequently moist ground to make it live longer.
Covered Rotation
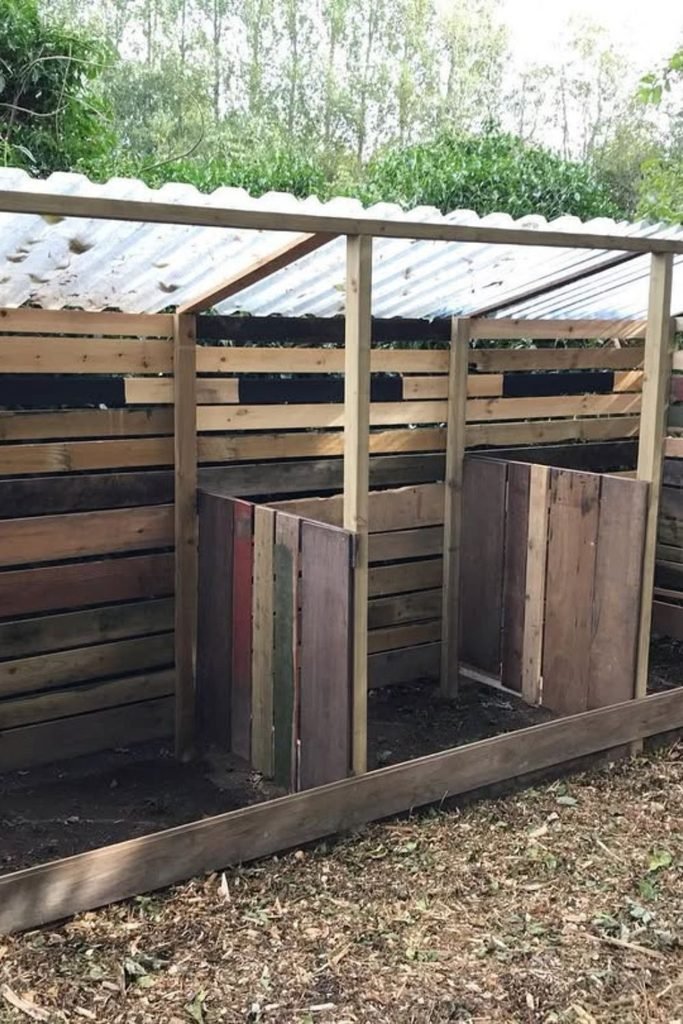
Year-round composting gets easier when every stage stays under one shared roof.
Construct three generous bays for fresh garbage, active compost and material nearing completion.
And cover the whole building with slanted corrugated panels to keep the piles dry during heavy rain.
Reclaimed boards can also save you money on building expenditures .
This larger system is ideal for prolific gardens that produce a lot of leaves, grass and plant trimmings during the season.
Keep the fronts open or use detachable boards so you may move compost from one bay to the next without struggling around permanent walls.
Brick Venting
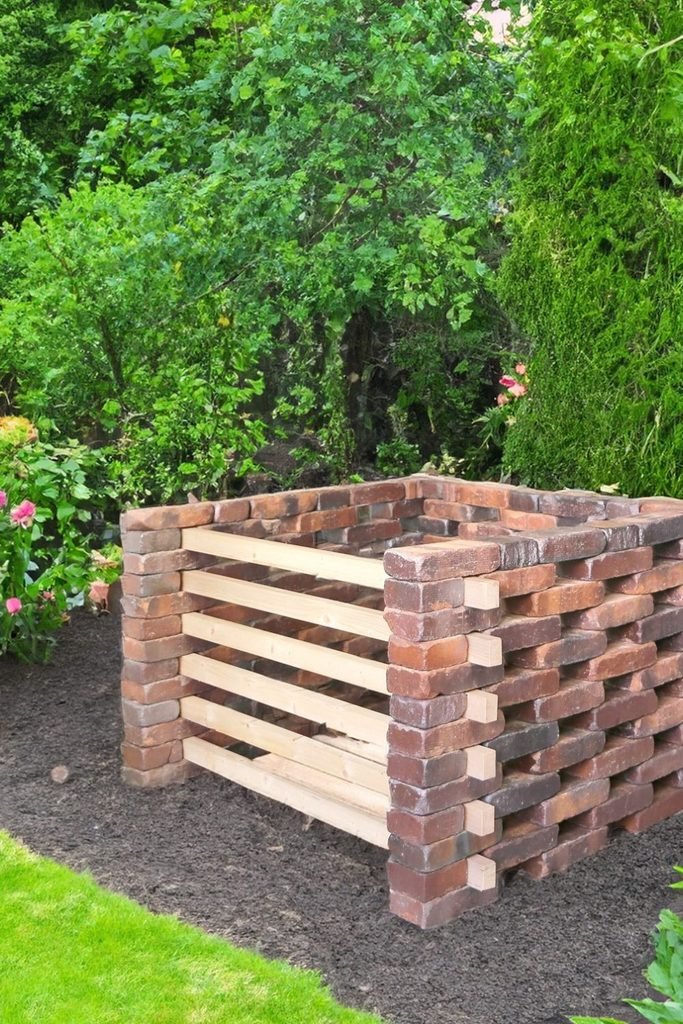
Reclaimed bricks can give you a compost bin that lasts for years without depending on timber walls that eventually rot.
As you create the sidewalls, stagger some bricks or leave narrow openings to allow air to get to the pile rather than locking it inside solid brickwork.
This is particularly useful in established gardens if you want the compost space to appear permanent and harmonize with brick edging or older landscaping.
You can pull one board at a time to get at the lower compost easily, while keeping the remainder of the pile contained.
Picket Enclosure
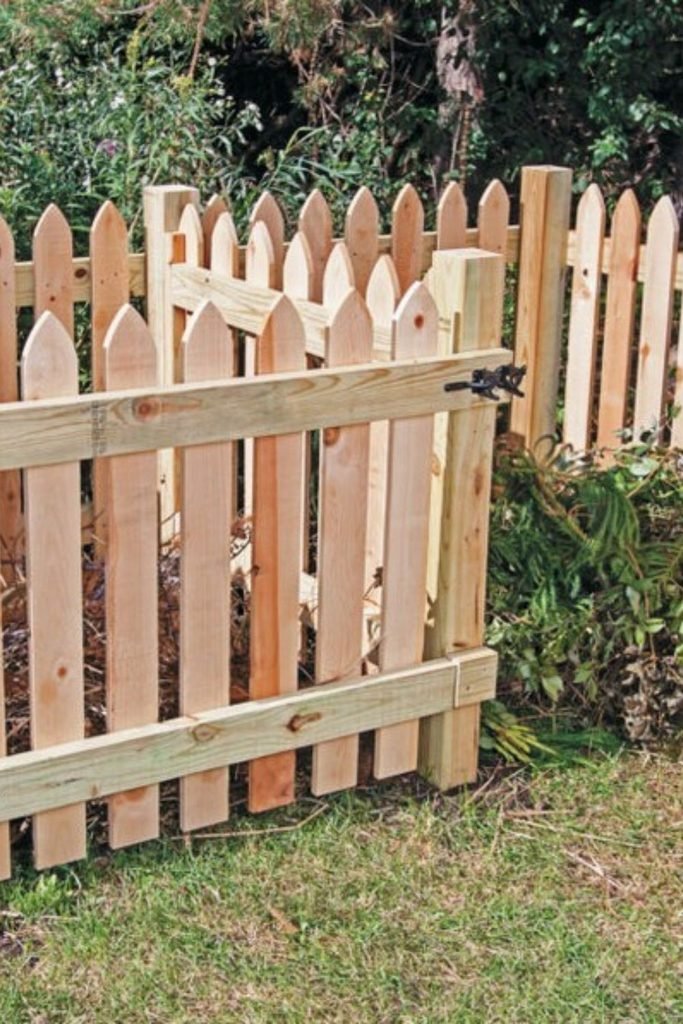
Make a compost area feel less utilitarian by borrowing the same picket style used around flower beds and cottage gardens.
This is excellent when the bin is placed somewhere noticeable and you want it to blend in with the rest of your landscape rather than fully hiding it.
Build the enclosure from spaced vertical planks to permit air to circulate through the pile and then attach a full width front gate.
For easy access with a wheelbarrow or garden fork. Bury food scraps under heaps of brown stuff.
If you have a lot of rodent traffic in your yard, add the fine hardware cloth to the interior.
Timber Beds
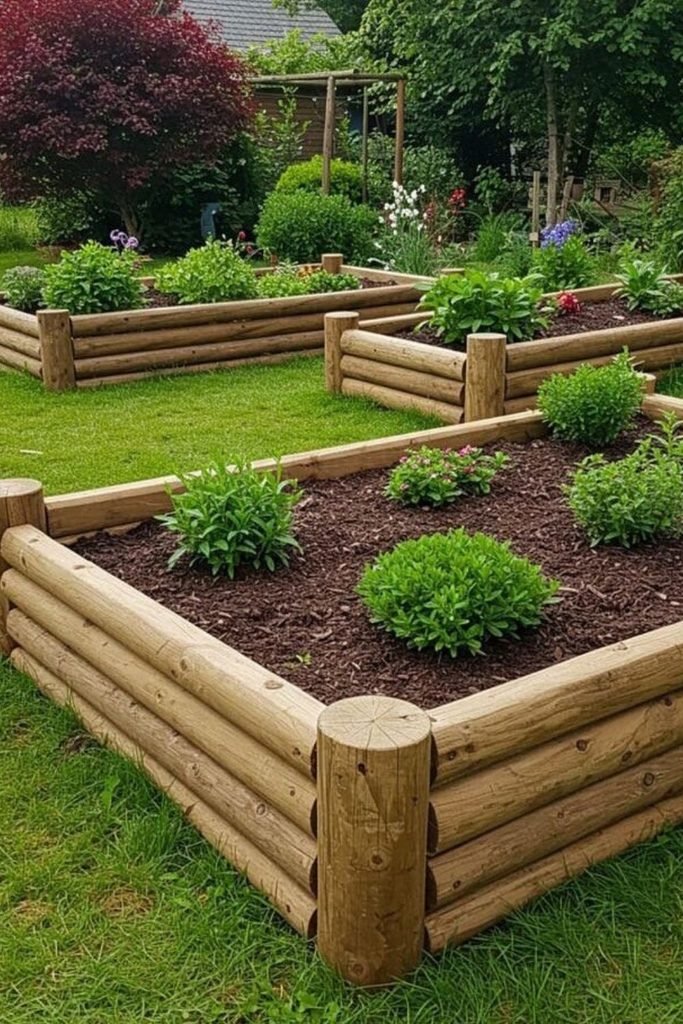
Keep finished compost working close to where you need it by using sturdy timber-framed beds for flowers, herbs, or vegetables.
This system is ideal for larger backyards because you can locate a compost station nearby and carry each finished batch directly to the growing beds.
For rich, lasting borders, build up layers of rounded landscape timbers between sturdy corner posts.
Then add in some mature compost to the top soil, rather than filling the bed entirely with raw stuff.
Leave grass or any other solid surface between the beds so that a wheelbarrow may easily pass through when it is time to spread another batch.
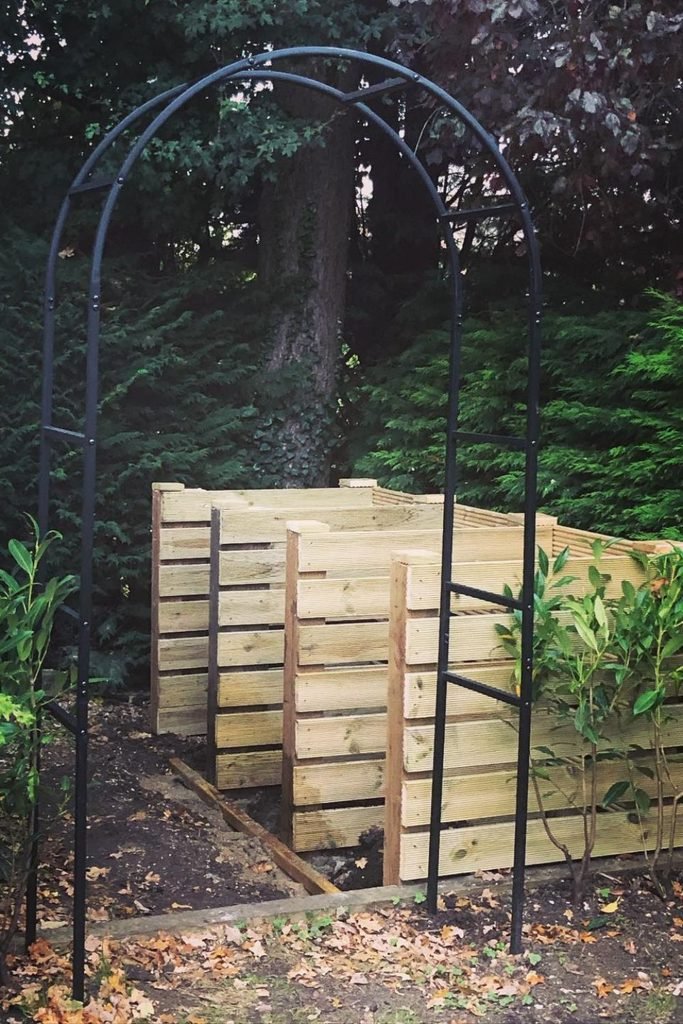
Garden Screen
Let climbing plants do some of the hiding when your compost area sits in a visible part of the backyard.
Position a basic arch or trellis in front of a slatted wooden bin and train an appropriate vine over it to soften the view.
This is especially good along garden walkways or between attractive beds where an unsightly utility container would be obtrusive.
But keep the actual compost construction away from the trellis so you can still reach every side for repairs and rotation.
Make a clean passage through the front as well because it is hard to carry buckets and move finished compost when plants crowd the entry.
Gabion Planter
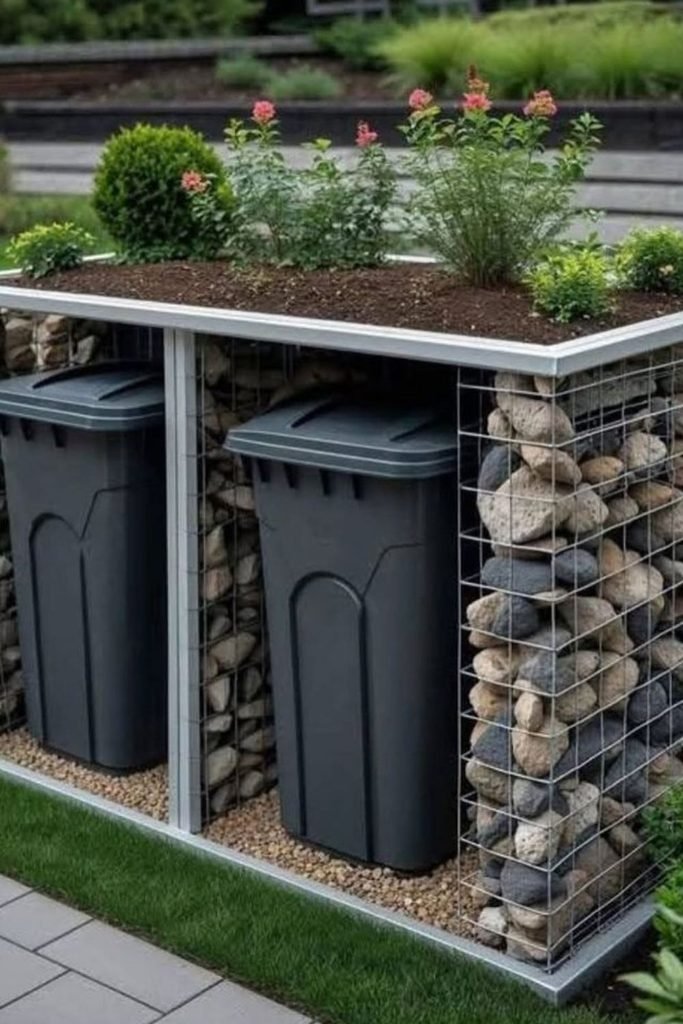
Give a visible composting corner a more finished look by building a gabion-style surround that doubles as a planting bed.
Fill sturdy wire cages with local stones and make a shallow planter on top for compact shrubs, herbs or flowers.
This solution works great for patios and planted backyards where regular plastic compost bins sometimes look out of place.
Leave the front entirely open, so individual bins may be pushed out for emptying or cleaning.
Garden Loop
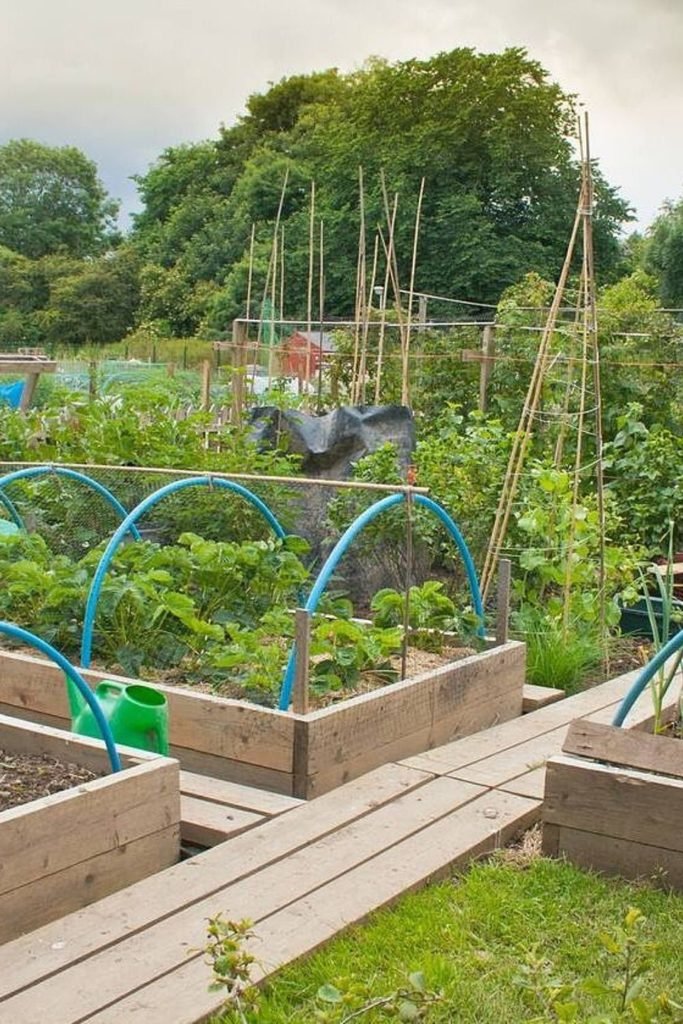
Put finished compost to work without carrying it across the whole yard by keeping your composting area close to raised vegetable beds.
This design works especially effectively in allotments and bigger kitchen gardens where plants are continuously in need of fresh organic matter.
Place the bin at the end of a main walkway, so you can simply wheelbarrow material back and forth between the compost and planting beds.
Do not put unfinished scraps immediately around crops, but use mature compost as a top dressing or mixed into the top soil before planting.
It is easy to bring harvested spent plants and healthy garden trimmings to the compost pile because the complete system may be kept connected.
Modular Bays
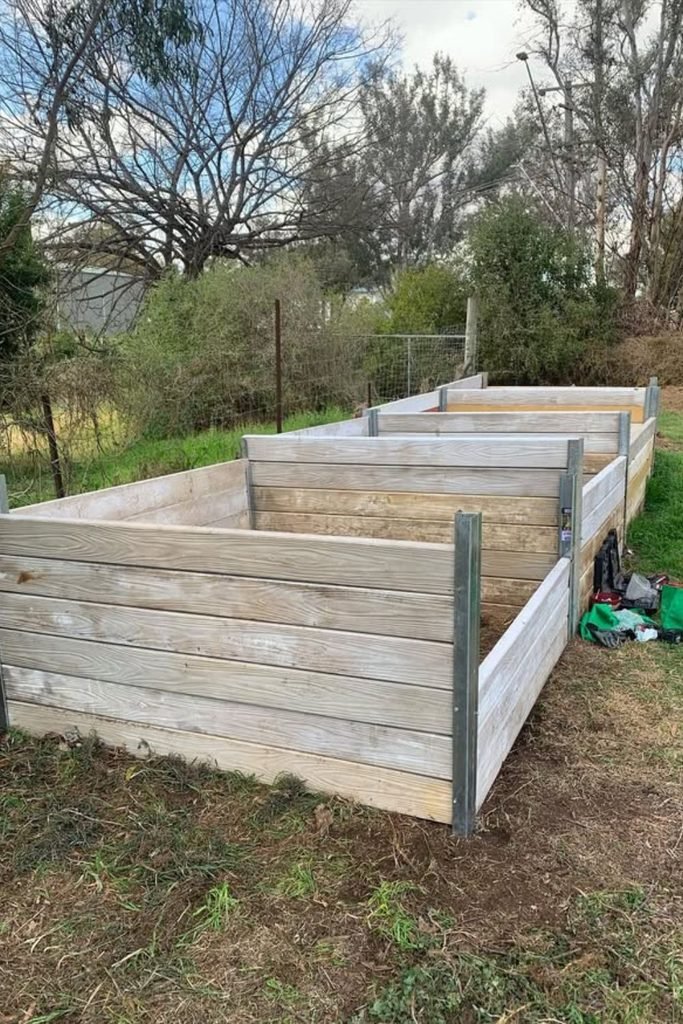
Scale your composting setup as your garden produces more waste instead of rebuilding everything later.
It’s made up of long timber planks secured between robust metal channels to make individual bays that can handle leaves, grass clippings, crop debris.
Begin by filling one part; when it is full, move on to the next and allow the previous pile to decompose without further additions.
Removable front boards make it a lot easier to empty the system using a fork or wheelbarrow.
Keep a clean working route along the bays and don’t pack the fresh material in too tightly, as the larger heaps still require air to circulate through them.
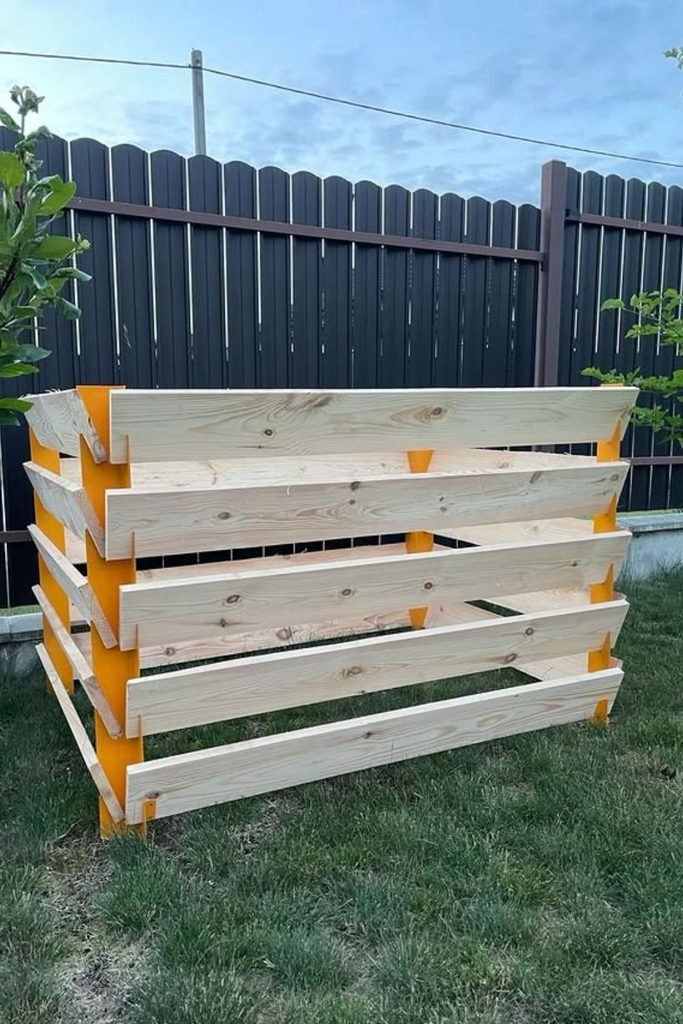
Slatted Crate
Save money on a first compost bin by using wide timber boards and simple corner supports instead of building a complicated enclosure.
The big gap between the slats allows air in from multiple directions and is great for dry leaves, grass clippings and other heavy garden trash.
Place this in a flat spot with good drainage where you can go in with a fork.
If you are adding kitchen scraps as well, be sure to line the inside and bottom with hardware cloth with small openings and bury fresh food.
Patio Cabinet
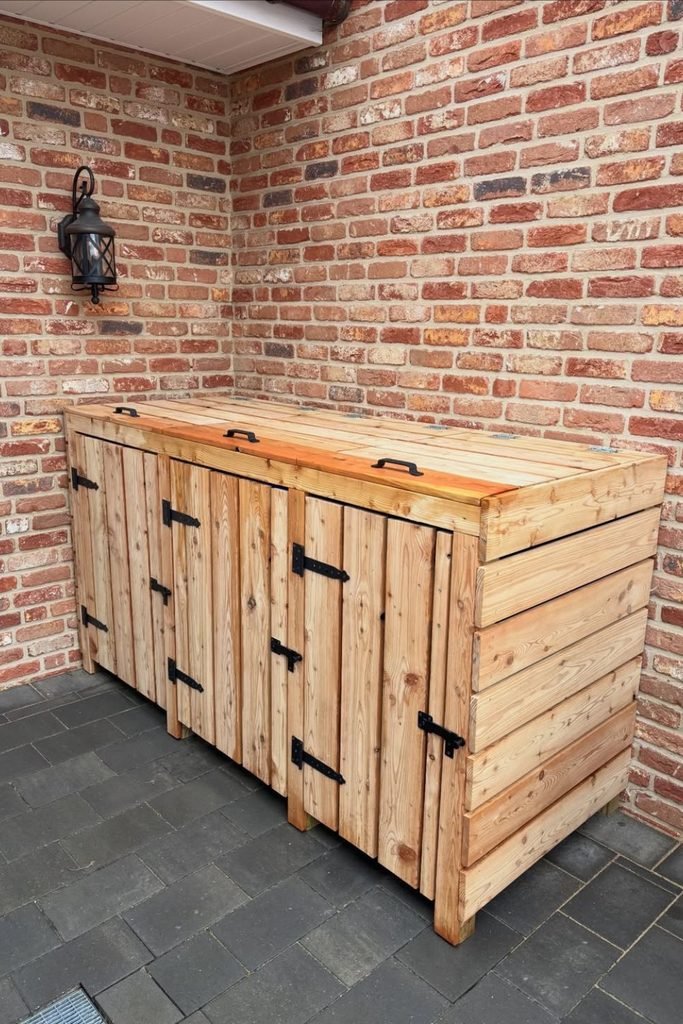
Keep compost containers close to the house without leaving an untidy setup in full view.
Make a timber cabinet with separate front doors and top opening lids so that you can put scraps from the top and then pull bins.
This design is perfect for covered patios, side doors or paved utility areas where style is as important as practicality.
Rather than entirely enclosing the cabinet, leave holes for ventilation on the sides or back, and use latches that are secure if pests are a problem.
Since the unit is close to the home, check for wetness and bury fresh garbage under browns before odors develop.
Woven Bin
When you wish to reuse materials currently coming from your yard, make a compost cage using flexible branches or garden prunings.
Long, flexible stems weave between strong upright poles, leaving the sides tight enough to hold leaves and trimmings, yet still plenty of room.
This rustic design is particularly good in woods, cottage and natural style gardens since it disappears into the flora instead of looking like a utility box.
If you have a rat problem, save it mostly for garden debris. Those weaved gaps don’t do much to keep your food leftovers safe.
Pallet Shelter
Free pallets can do more than just form the walls of a low-cost compost facility that has some weather protection.
Stand sound pallets upright to create the enclosure . Use spare boards to create a simple sloping roof to assist avoid heavy rain from soaking the pile .
This arrangement is suitable for bigger backyards when style matters less than volume and ease of installation.
Allow air space between the pallet boards, but if you are putting kitchen scraps within, place hardware cloth around the lower edges and base.
Block Station
Build with concrete blocks when you want a compost setup that can handle years of damp material without wooden walls slowly rotting away.
Two huge bays are perfect for larger gardens, so you may fill one with fresh garbage while the other pile continues to decompose.
Leave small openings between selected blocks to facilitate air flow. Keep the front lower or removable so that turning the pile does not mean lifting.
Set the building on a firm, well-drained base, and add a basic cover, if your area has severe rain.
Corner Composter
Tuck composting into an unused garden corner when you want plenty of capacity without giving up the center of your yard.
Build two timber sides to the space provided and then use horizontal slats with tight gaps so air may continue to move through the pile.
The hinged front panel makes a great difference here since you can drop it down when turning compost instead of reaching over towering walls.
Do not place the construction too close to existing fences or buildings and do not use them as compost barriers.
FAQs
Should Compost Bins Sit Directly On The Ground?
If you site your bin on bare earth, excess moisture can drain away and worms and other decomposers can get into the pile easily.
If rats or mice are an issue, cover the base with ¼-inch hardware cloth before placing the bin in position.
You still have drainage, but makes it much more difficult for rodents to burrow their way in.
Can I Keep Adding Scraps Until My Bin Fills?
Yes, but if you keep throwing in fresh scraps, the whole pile will not finish at the same time.
Once the bin is filled, stop adding fresh material and allow it to decompose.
If you have scraps every week in your family, a two-bin arrangement works better because you may have one filling up while the other is composting.
