Enchanted Forest Birthday Party
Last year, I helped set up a woodland-style birthday, and I learned fast that greenery, warm lights, and tiny forest details can change the whole mood.
Getting an enchanted forest theme right can be tricky because too much decor starts feeling messy, while too little can leave the setup looking unfinished.
In this article, I’m sharing 24 enchanted forest birthday party ideas you can use for decorations, food, tables, and activities.
Let’s jump in!
How To Plan An Enchanted Forest Party?
Start by choosing one clear forest mood, because I think mixing too many woodland styles can make the setup feel scattered.
Pick a simple color palette with greens, browns, cream, and one softer accent so your decorations stay connected from table to backdrop.
Next, plan your biggest pieces first, and I’d spend more effort on the entrance, main table, and cake area than tiny fillers.
Keep lighting warm with string lights, lanterns, or battery candles, since harsh overhead lighting can flatten the cozy forest feeling fast.
Work in natural-looking details like moss, branches, mushrooms, leaves, and wood textures without crowding every surface you have.
Finally, leave enough open space for guests to move around, because I’ve seen beautiful party setups become annoying once chairs and people arrive.
Enchanted Forest Party Backdrops
I’d make the backdrop one of your main focal points, using greenery, vines, mushrooms, trees, or warm lights to build the forest mood.
Keep the base fairly simple, then add one or two stronger details so the setup feels layered without turning into a crowded photo wall.
1. Fairy Garden
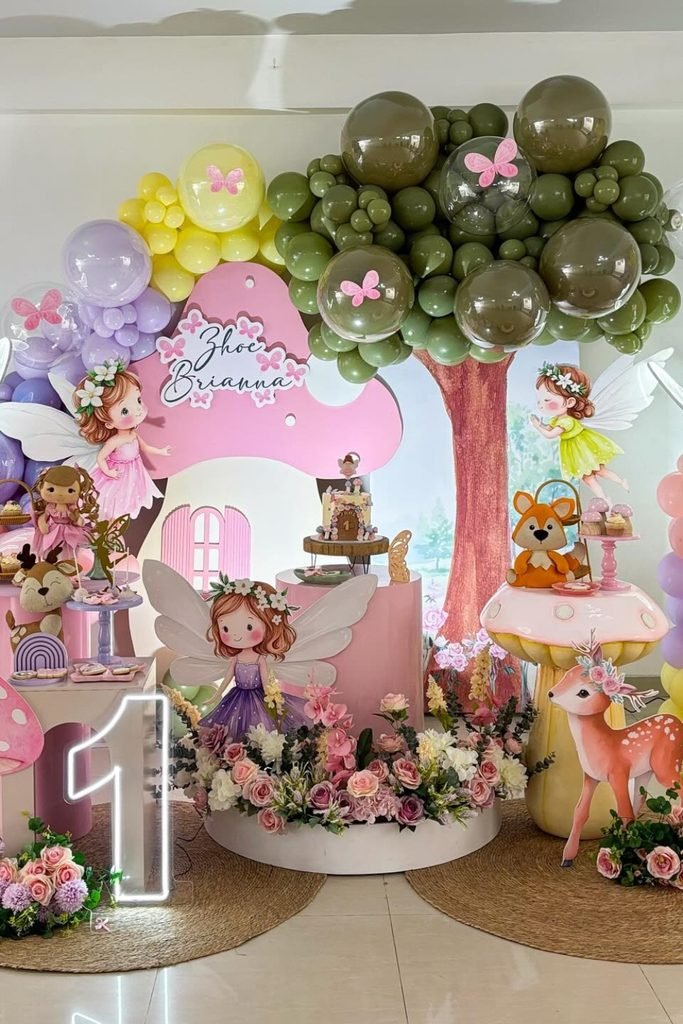
Pink mushroom props and fairy cutouts give you plenty of visual anchors, but I’d keep the balloon tree as the strongest backdrop feature.
Clear balloons with butterfly inserts are a smart swap for extra hanging decor, and I like how they keep the upper area airy.
Large floor mushrooms can become tripping points near active kids, so I’d leave at least three feet of open space around them.
2. Hedge Balloons
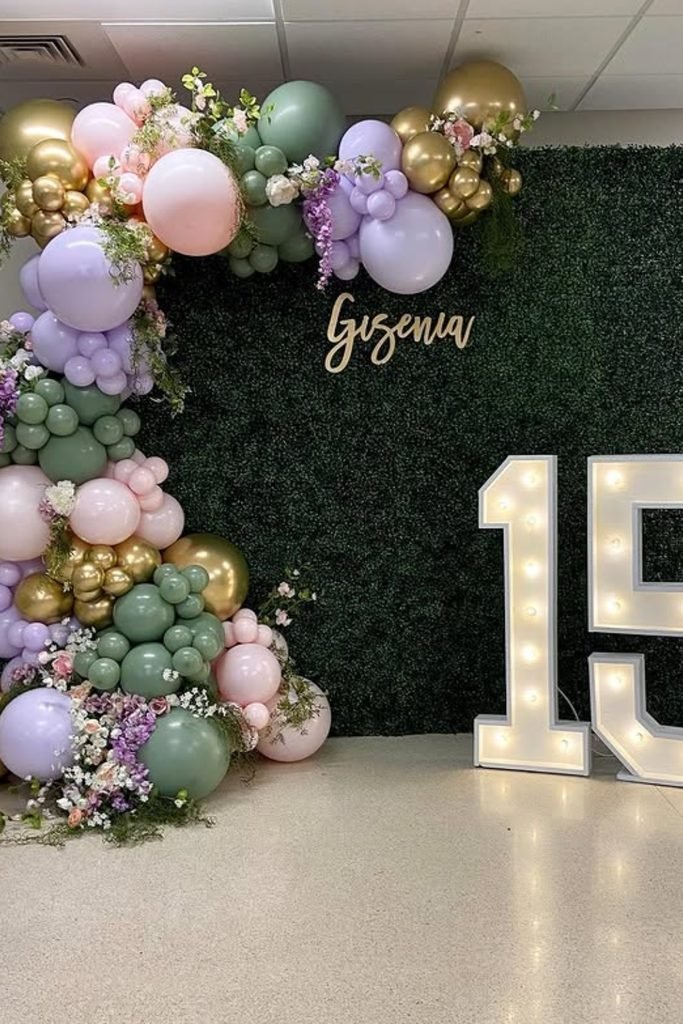
Pastel balloons against a dark hedge wall work because the contrast reads clearly in photos, and I’d keep the greenery mostly uncovered.
Marquee numbers usually need nearby power access, so I’d plan the outlet route before decorating instead of hiding extension cords afterward.
Personally, I’d skip some gold balloons here and repeat more sage instead, since softer greens sell the forest theme more convincingly.
3. Forest Portal
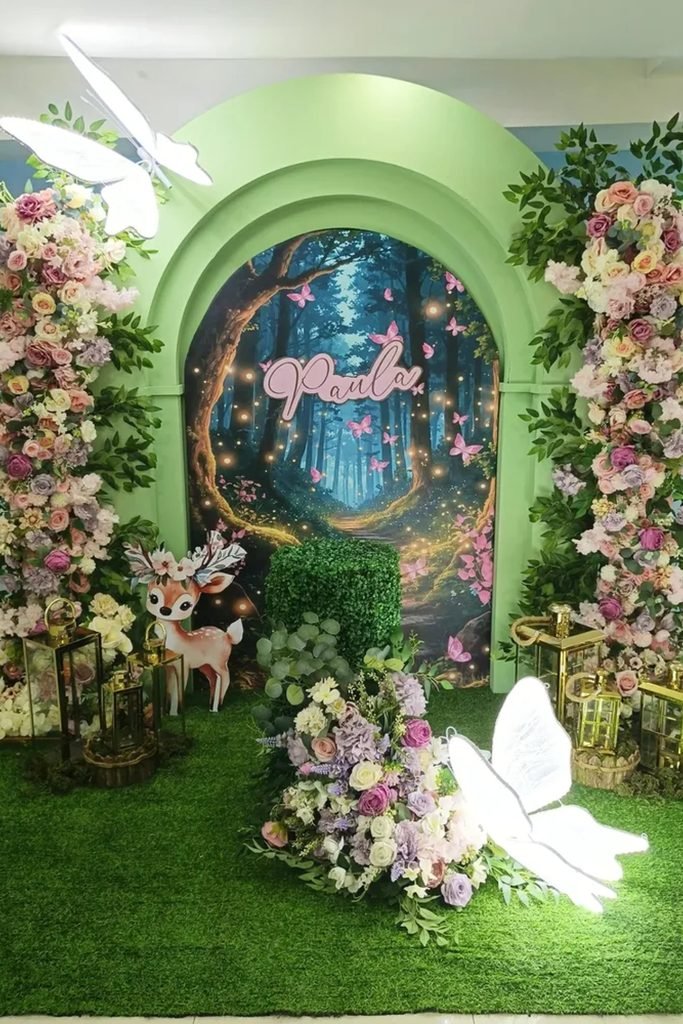
Layered green arches around the printed forest scene give the backdrop depth, and I’d use them whenever your venue wall feels too plain.
Floral columns can take longer to balance than they appear, so I’d allow thirty extra minutes for adjusting stems and hiding supports.
Glowing butterfly props are enough for me near the floor, because adding more illuminated pieces would compete with the woodland print behind.
4. Woodland Arch
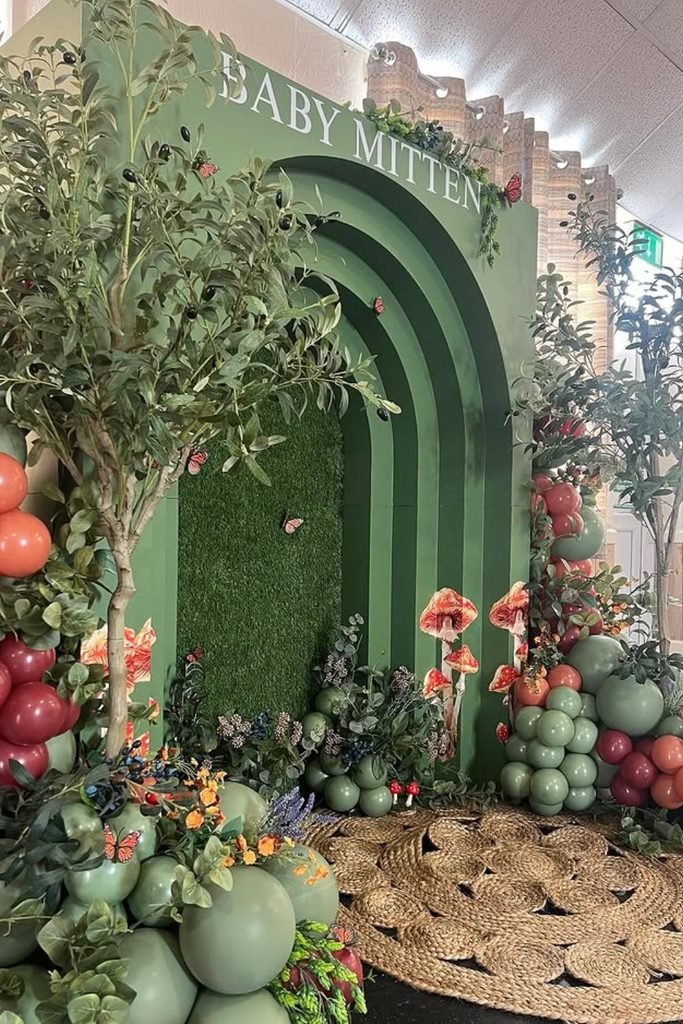
Deep green arches, faux trees, and clustered mushrooms create a richer woodland base, and I’d choose this palette for an older child’s party.
Artificial tree branches can spread wider than expected, so I’d measure the backdrop footprint first and keep leafy tips away from walkways.
Rattan floor mats soften the staging nicely, although I’d remove any loose overlapping edges because heels and running feet can catch there.
Enchanted Forest Birthday Cakes
Woodland-inspired cakes work best with earthy colors, mushrooms, leaves, flowers, or tiny forest details, and I’d keep the design charming rather than overloaded.
I’d match the cake to your backdrop colors so the dessert table feels connected instead of becoming a completely separate theme.
1. Woodland Cake
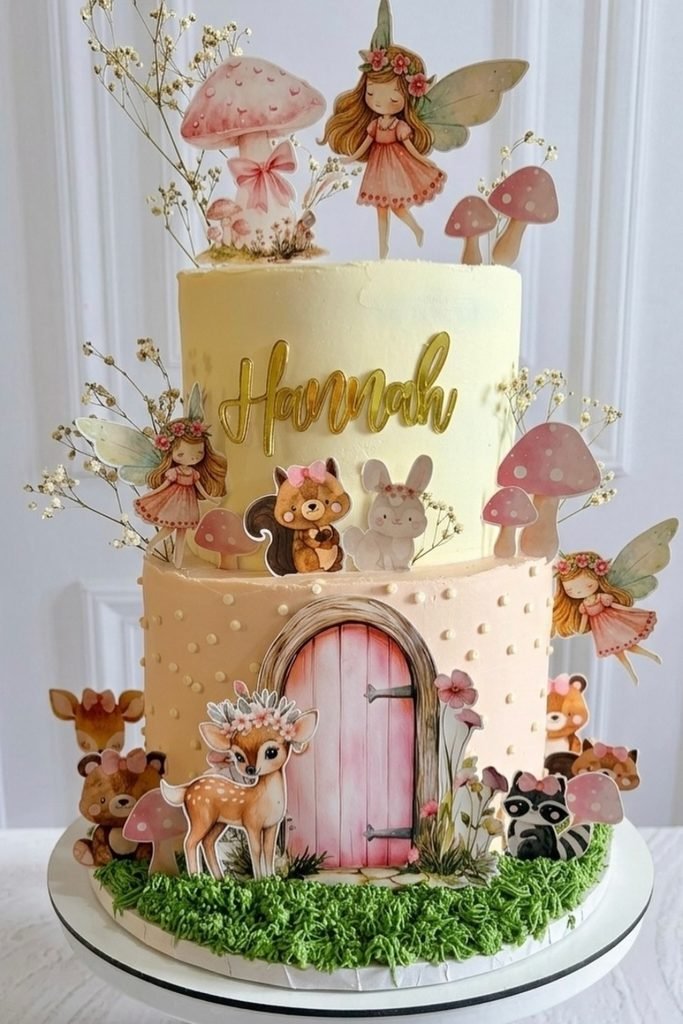
Paper fairy toppers, woodland animals, and the pink door make customization easy, and I’d keep the buttercream plain underneath for balance.
Ordering printed toppers from Etsy can save decorating time, but I’d add them only after the cake reaches the party table.
Delicate dried stems can shed around frosting, so I’d remove loose pieces before serving and keep anything non-edible clearly separated.
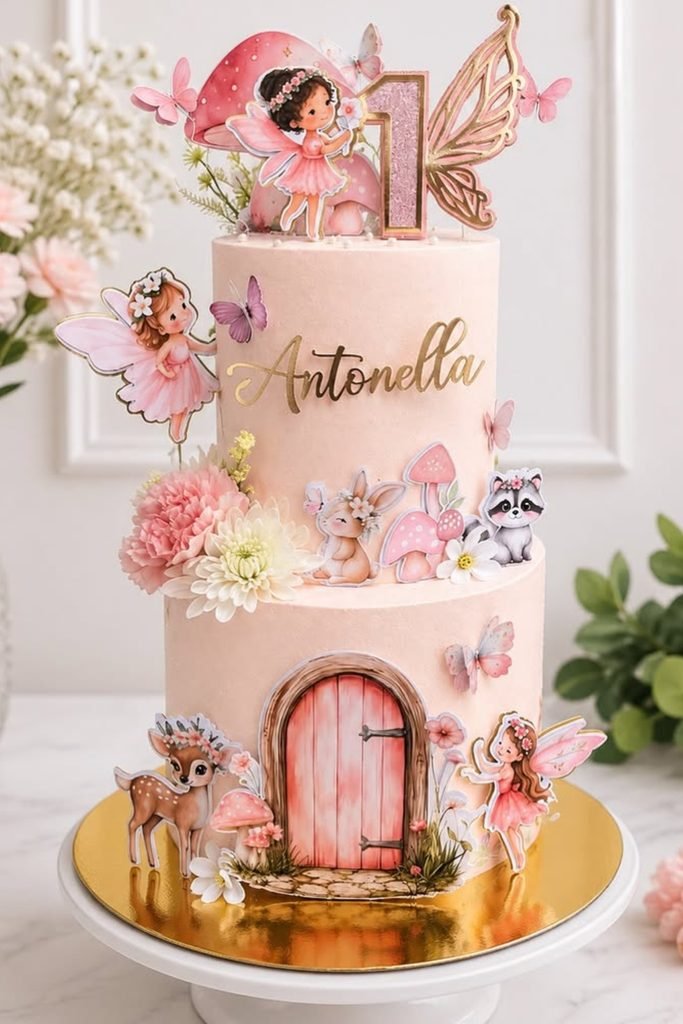
2. Fairy Door
Glitter number topper and wing accents already carry the birthday message, so I’d resist adding extra wording across both cake tiers.
Fresh-looking flowers beside the woodland cutouts soften the design, although I’d ask the baker which pieces need removing before slicing.
Transport worries me more with tall cakes like this, so I’d chill it fully and keep the car floor completely level.
3. Pastel Fairies
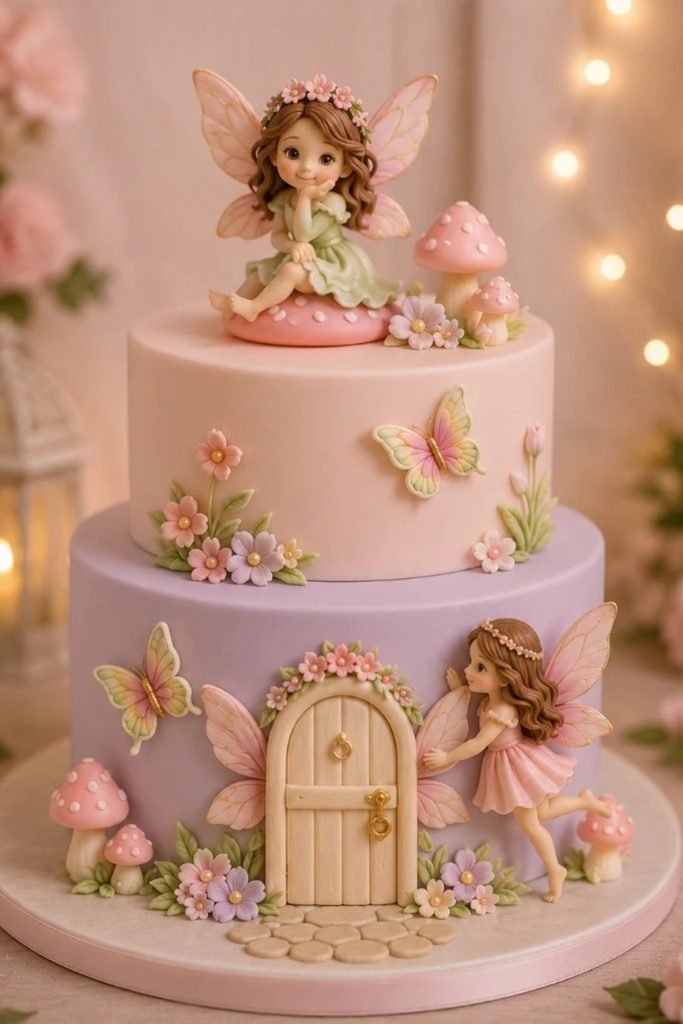
Sculpted fairy figures and fondant mushrooms give this cake plenty of detail, and I’d leave the surrounding dessert table much simpler.
Soft pink and lavender tiers feel gentler than dark forest colors, which I prefer for younger birthdays or an indoor daytime party.
Fondant flowers and tiny mushrooms can take time to place neatly, so I’d confirm decorative details with the baker several days ahead.
Enchanted Forest Fairy Lights
Warm fairy lights instantly make greenery and woodland decor feel softer, and I’d use them around backdrops, tables, or tree-style displays.
Keep the glow gentle rather than bright, because I think harsh lighting can ruin the cozy forest mood you’re trying to build.
1. Draped Lights
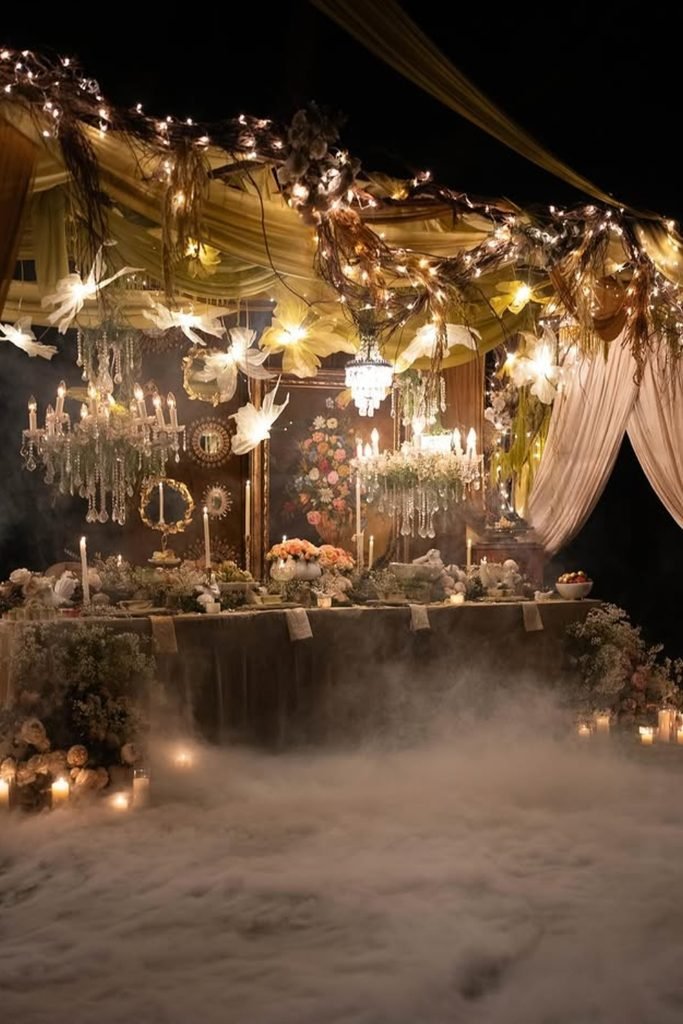
Overhead fairy lights woven through draped fabric give the room enough glow, and I’d keep chandeliers dim so nothing competes.
Battery candles would be my swap near fabric and florals, because open flames under low draping make me nervous fast.
Low fog can look beautiful in photos, but I’d confirm venue rules first since some machines can trigger smoke detectors.
2. Tree Lights
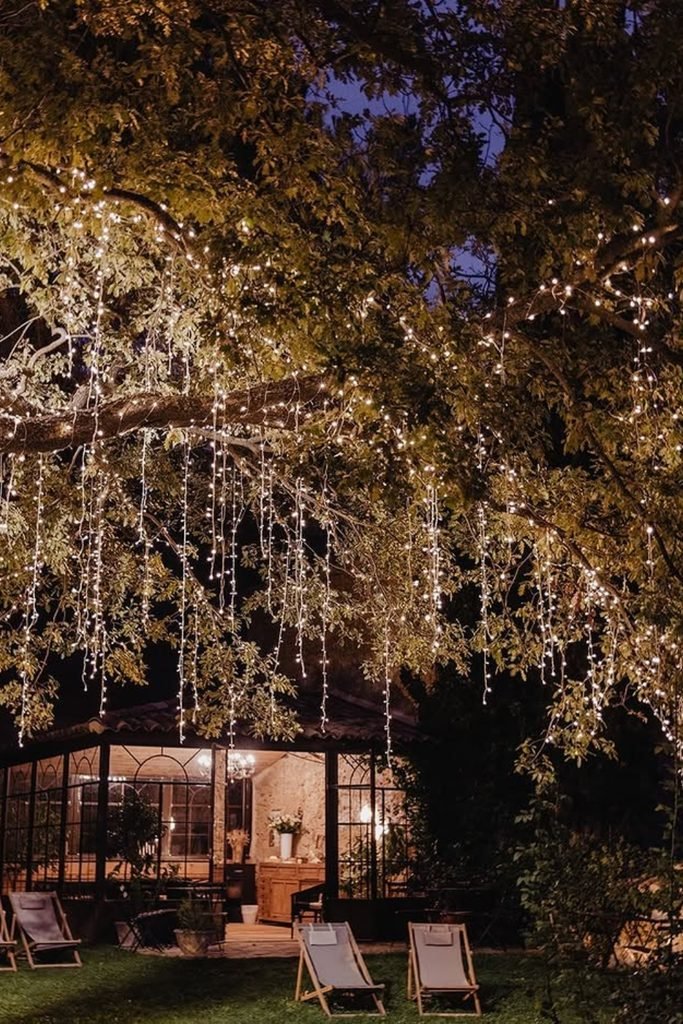
Tree branches wrapped with warm string lights already create the forest ceiling, so I’d skip extra hanging decorations and protect the view.
Outdoor-rated lights matter here, and I’d check every strand before sunset because finding one dead section after dark is miserable.
Ground-level extension cords need weather protection and secure routing, especially with children running around, so I’d keep every connection away from wet grass.
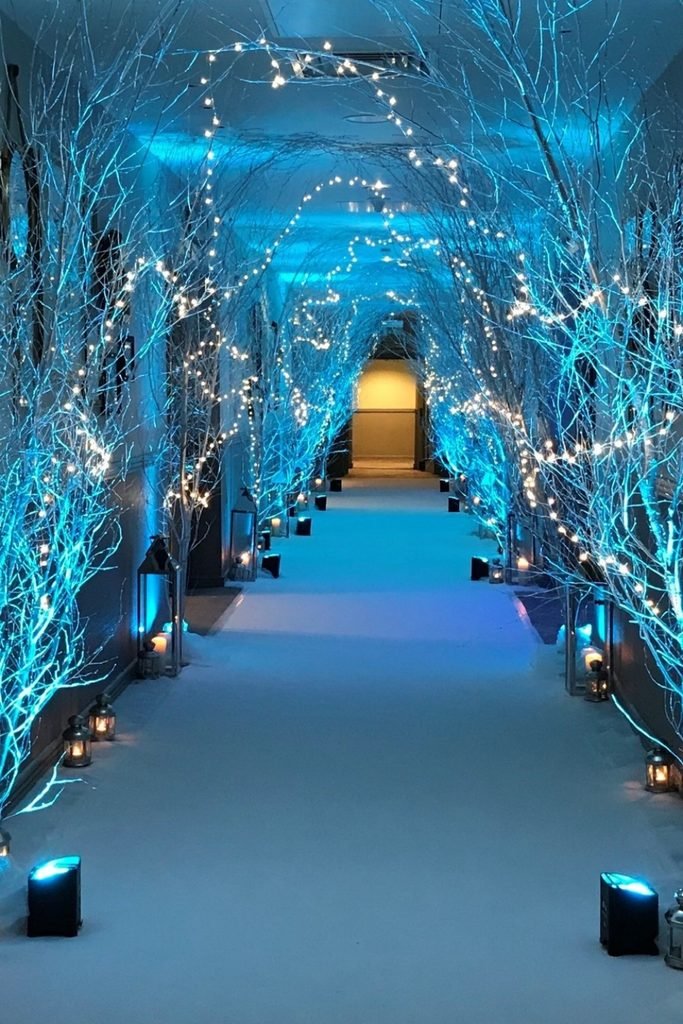
3. Blue Branches
Bare branches lit with cool blue uplights push the theme toward a winter forest, and I’d reserve this look for evening parties.
Warm fairy lights soften the blue nicely, but I’d tape down every floor cable before guests arrive because dark hallways hide them.
Lanterns along the walkway work better with LED candles in my opinion, especially where dresses, bags, and excited kids pass close by.
Enchanted Forest Dessert Table
I’d build the dessert table around earthy colors, mossy details, wooden stands, and woodland treats so everything feels tied to the forest theme.
Keep the display balanced with a few different heights, because I think too many small decorations can make even beautiful desserts feel cluttered.
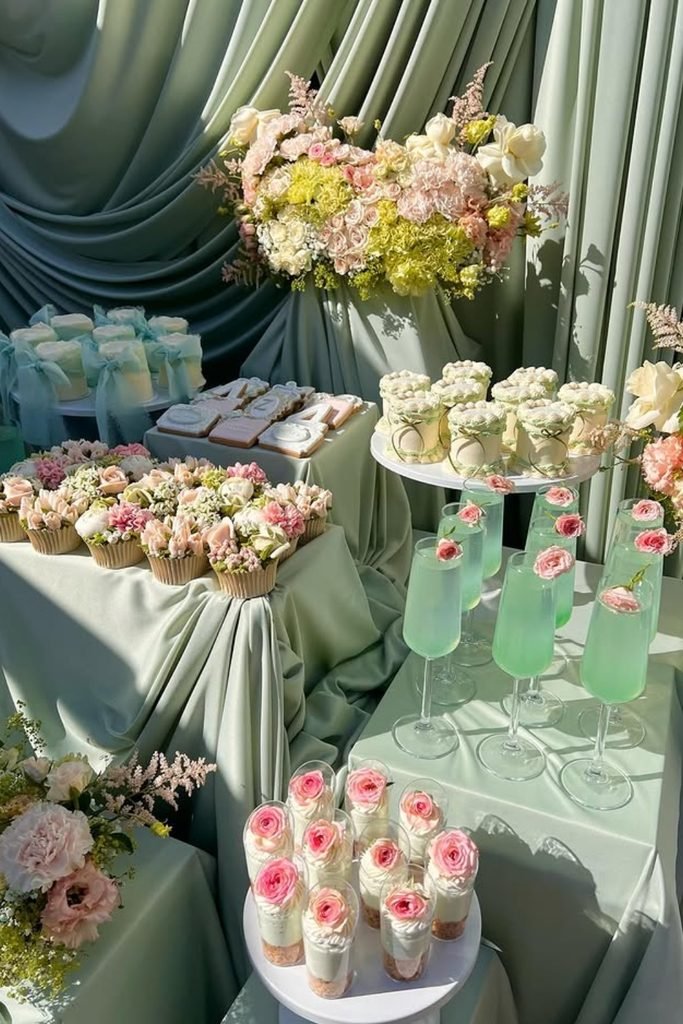
1. Floral Sweets
Sage draping behind the floral desserts keeps the palette soft, and I’d use fewer flower varieties so the sweets stay visually clear.
Glass cups and tall stems look polished, but I’d assemble the chilled portions shortly before serving instead of letting them sit warm.
Fresh blooms near food need careful placement, so I’d keep loose petals and florist debris away from anything guests will actually eat.
2. Woodland Treats
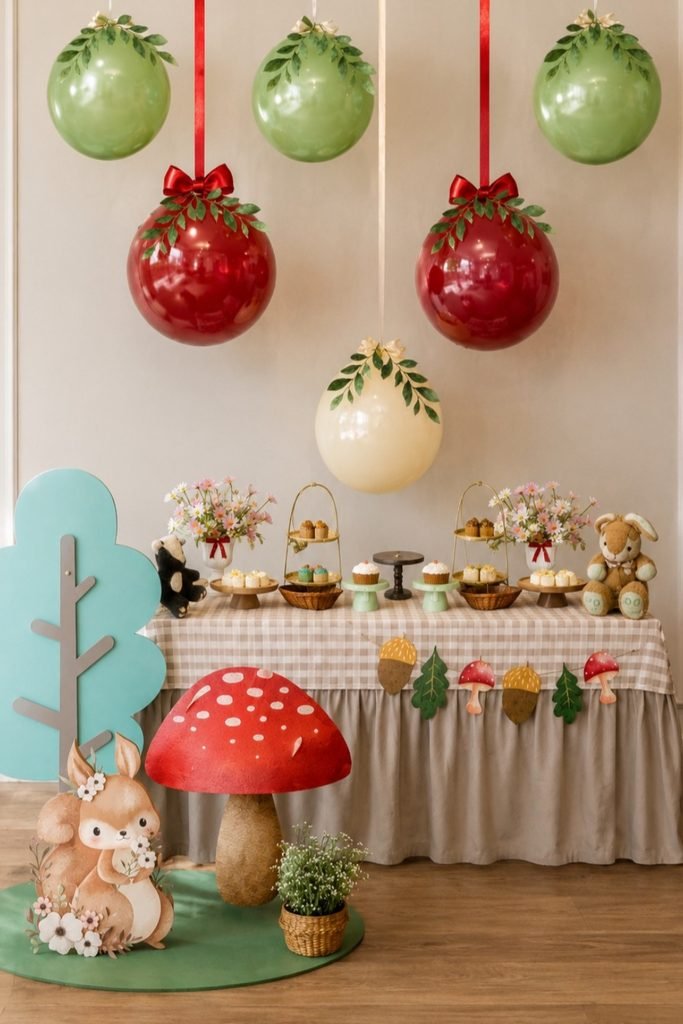
Hanging green balloons make the woodland ceiling feel playful, and I’d keep the red ones limited so they don’t overpower the table.
Leafy toppers are easy to prep the night before, and I’d tie every ribbon early rather than rush during dessert setup.
Stuffed animals beside food are cute, but I’d place them on separate stands because frosting and fabric are a messy combination.
3. Mushroom Desserts
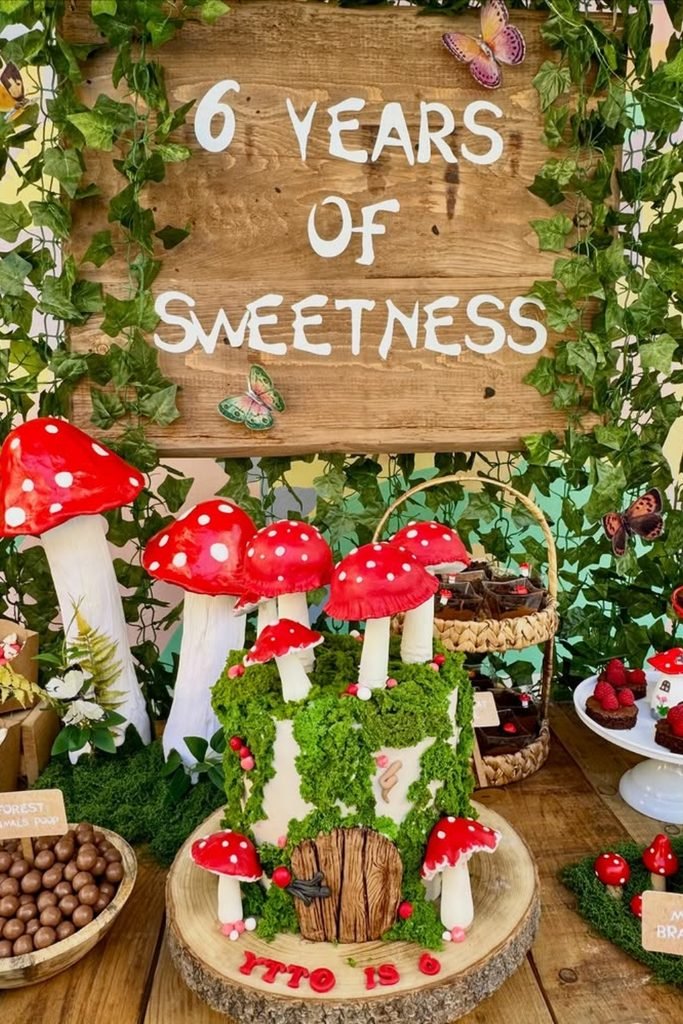
Mushroom cake details carry the forest theme strongly, and I’d let the red caps repeat through just two or three nearby treats.
Chocolate balls and berry desserts can create plenty of variety, though I’d label common allergens before guests start filling their plates.
Mossy crumbs around the cake look convincing, but I’d keep them contained because green crumbs travel everywhere once children start serving themselves.
4. Fairy Pops
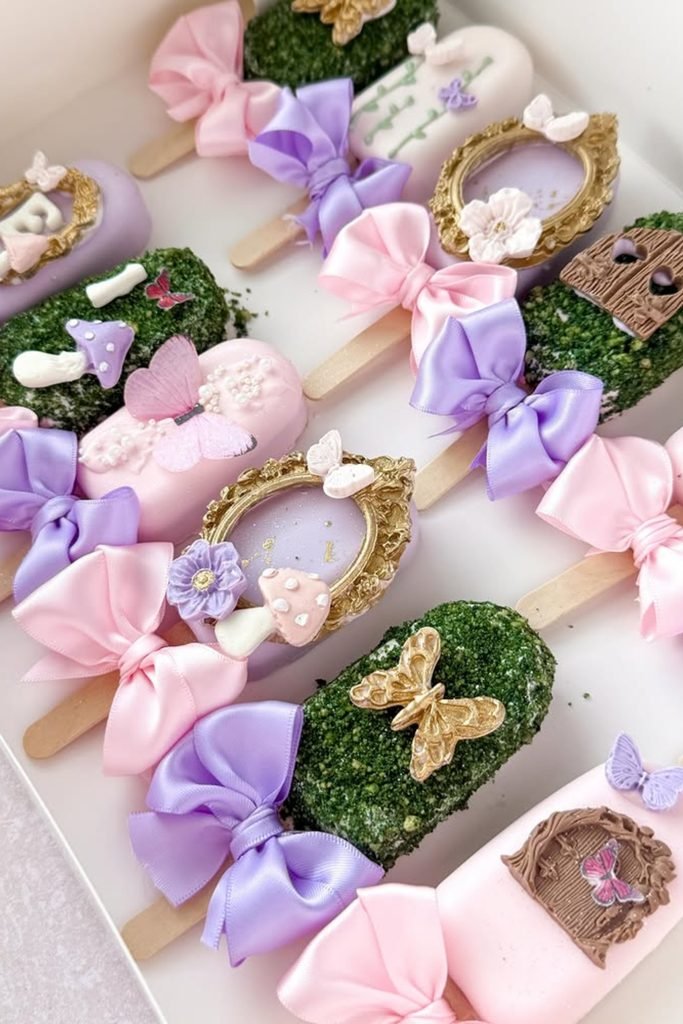
Ribboned dessert bars already bring pink and lavender into the table, and I’d use the green-coated pieces as the earthy counterpoint.
Wooden sticks make serving simple, but I’d keep the bows tied above the food line so ribbon ends never touch frosting.
Small butterfly and door decorations can become choking hazards, so I’d remove any loose pieces before handing desserts to children under three.
5. Garden Sweets
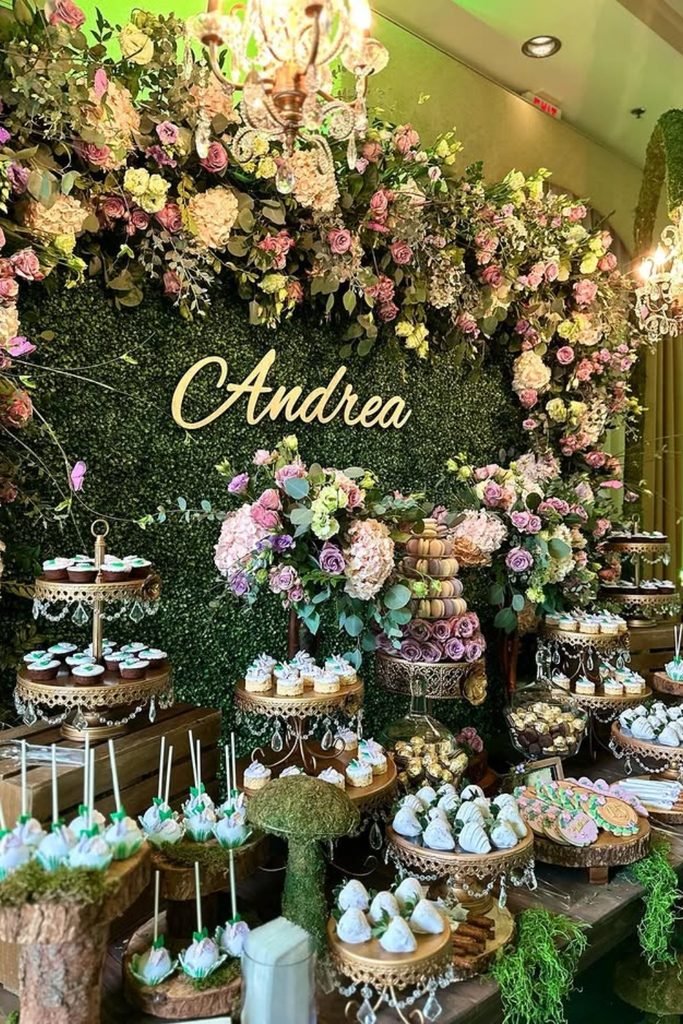
Flower-covered hedge walls and tiered wooden stands already make the dessert table busy, so I’d keep every treat shape fairly simple.
Crystal-trimmed risers can look elegant, but I’d use them sparingly because too many reflective details start competing with the greenery.
Fresh flowers above uncovered sweets need careful spacing, and I’d keep petals, pollen, and loose leaves well away from anything edible.
Enchanted Forest Entrance
I’d use greenery, branches, lanterns, or a woodland sign at the entrance so guests understand the theme before they reach the main setup.
Keep the walkway clear and easy to move through, because I’ve seen pretty entrance decor become frustrating once guests start arriving with bags and gifts.
1. Floral Arch
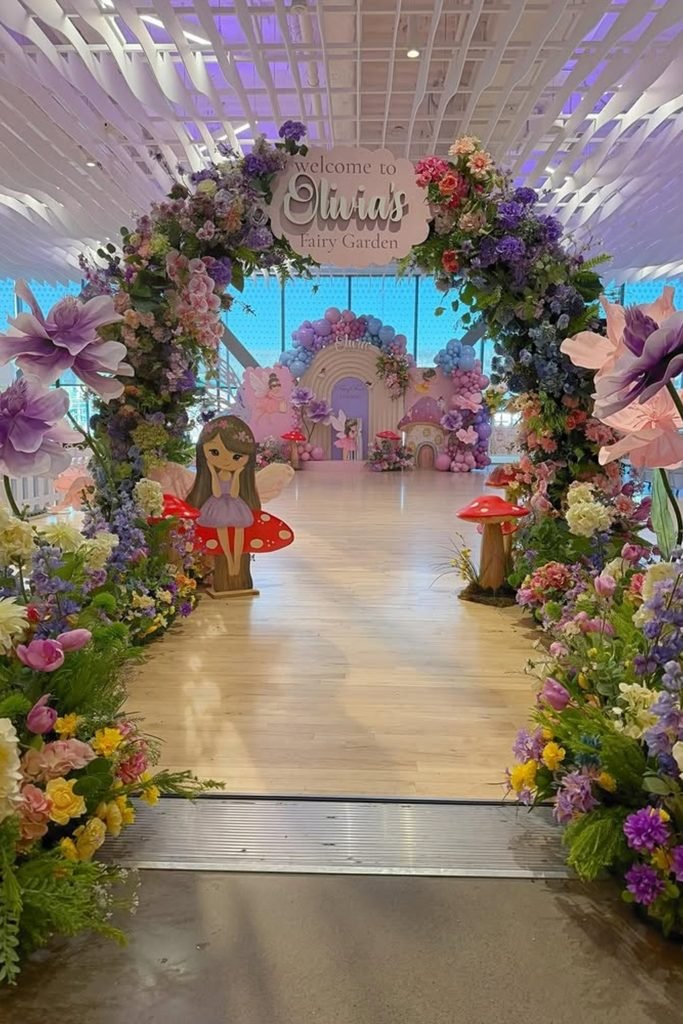
Flower-loaded archways make a strong first impression, but I’d keep the path center completely clear so dresses, strollers, and grandparents move easily.
Fresh florals in this volume need serious hydration, and I’d ask setup crews to finish them last so petals don’t slump early.
Oversized paper flowers near the entrance add color, although I think a few fewer blooms would let the fairy theme breathe better.
2. Garden Walk
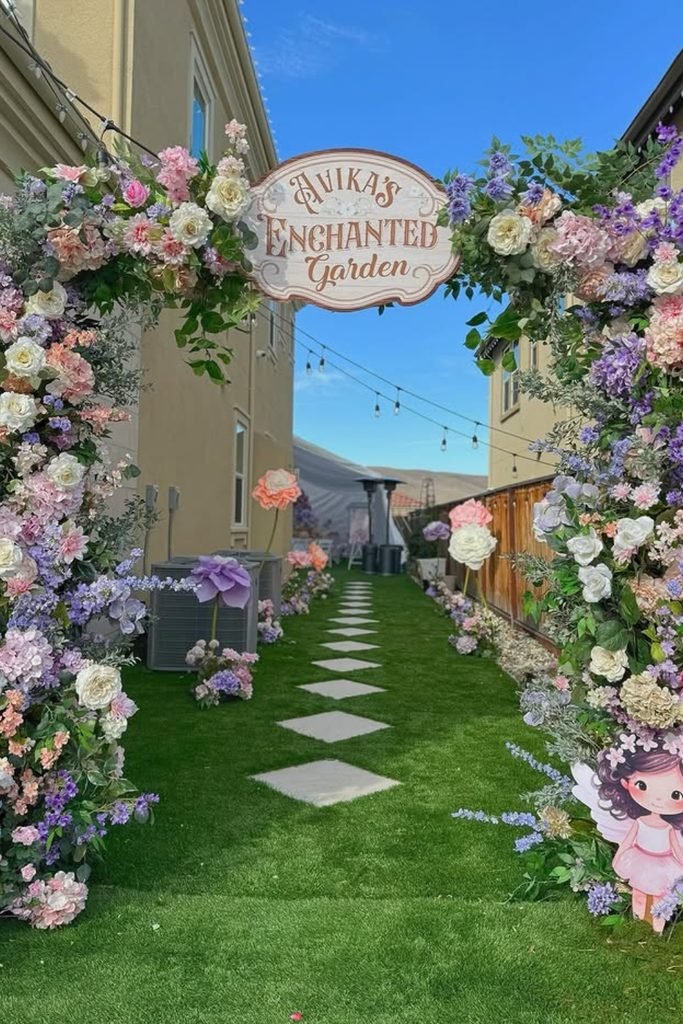
Pastel flower arch frames the lawn beautifully, and I like the stepping-stone path because it guides guests without needing extra ropes.
Outdoor entrances like this work best on level grass, so I’d test heel-friendly footing before party day instead of assuming.
Utility units beside the arch are hard to hide, and I’d rather use taller side florals than pretend guests won’t notice.
3. Mirror Welcome
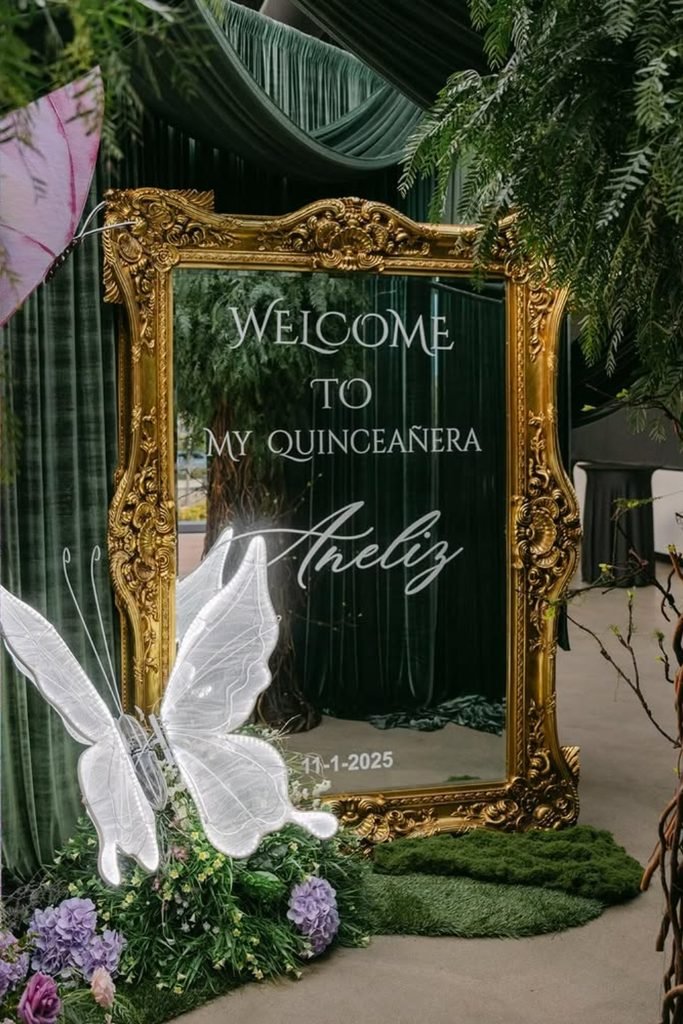
Gold-framed mirror signs feel dressier than foam boards, and I’d use one only if the rest of your party leans older.
Mirror acrylic looks gorgeous in photos, but fingerprints show fast, so I’d keep a microfiber cloth nearby during guest arrival.
Glowing butterfly props soften the setup, though I wouldn’t choose this look for little kids because the mood reads more quinceañera.
4. Vine Tunnel
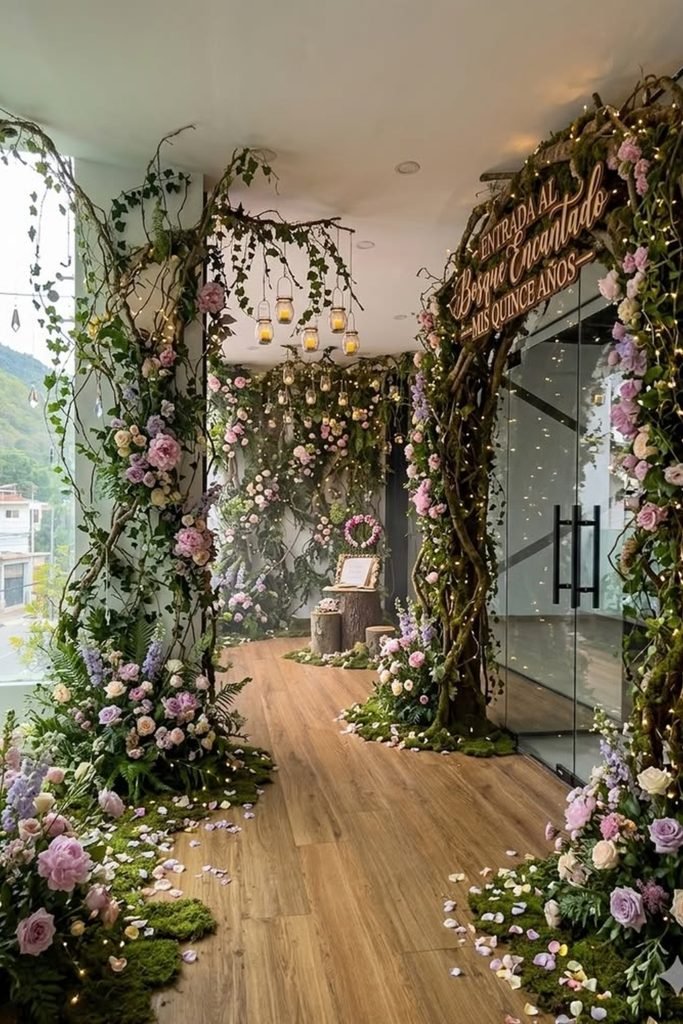
Twisted vine arches with hanging lantern jars create the most immersive entrance here, and I’d use this style for an evening event.
Petals scattered across wood flooring worry me a bit, because tracked-in moisture can turn a pretty walkway unexpectedly slippery fast.
Branch-heavy installations take longer than they look, so I’d allow at least ninety extra minutes for wiring lights and tucking greenery.
Enchanted Forest Table Centrepieces
I’d keep centrepieces low with moss, small mushrooms, greenery, wood slices, or lanterns so guests can still talk comfortably across the table.
Skip anything too bulky or tall, because I think forest decor looks better when it feels layered and natural instead of blocking half the table.
1. Branch Centerpiece
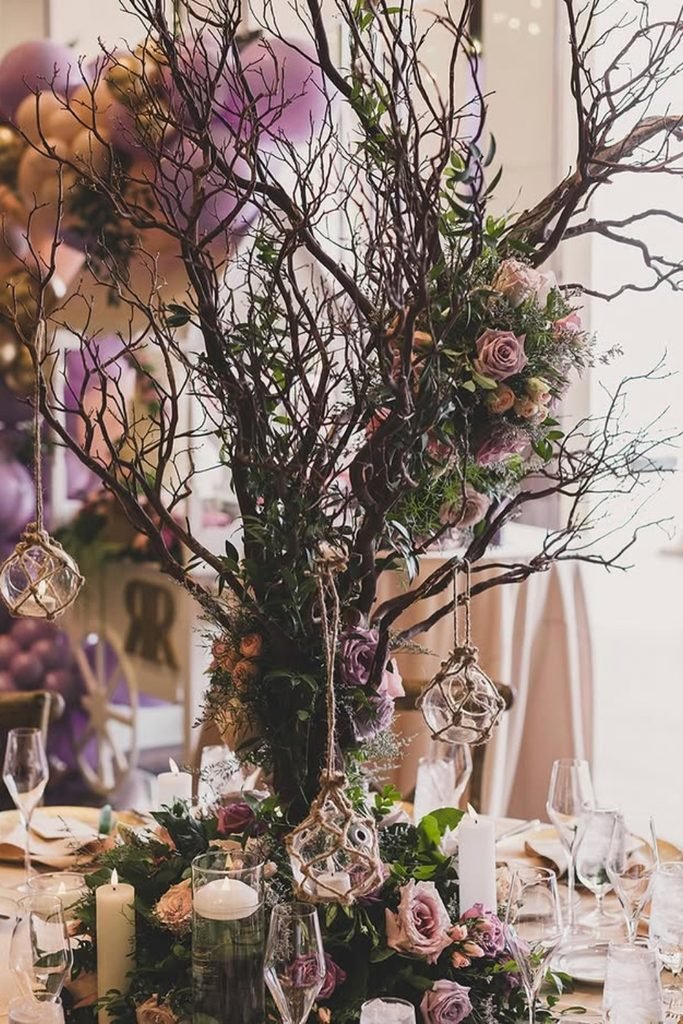
Bare branches rising above the table create height without blocking conversation, and I’d keep the floral clusters low around the trunk.
Hanging glass ornaments can swing into stems or glasses, so I’d secure each one tightly before guests begin pulling out chairs.
Real taper candles look beautiful here, but I’d switch to LEDs around dry branches because one accidental knock isn’t worth it.
2. Garden Runner
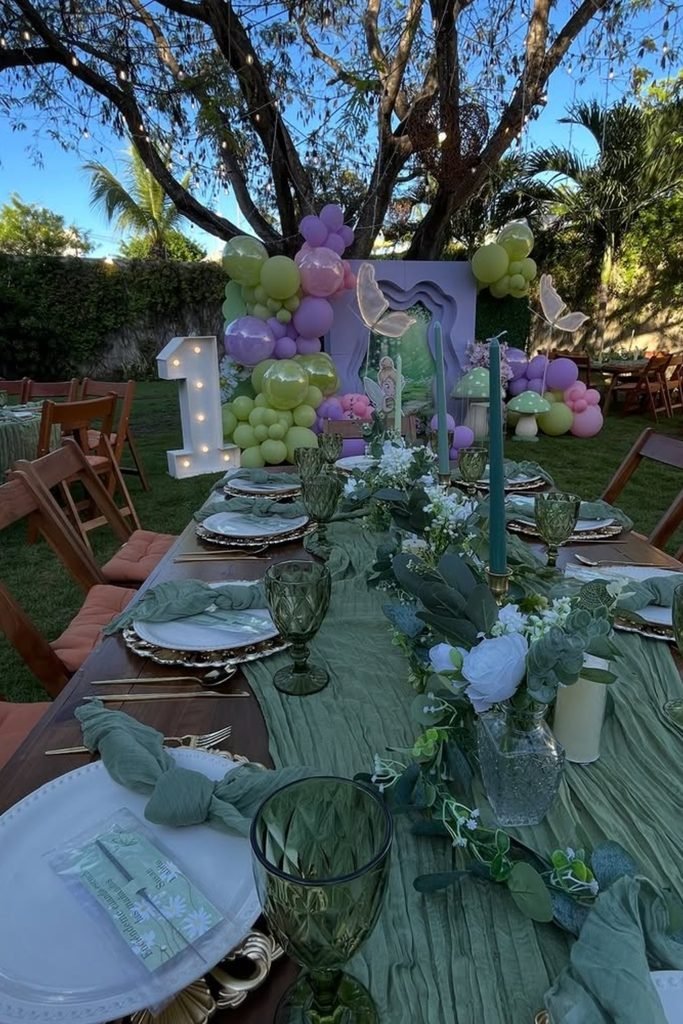
Soft sage fabric running the table already feels foresty, and I’d repeat that green in napkins instead of adding more decorations.
I’d set the runner and glassware about thirty minutes before guests arrive, then add flowers last so everything still feels fresh.
Tall taper candles are the one thing I’d reconsider outdoors, since wind can make them fussy even before anyone sits down.
3. Woodland Marker
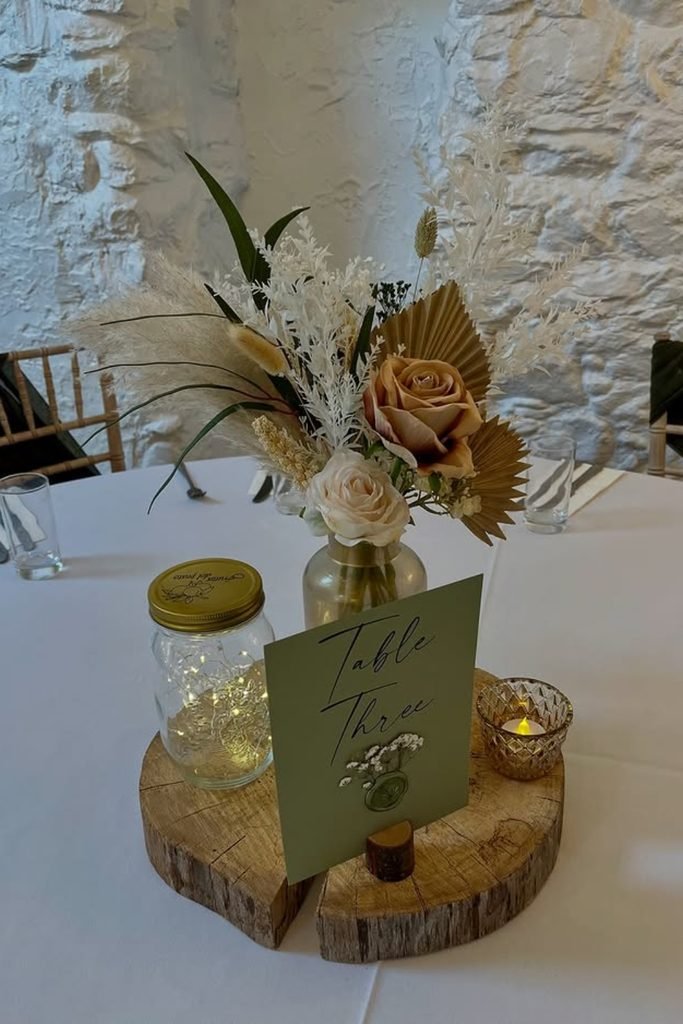
Wood-slice bases make table numbers feel connected to the theme, and I’d keep the floral jar small so names stay readable.
Battery fairy lights inside a mason jar are the budget move I’d pick, especially if you already have jars at home.
Dried palm leaves shed more than they seem, so I’d assemble the arrangement away from plates and give the tablecloth a quick sweep.
4. Mossy Tablescape
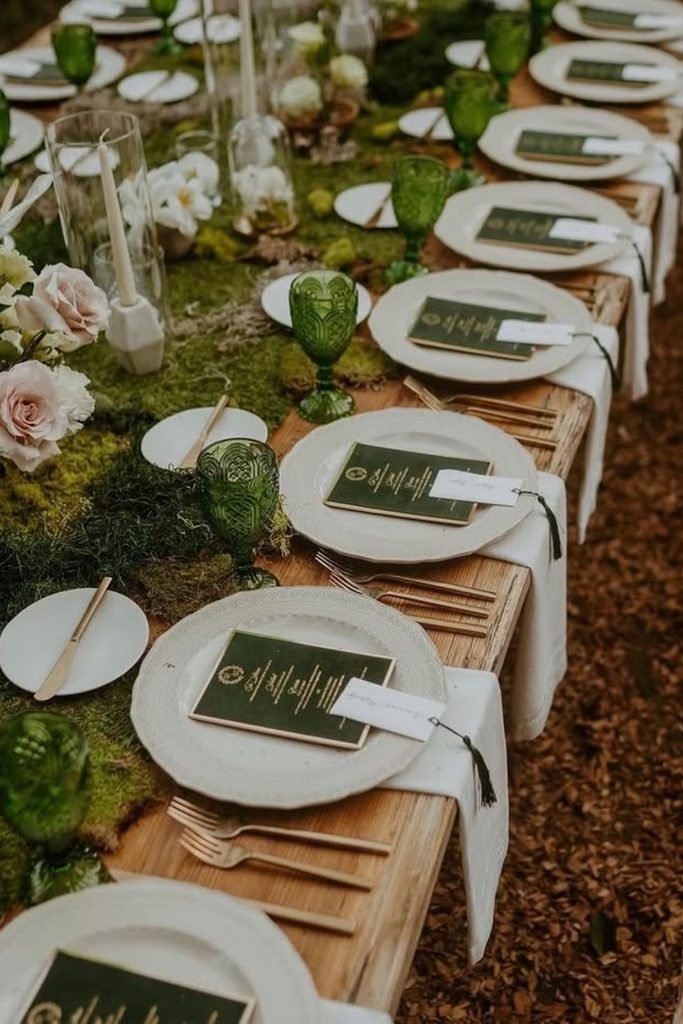
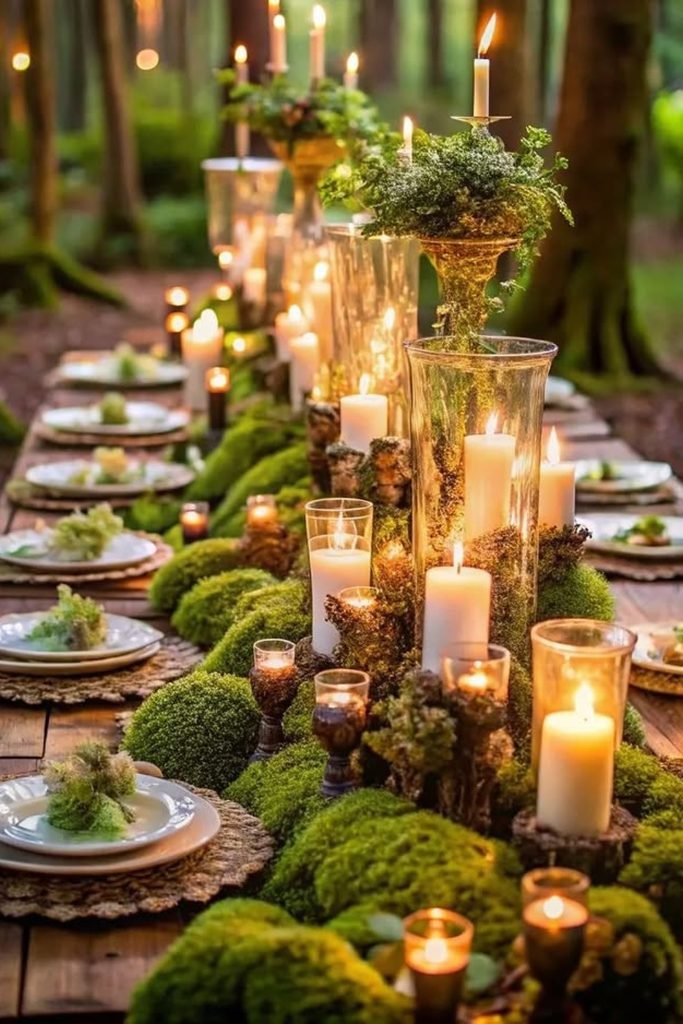
Thick moss running between the place settings creates enough texture by itself, and I’d skip extra flowers so the table doesn’t feel crowded.
Open candles among moss and bark make me nervous, so I’d use flameless pillars and keep every glass hurricane weighted securely.
Loose moss can crumble onto plates once people start reaching across, so I’d leave a clean gap around every place setting.
5. Moss Runner
Moss runner down the center keeps the table grounded, and I’d leave the white plates plain so the greenery stays dominant.
Green goblets repeat the forest palette nicely, but I’d set place cards before adding moss so nothing gets buried during setup.
Loose moss can shed onto napkins and menus, so I’d keep a clean border around each setting and sweep crumbs before guests arrive.