
How to Apply Press-On Nails – The Right Method
Sick of press-on nails that fall off by the end of the day? Glue getting on your table, fingers, everywhere but your nails? Trust me you are not the only one.
Most of the people do not get long-lasting results because they skip the little things that can really make the difference.
No need to be perfect – just follow the right prep, application and steps.
In this guide, I will show you exactly how to make your press-on nails look beautiful and stay longer without any mess or stress.
Contents
What You Need to Get It Right
Before you start applying it, make sure you have everything you need in one place – it will make the process smoother.
If you skip the basics, it’s one of the main reasons press-on nails won’t last. Here is your simple checklist:
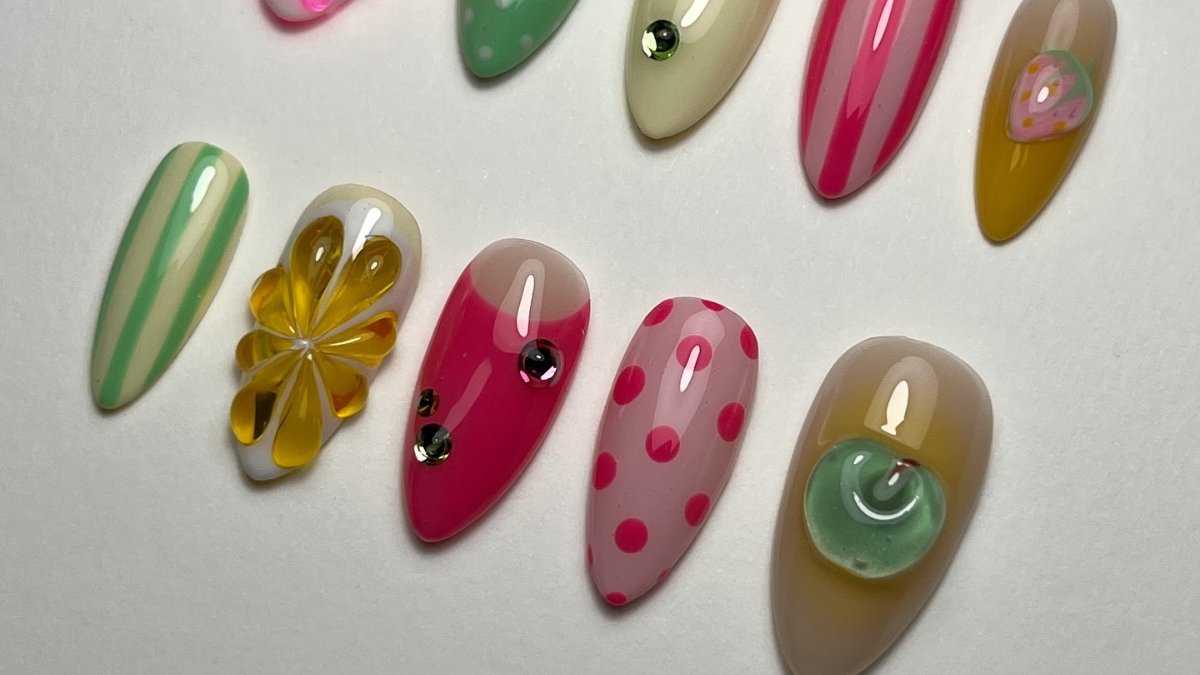
- Press-on nail set
- Nail glue or adhesive tabs
- Nail file or buffer
- Cuticle pusher
- Rubbing alcohol or acetone
- Cotton pad or lint-free wipe
- Top coat(it’s totally optional)
- Nail scissors or clipper

Do not apply press-ons right after taking a shower. Wet and oily nails are the main enemy of strong glue hold.
Prep Your Nails the Right Way
Most of the people do it wrong. If your nails are not prepared properly, it does not matter how strong the glue is.
Start by trimming and gently filing your natural nails to keep them short and even.
Then use the stick or pusher to push back your cuticles – It will help the press-ons to look natural.
Related: 25 Neon Nail Designs for Summer
Buff each nail to take away the shine and help the glue to hold better. Use rubbing alcohol or acetone to wipe away any oil or moisture from nails.
No hand cream, no water – just keep them dry. This is the game-changer step that actually takes your nail 1-day wear and a 7-day hold.
Pick and Fit the Right Size
- Line up your press-ons first before applying anything – it will make the whole process easier.
- Make sure to match each press-on to your natural nail from side to side with no overlapping, no gaps.
- The press-on should neatly adjust inside the edges of your natural nail without touching the skin.
- If the nail is too big and touches the skin, just file down the sides with the nail file for the better fit.
- If you are stuck between sizes, don’t risk going with the smaller one.
- Test all the 10 sizes of press-ons first and line them perfectly in order – this saves so much time during application.
- A perfect fit means better hold and more natural look.
Glue vs Tabs – Which One Should You Use?
Both can work – but the reasons are different. If you want your nails for more than a few days, then go with glue – it can create a stronger bond and keep your nails up to 7 days.
If you want your nails for a short term like a day or for the weekend then go with adhesive tabs – they are very lighter and easy to remove.
- Use nail glue if: you want long wear, plan to do a lot of chores and do not want to reapply.
- Use tabs if: you want short term, no longer and easy to remove.
- Want both? Some of the people apply adhesive tabs and tiny dots of glue for middle-ground hold.
No matter what you use, just make sure your nails are dry and clean.
Related: 22 Fruit Themed Nail Designs
How to Apply Press-On Nails Step by step
Follow these steps to keep your press-ons look clean and awesome.
1. Start with clean, dry nail
Make sure your nails are totally free of oil, lotion and moisture. Wipe each nail with alcohol and acetone, then let them dry carefully.
2. Buff the nail surface lightly
Use the nail buffer to rough up the natural nails – this helps to grip the glue better and prevent it from falling earlier.
3. Apply glue to both surfaces
Put the thin layer of glue on your natural nails and also a tiny dot on the back of the press-ons. Using too much glue can get messy but too little won’t stick.
4. Press the nail on at an angle
Place the nail at the cuticle, press down slowly to gently remove the air bubbles and hold it for 20 – 20 seconds.
5. Repeat for each finger
Slow down! If you rush you will end up with crooked nails and glue everywhere.
6. File and shape (optional)
After applying all the nails, shape them however you like – round, almond and coffin – whatever that suits your style. Now you have to apply top coat to seal the edges.
If you follow the steps and do it properly, your nails look professional and stay on for days.
Quick Fixes for Common Mistakes
Even if you follow every step but the things can still go wrong, then don’t worry. Here’s how to fix the most common press-ons mistakes quickly.
1. Got air bubbles under the nail?
Gently lift the press-on from the edge, reapply the tiny dot of glue and press it down for 30 seconds. Next time, press from cuticle to tip to avoid the air bubbles.
2. Did the Nail go on crooked?
If the glue has not dried fully then remove it right away and start over the new and fresh press-on. If the glue is already dried, just file it into the shape and leave it for your next set.
3. Glue flooded the sides?
Use the wooden stick and cuticle pusher to wipe the extra glue before it dries. Do not use tissue to wipe the glue because it will stick to the glue.
Safe Removal and Aftercare
- Soak the nails in warm and soapy water for 10 to 15 minutes, then add some oil to loosen the glue.
- You can use a cuticle stick, and with this lift up each press-on – but don’t force it.
- After the removal of nails, buff away the leftover glue with the help of a nail buffer.
- Wash your hands very well, then apply the cuticle oil and hand cream to moisturize it.
- Take a 2 to 3 days break before applying the new set.
Conclusion
It is not about luck that will make the press-on last – it’s all about good prep, right fit and taking some time during application.
Once you know what to avoid and how to fix the little mistakes, it can become a part of your easy routine.
Take care of your press nails like salon nails and they will last just as long.