
How to Make Nail Designs at Home for a Perfect Salon-Like Finish

You can want the cute nails, but let’s be honest – going to the salon is too expensive, takes forever, and half the time.
Maybe you have already tried some nail art at home, hoping for something very cool, but it did not go quite as planned.
Uneven lines, chipped polish, and a look that just did not hit or assumed.
Here’s the truth: you do not need a drawer full of pro tools or crazy skills to get good-looking nails at home.
What you really need is some clear advice, some few easy techniques, and smart little tricks that will actually make a difference.
In this article, I will provide you with a step-by-step guide to doing cute, stylish nail designs – even if you have never done nail art before.
Let’s dive into it!
Contents
Why Making Nail Designs at Home Is Easier Than You Think
You can probably think nail art is only for salon pros or people with a million tools.
But guess what? That is not true at all. Doing cute nails at home is totally doable – as long as you know a few easy tricks.
Most of the people struggle because they try something super complex right away or feel disappointed when their nails do not look like the ones on Instagram.
The chances are you already have half the stuff you need. A bobby pin? That is perfect for doting.
Scotch tape? That is great for crisp lines. A kitchen sponge? That is boom – ombre. You do not need to go out and buy pro tools right away.
At your first try, stick to the beginner-friendly designs like polka dots or french tips.
Once you can see how good your nails can look with just little effort, you will feel way more confident to try more.
Must-Have Tools (And Easy Home Alternatives)
With just a few basic tools – and some smart alternatives – you can still get that salon-quality look.
Here’s what you really need, and what you can use instead if you did not spend extra money.
Essential Tools for Beginners
- Base Coat & Top Coat – These can help to protect your natural nails and make sure your nail art stays chip-free for longer.
- Nail Polish Colors – Pick the two or three shades of nail polish colors that you can really like. Lighter colors work best to show off the designs.
- Fine Nail Brush – It is great to add the details like some stripes, swirls, and tiny patterns.
- Dotting Tool – You can use the dotting tools to make the cute dots, flowers and simple shades.
- Nail Polish Remover & Cotton Swabs – It is helpful for cleaning around the edges and fix the small mistakes.
Easy Home Alternatives (Budget-Friendly Hacks):
- Bobby Pin or Toothpick – They can make great substitutes for a dotting tool. They are perfect for making neat little dots.
- Scotch Tape – You can use it to create some straight lines, half-moon shapes, or cool geometric patterns – no freehand skills needed.
- Old Makeup Sponge – It can be great for ombre effects or blend two nail colors smoothly.
- Thin Paintbrush – Clean and small art brush can easily stand in for a nail art brush.
- Pointed Q-tips – They can be super helpful for cleaning up polish around the edges with precision.
How to Prep Your Nails for Long-Lasting Designs
If you want your nail designs to look clean and last longer, how you prep your nails matters just as much as the design itself.
Skipping this step is actually one of the biggest reasons that polish the chips too quickly or the design does not come out smoothly.
Taking a few minutes to prep the right way makes a huge difference in how your nails turn out.
1. Start with Clean, Dry Nails
Before you can start, clean your nails – no oil, no lotion, no old polish.
Just wash the hands with soap and water, then swipe the each nail with some remover.
That way, your polish sticks better and won’t slide off too soon.
2. Shape and File Properly
Have some rough edges? Time to smooth those out. Use a nail file to shape each nail evenly, because if they are jagged, your polish won’t last.
Keep it simple – square, round, or oval shapes are perfect if you are just getting started.
3. Push Back Your Cuticles
You can use the cuticle pusher and an orange stick to push your cuticles back.
Avoid the painting over them – that is a common mistake that can make your polish lift and chip much faster.
4. Buff the Nail Surface Lightly
Get the ridges on your nails? Just buff them out! A smooth nail grabs onto polish way better – your designs will look way more polished.
5. Apply a Good Base Coat
Think of the base coat like a shield for your nails. It can keep the color from staining and helps your design stay fresh longer.
Skipping it? You will probably regret it later.
Related: 7 Nail Shapes, One Chart – Here’s How to Pick the Right
5 Simple Nail Design Ideas You Can Try Today
Following are the few simple nail design ideas you can must try
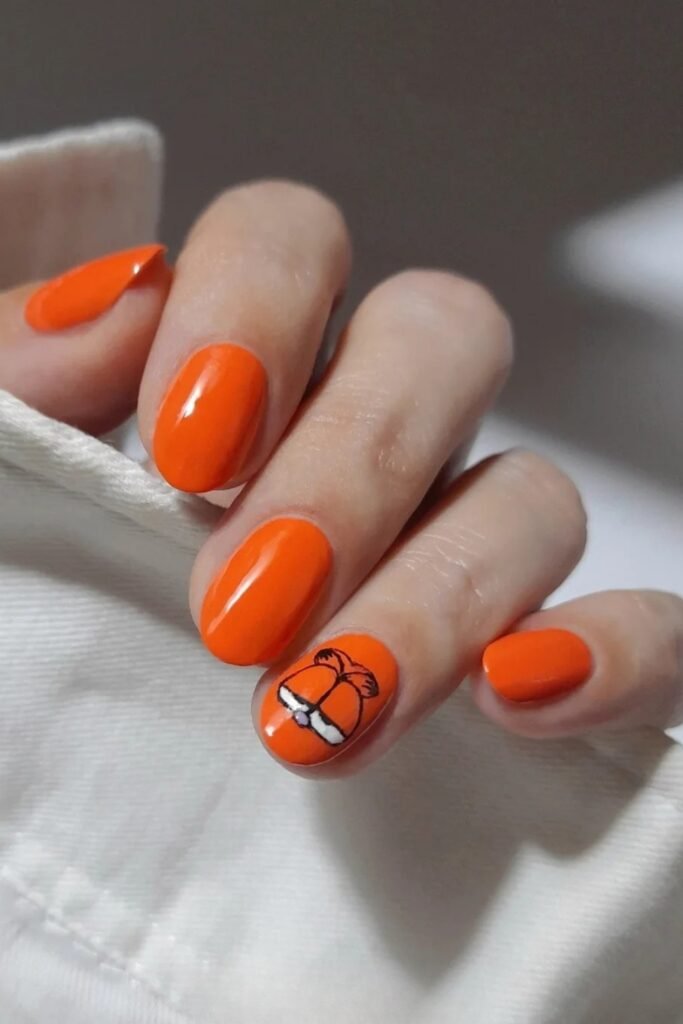
1. Polka Dot Nails (No Skill Needed)
Want a design that is super easy and still looks great? Try the polka dots.
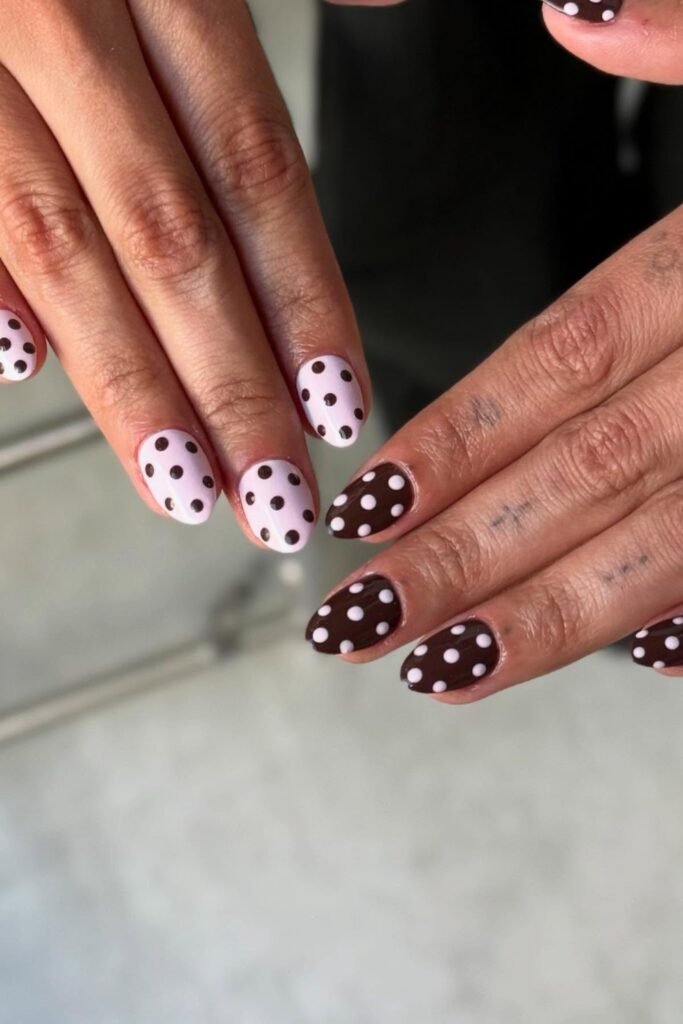
- Paint the nails with your favourite color. Let it dry.
- Dip the bobby pin or toothpick into a second color.
- Dot across your nails however you can like.
- Add some top coat so it all stays put.
Where it fits: When you can want something cute without trying too hard.
Why it works: You can not really mess it up – and it still looks fun.
2. French Tips with Tape (Clean and Modern)
No need for the fancy salon stuff – this version is super doable.
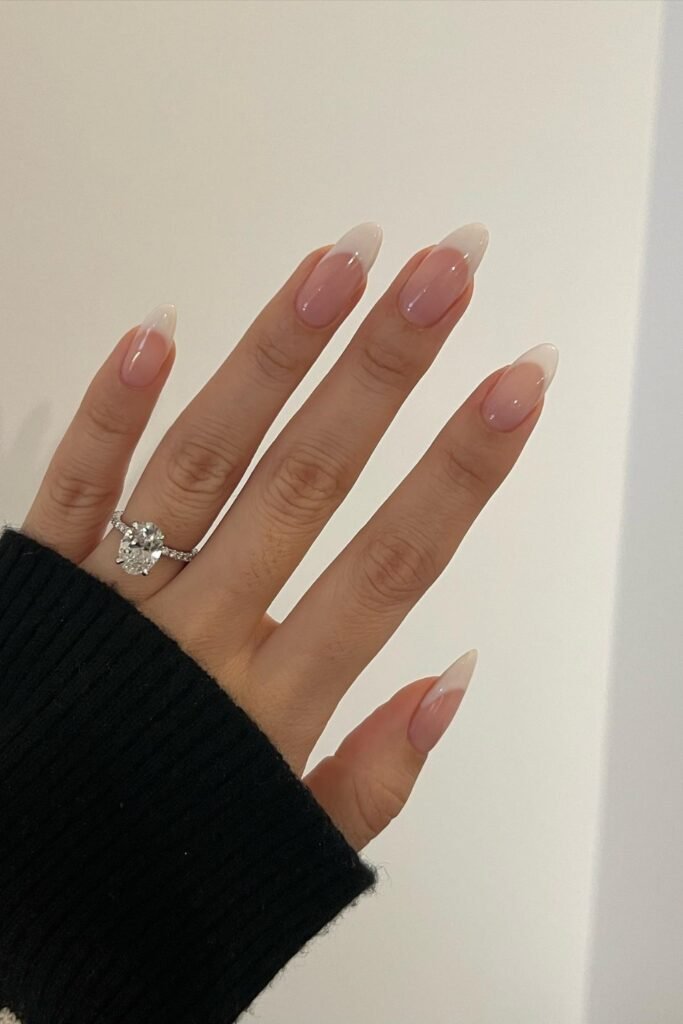
- Paint the nails with nude or light pink color. Let them dry.
- Stick on the little tape so just the tip shows.
- Swipe out the white over the tip.
- Peel the tape off, pop on a top coat, and done!
Where to wear it: Daily looks that feel very fresh and tidy.
Why it works: The tape helps to keep things neat – even if your hands are not super steady.
3. Ombre Nails Using a Sponge (Soft and Trendy)
Get a pretty gradient effect using an old makeup sponge – it is easier than it looks!

- Start with the base coat and a light polish color.
- On a sponge, apply two polish colors side-by-side – one light, one dark.
- Gently dab the sponge onto your nail, building up the color in light layers.
- Use the Q-tip to clean around the edges and finish with the top coat.
Where it works: Great for soft, trendy nail styles.
Why it works: Sponge blends the colors naturally for that smooth gradient look.
4. Accent Nail with Glitter (Quick and Easy)
You do not have to go all out on every nail.

- You have to paint all your nails in one solid color.
- Pick the ring finger and throw on some glitter or foil flakes.
- Top coat everything and you are done.
Where it works: It gives your nails a fun pop without any stress.
Why it works: It is chill, easy, and still grabs attention.
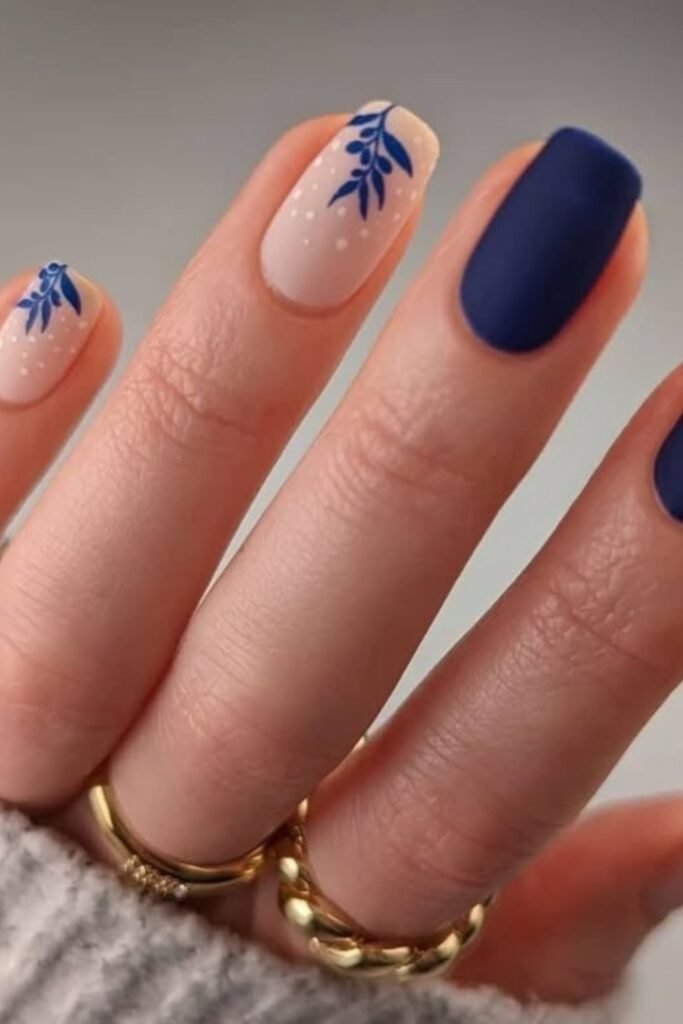
5. Minimalist Lines (Chic and Modern)
For a sleek look with minimal effort
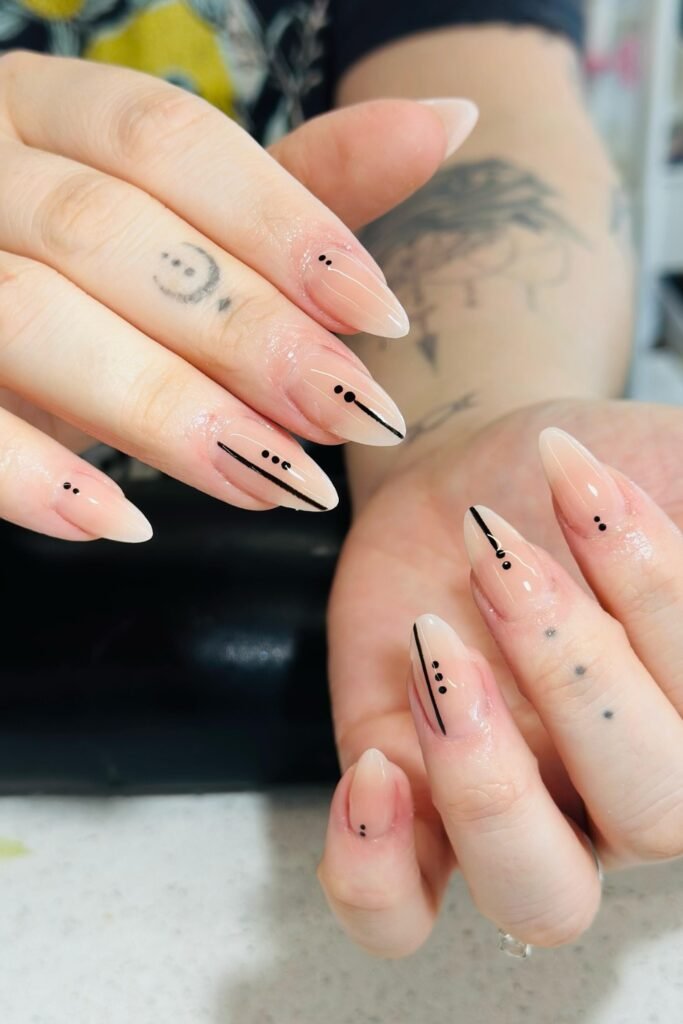
- Paint the nails with neutral shade.
- Use a thin nail brush and striping tape to draw one vertical or diagonal line.
- Choose some black, white, or metallic polish for the line.
- Apply the top coat to seal and add some shine.
Best for: People who like modern, neat nail styles.
Why it works: It is a simple design, but it makes your nails look professionally done.
With just little effort and practice, your nails will look clean, fresh, and stylish – all from the comfort of home.
Common Mistakes Beginners Make (And How to Fix Them Fast)
| Mistake | Why It’s a Problem | How to Fix It |
| Skipping Nail Prep | Polish won’t stick; chips fast | Clean nails, push cuticles, buff, apply base coat |
| Using Thick Coats | Bubbles, smudges, chips easily | Apply thin coats; let each layer dry fully |
| Painting Over Cuticles | Causes lifting and peeling | Leave a small gap between polish and skin |
| Skipping Top Coat | Chips quickly; no shine | Finish with a good top coat every time |
| Not Letting Polish Dry | Smudges and ruins the design | Let each layer dry fully before moving on |
Conclusion
Start small – go for dots, little lines, or even a French tip if you are feeling fancy, use whatever’s around.
Stick to one design and practice it until you have nailed it.
When it starts looking good, try switching up the colors or throwing in a bit of glitter.
Do not rush – focus on learning one trick at a time. And hey, if it ends up looking a mess? Wipe it off and go again.