How to Throw a Colorful Squishy Birthday Party
Last year, I helped set up a birthday where squishy toys disappeared from the favor table before we’d even finished tying the balloons.
Colorful, soft, and easy to build a theme around, squishies make party planning feel much less complicated.
Inside this article, I’m sharing 23 squishy birthday party ideas you can use to plan a fun celebration without making every detail feel overdone.
Let’s jump in!
What Are Some Ideas For A Squishy Birthday Party?
Squishy parties work best when the theme shows up in a few strong places instead of covering every table, wall, and favor bag.
Start with soft pastel colors, oversized squishy-style decorations, and a dessert table that gives the whole setup one clear focal point.
I’d spend more effort on an activity station because kids usually remember what they got to do more than how many decorations were hanging up.
Favor bags can include mini squishies, stickers, or simple treats, while larger squishies can double as table decorations before guests take them home.
Games feel more connected to the theme when you use squishies for treasure hunts, guessing games, prize baskets, or easy relay activities.
Overall, I’d keep the setup colorful but controlled because too many character shapes and bright colors can make the party space feel cluttered fast.
Squishy Backdrop Ideas
Pastel arches, balloon clusters, and oversized squishy characters can give your main party wall enough color without making the setup feel too busy.
I like keeping one clear photo spot because it gives you a useful focal point while the rest of the room stays much easier to decorate.
1. Pastel Balloon
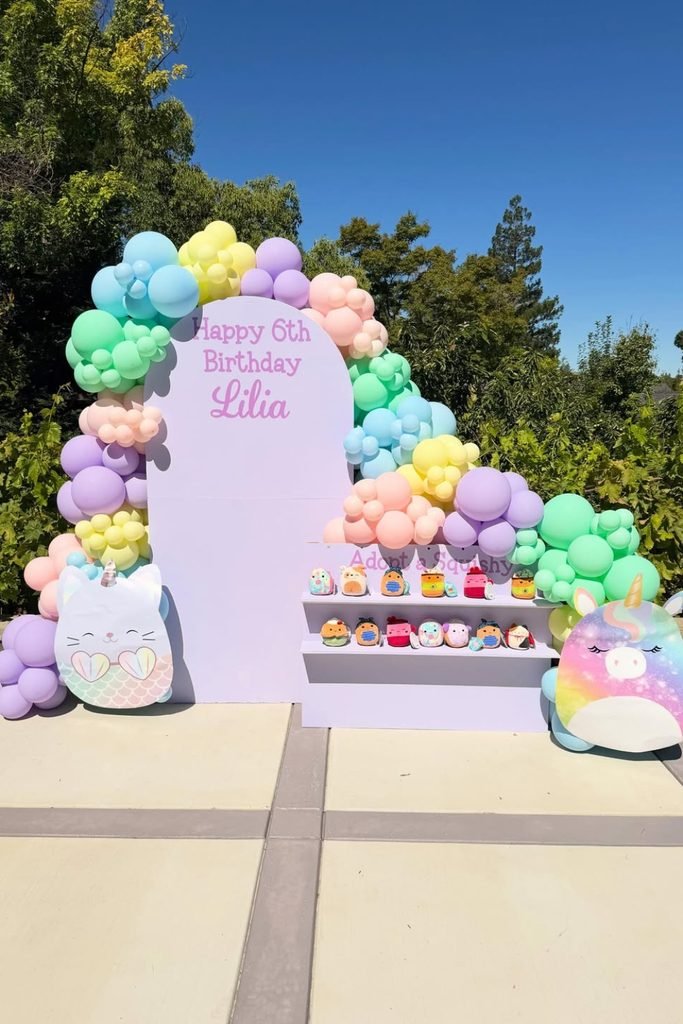
Pastel balloon clusters around the lavender arch give you one strong photo zone, and I prefer keeping the squishy shelf slightly lower for kids.
Outdoor setups need extra anchoring because balloon garlands can shift quickly in wind, and lightweight character boards are the first pieces I secure.
For me, the adopt-a-squishy display earns its space because it doubles as decor first and a take-home activity later for guests.
2. Pink Squishy Photo Corner
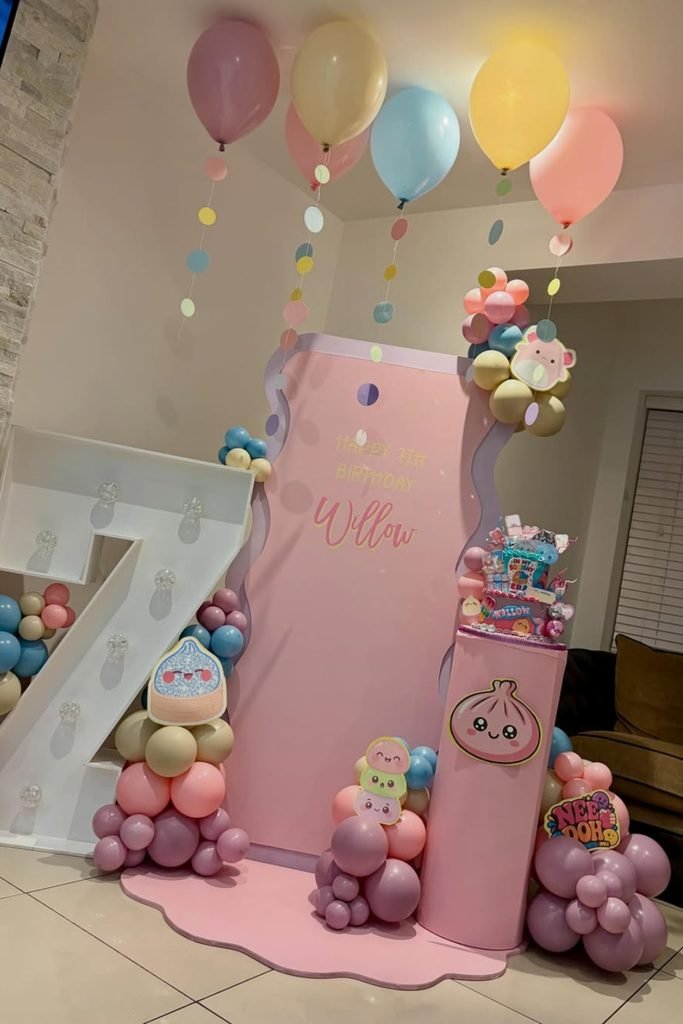
Helium balloons above the pink panel pull attention upward, which I like in smaller rooms where floor space disappears fast.
Large marquee numbers can get pricey to rent, so you can skip them and let the backdrop name carry the birthday personalization.
The hanging ceiling balloons feel a little busy here, and I would remove half before adding more squishy cutouts near eye level.
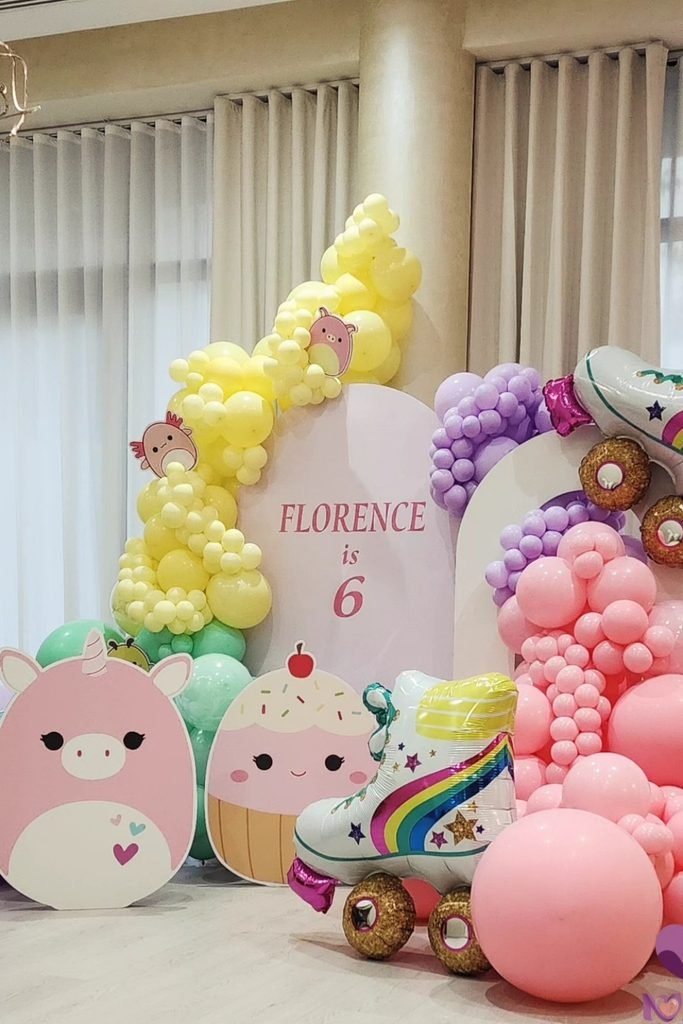
3. Roller Skate Squishy Backdrop
Roller-skate foil balloons beside the pastel arches create instant height, and I think they work best when one oversized prop leads the setup.
Character boards sitting near the floor are easier for younger guests to notice, while taller decorations can stay safely behind the photo area.
From experience, I keep loose balloons away from walkways because excited kids rarely watch their feet once the party games start.
4. Dumpling Character Balloon Wall
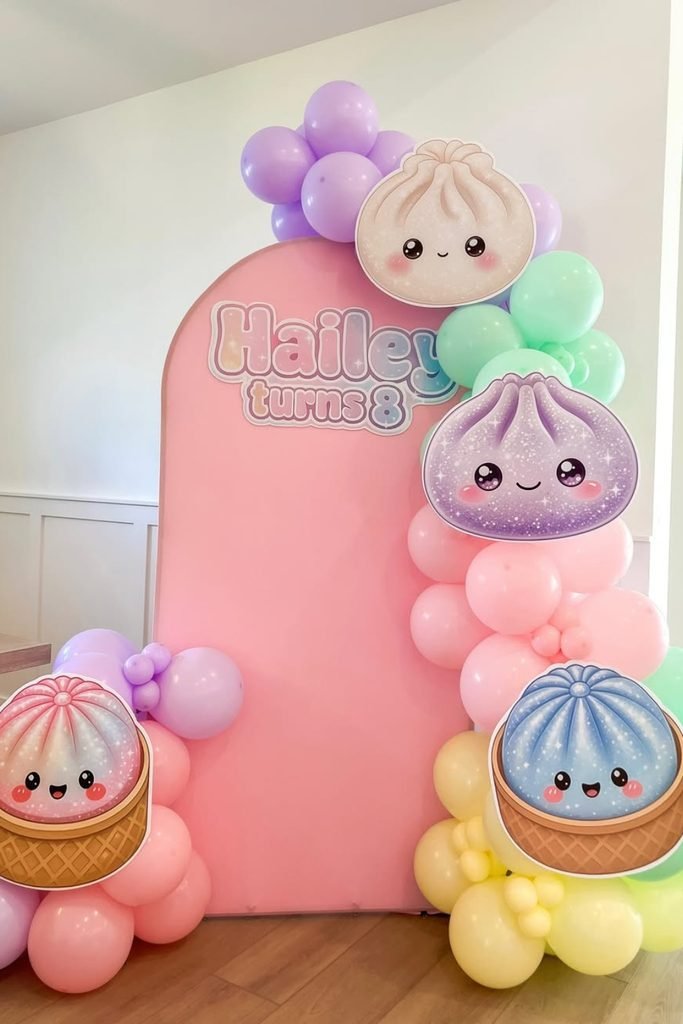
Dumpling cutouts attached around the pink panel make the theme obvious without needing branded tableware, and I like that budget-friendly shortcut.
Foam-board character prints can be reused if you store them flat, while balloon clusters usually need assembling close to party time.
My preference is keeping the center mostly open because crowded backdrops hide names in photos and leave less room for two kids.
5. Mint Dumpling Garden Backdrop
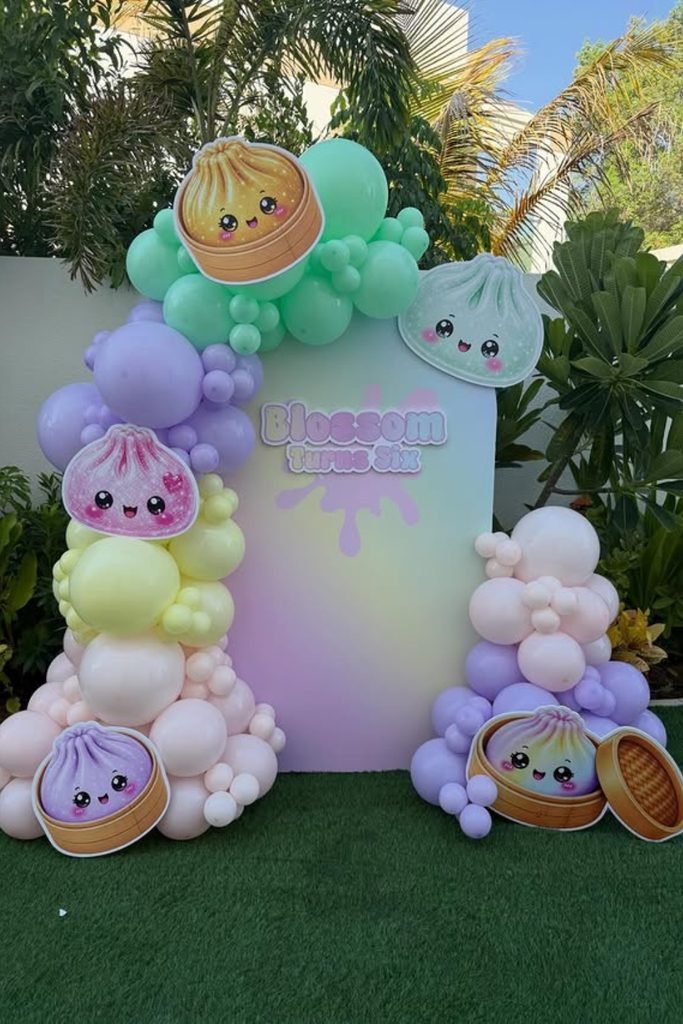
Mint and lavender balloon clusters around the pastel panel suit an outdoor setup well, and I like keeping the character cutouts concentrated around the edges.
Garden backdrops need firm anchoring because even a light breeze can move foam boards or balloon bases before guests arrive.
The open center works better than filling every gap since you still need enough clear space for birthday photos and small groups.
Prep Ahead
I usually build balloon clusters the evening before, then attach the larger pieces on party day so outdoor heat and wind cause fewer problems.
Squishy Birthday Party Activity Ideas
Hands-on squishy activities keep kids busy longer than passive games, so I like planning at least one table where they can create, trade, or decorate.
I’d keep the activities simple and low-mess because too many supplies can turn a fun station into extra cleanup fast.
1. Paint Your Own Squishy
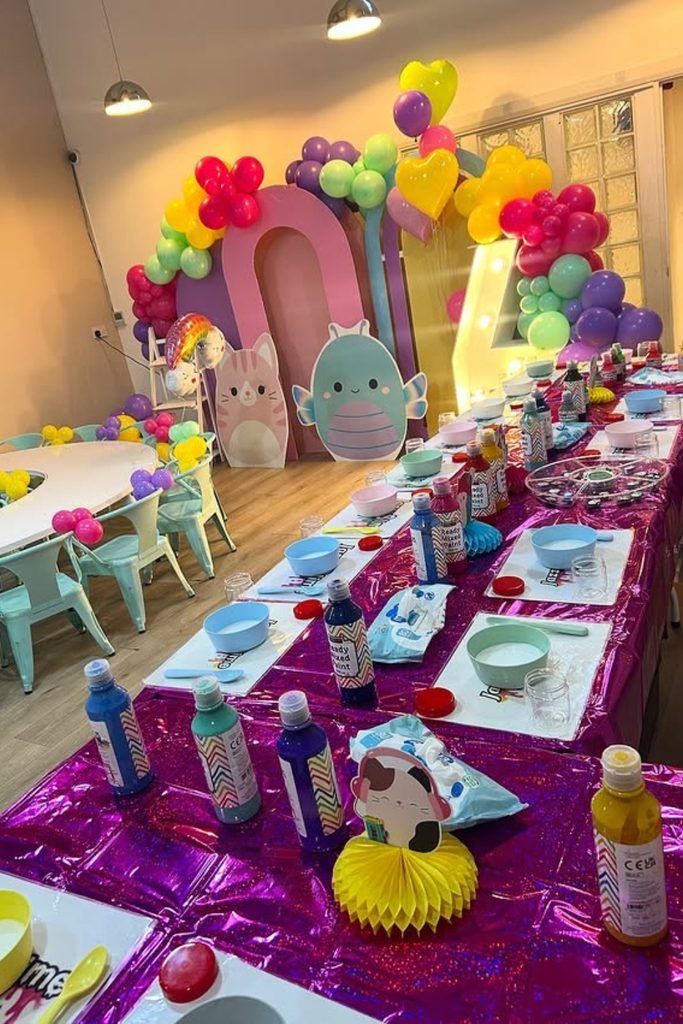
Bottled paint and individual bowls make this squishy decorating station easier to manage, and I prefer giving each child one defined workspace.
Spills are the part I plan for first, so you’ll want washable paint, wipes, and a disposable table covering within reach.
Keeping finished squishies on a separate drying tray saves fingerprints later, especially when kids move straight from crafting into cake or games.
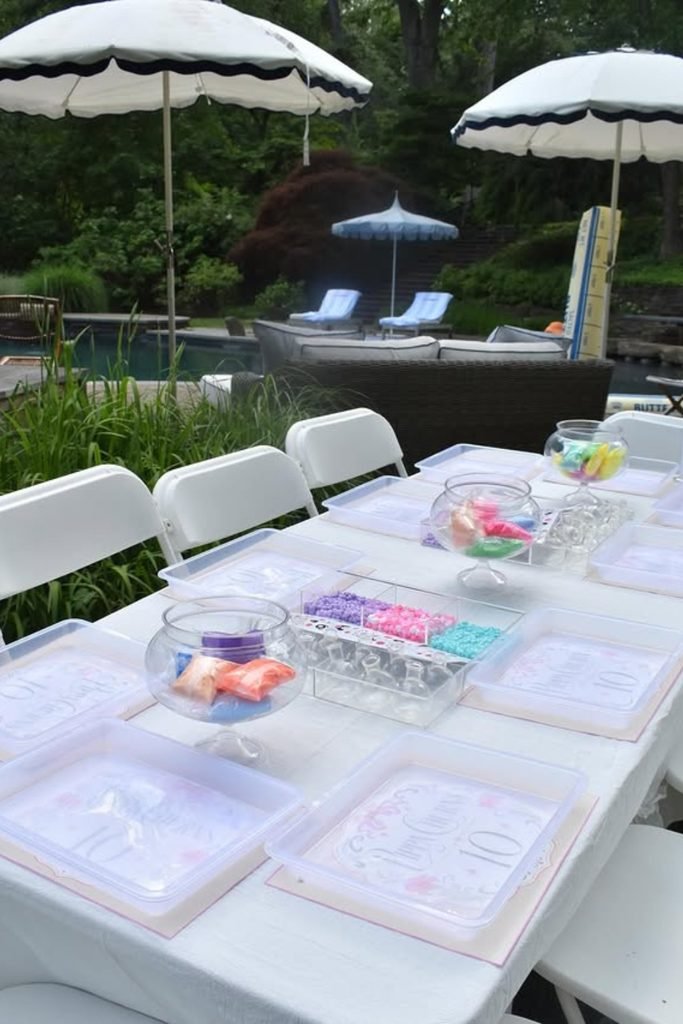
2. Decorate With Tiny Charms
Clear trays filled with beads, charms, and small pieces work best when portions are prepared beforehand, because I’ve seen shared bins empty fast.
Tiny decorations can become a choking hazard for children under three, so I prefer this activity for older kids or larger decorative pieces.
I don’t love tiny loose extras at a busy party because one tipped tray can scatter supplies across the entire setup.
3. Paint Character Mini Canvases
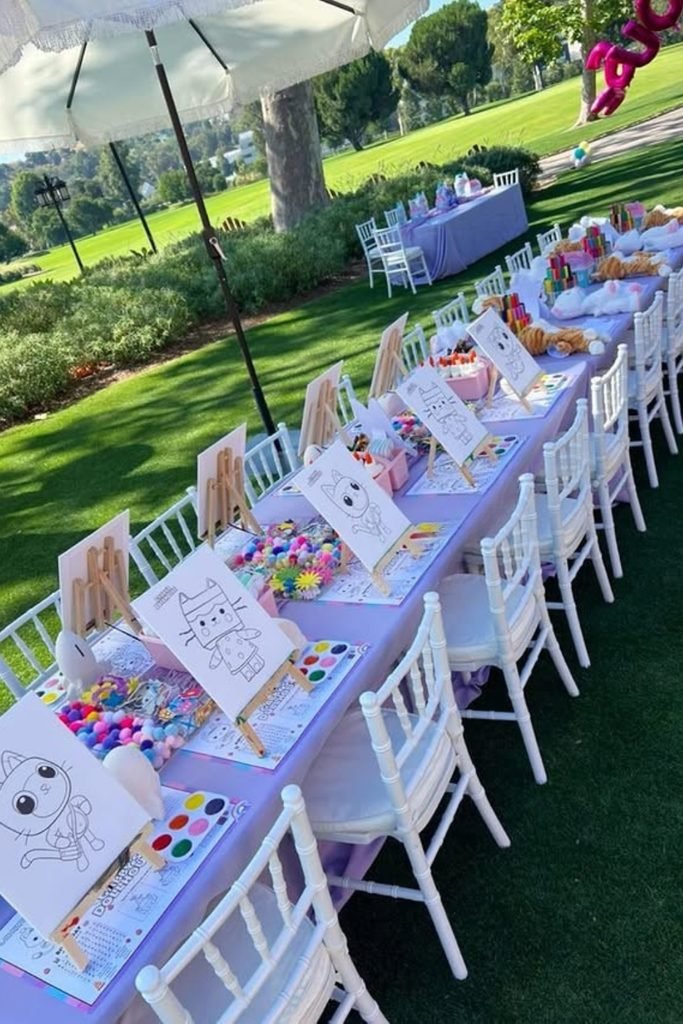
Mini easels with character canvases give every child a clear project, and I like activities that already have an obvious starting point.
Watercolor palettes can get messy quickly, so you’ll want one rinse cup per two children plus paper towels beside each painting spot.
I usually allow around 20 to 30 minutes here, since rushing paint time leaves half-finished canvases and frustrated kids at cleanup.
4. Simple Unicorn Painting Station
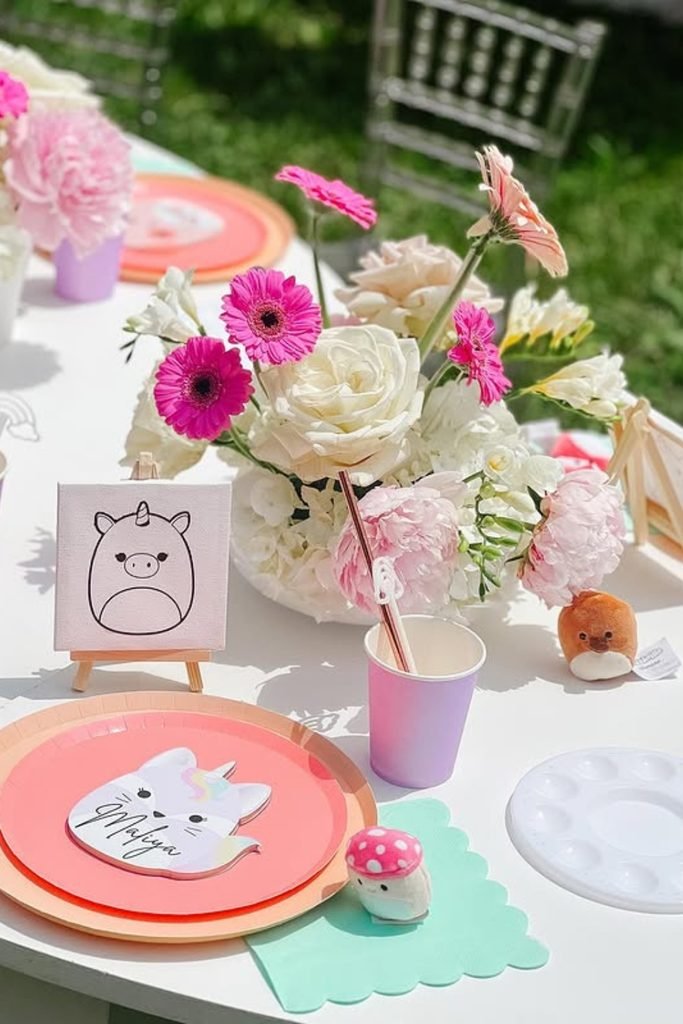
Unicorn canvas outlines make painting less intimidating for younger guests, and I prefer simple shapes because kids can finish without constant adult help.
Small paint palettes and shared brushes should stay grouped by seat, since I’ve watched supplies travel across tables and turn into mix-ups.
Let each canvas dry flat before packing it up, and I keep favor bags nearby so painted artwork doesn’t get forgotten at pickup.
5. Squish Splash Craft Table
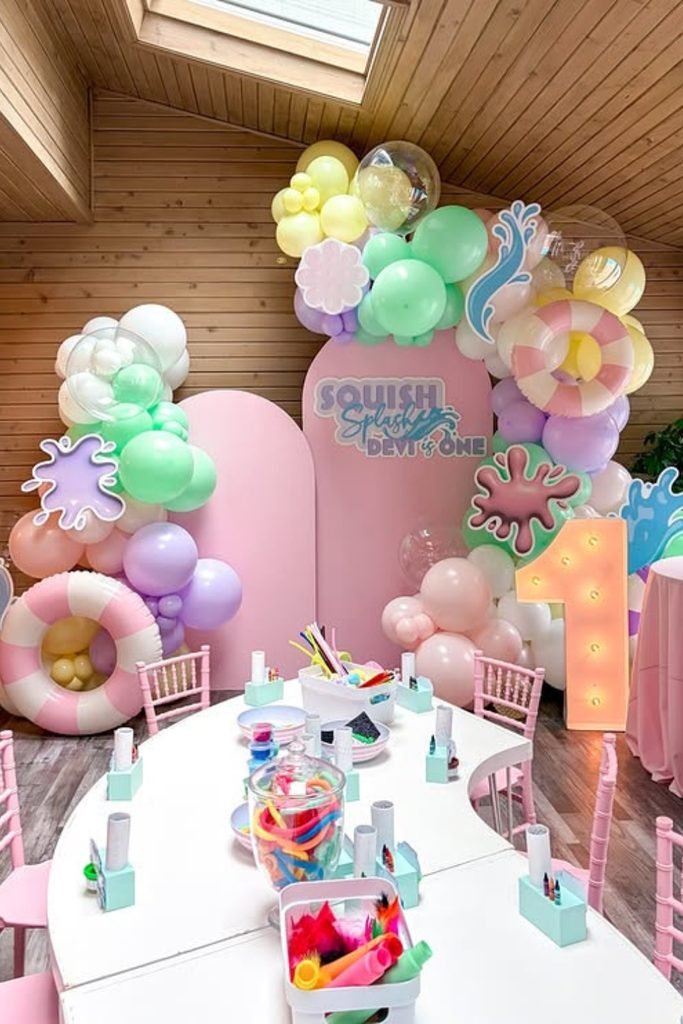
Squeeze bottles, colorful craft pieces, and divided supply trays make this table feel organized, and I like giving every seat identical basics.
Disposable table covers matter here because glue and paint travel quickly, so you’ll want wipes and one rubbish bin beside the chairs.
Personally, I keep the activity around 20 minutes since younger guests usually enjoy making one squishy more than sitting through several decorating rounds.
Squishy Birthday Cake
Squishy-shaped cakes, pastel frosting, and cute character toppers can carry the theme on their own, so I prefer keeping the rest of the dessert table simpler.
I like choosing one strong cake design rather than mixing too many characters because the main dessert looks cleaner in photos.
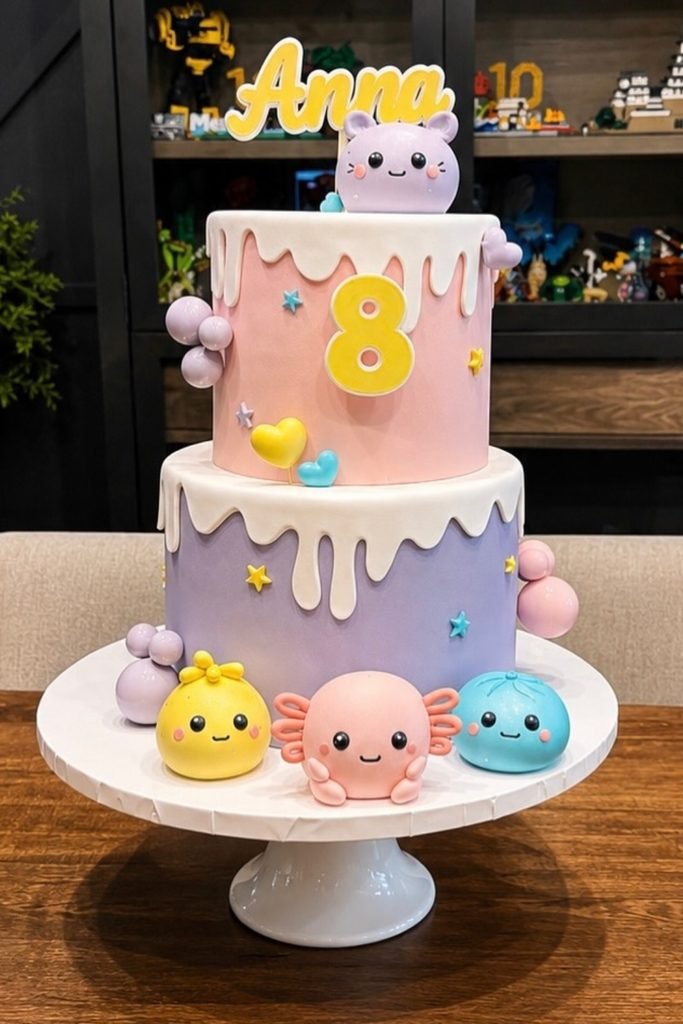
1. Pastel Two-Tier Squishy Cake
Pastel tiers with drip icing and small character figures make the cake feel themed, and I prefer keeping decorations concentrated near the base.
Fondant toppers can be heavier than they look, so I always check that the upper tier is properly supported before serving.
Personalizing the age and name does enough visually, which means you can skip extra cupcake toppers without losing the squishy theme.
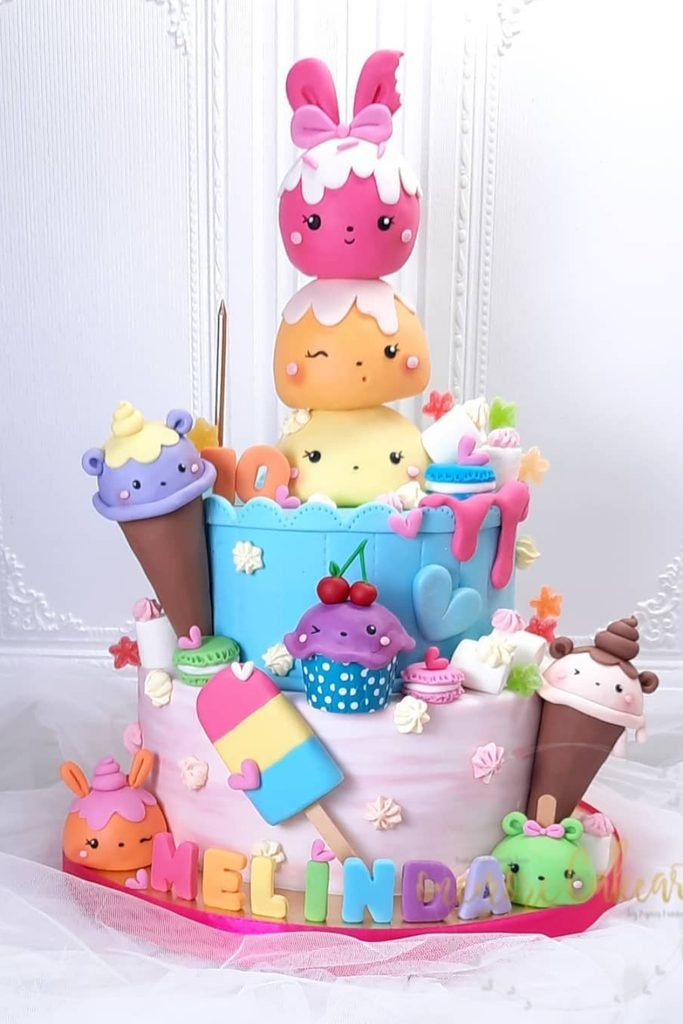
2. Stacked Dessert Character Cake
Stacked candy characters, popsicles, and cone shapes turn the cake into a full dessert scene, but I think the design gets crowded quickly.
Complex fondant pieces usually need to be made ahead, so you’ll want to confirm the baker’s pickup timing before party day.
For me, one or two large characters would be enough here because cleaner spacing makes each shape easier to notice in photos.
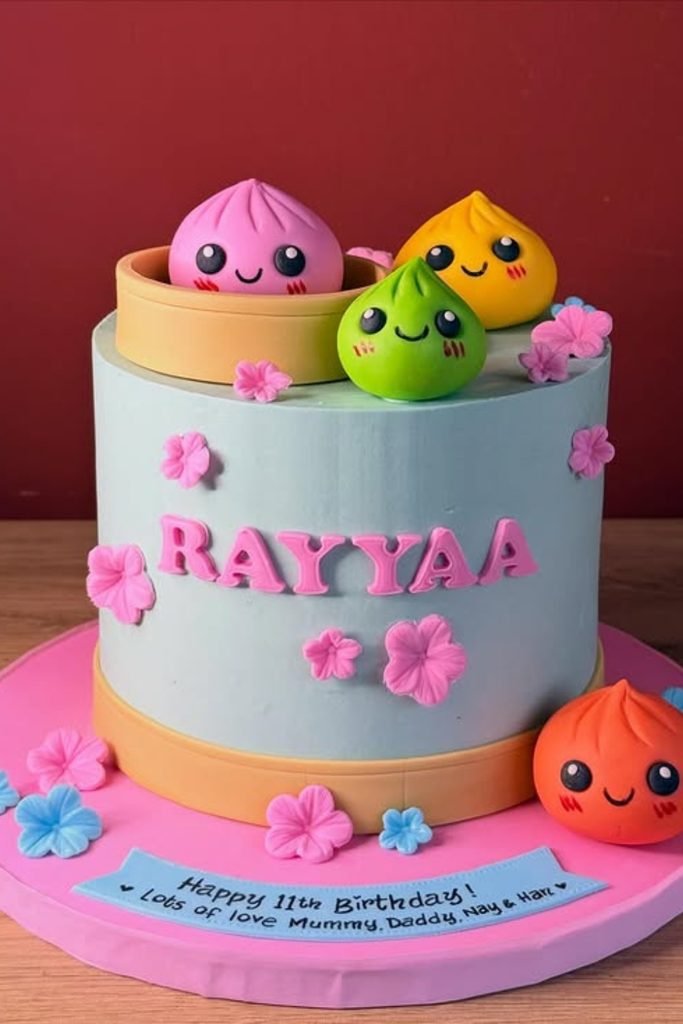
3. Simple Dumpling Character Cake
Dumpling toppers and a muted blue cake give the theme breathing room, and I like this cleaner approach more than overloaded character cakes.
Buttercream flowers are easy to space around the sides, while the larger dumplings can stay clustered on top for stronger balance.
Ordering one personalized name plaque instead of multiple custom figures can also keep the design simpler if your bakery charges per decoration.
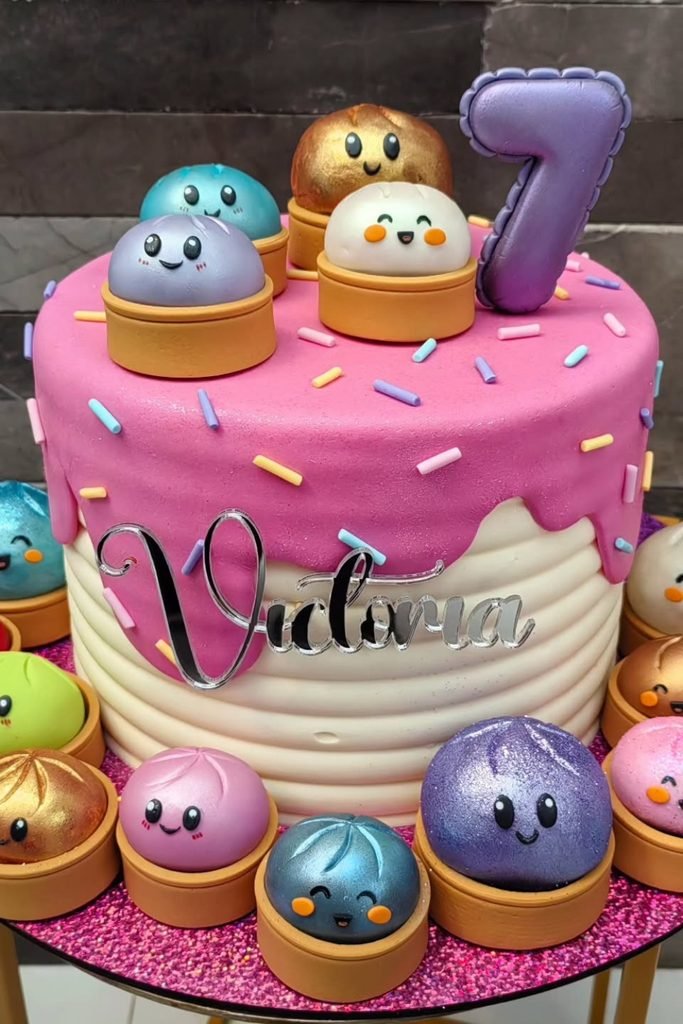
4. Metallic Dumpling Sprinkle Cake
Metallic dumpling figures around the pink drip cake bring plenty of color, and I prefer the repeated characters over adding more decorations.
Sprinkle details are easier to replace than sculpted toppers, so you can simplify the sides if your budget starts creeping upward.
I keep the large number topper slightly behind the characters so it stays readable without blocking the squishy faces.
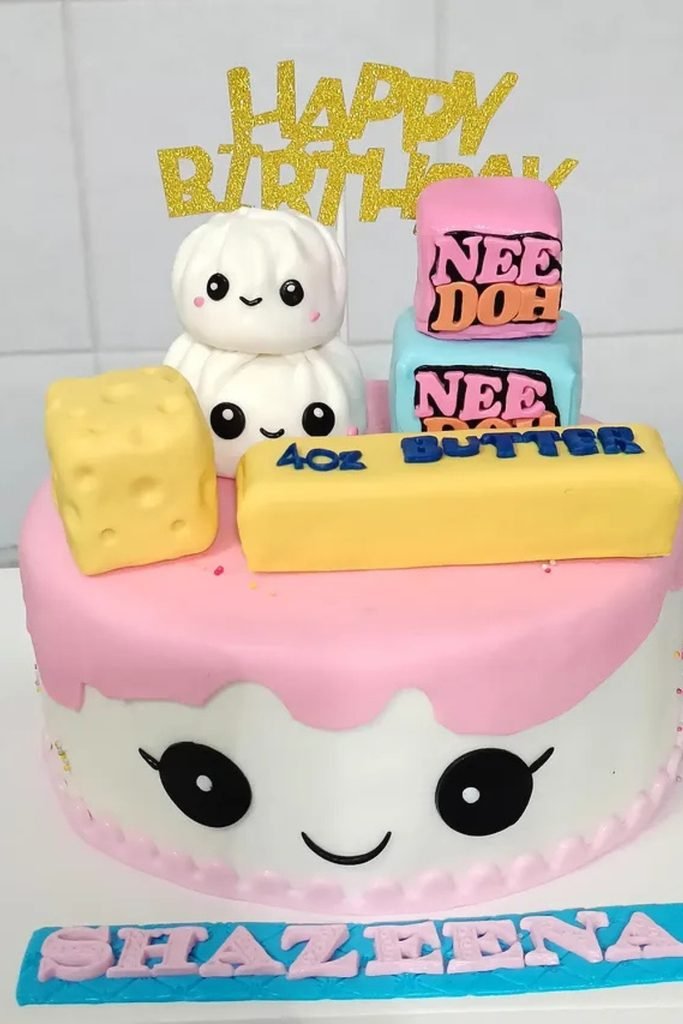
5. NeeDoh Butter Squishy Cake
NeeDoh-style blocks, butter shapes, and smiling dumplings give this cake a playful mix, and I like how clearly each element reads.
Fondant pieces this chunky need solid support, so I’d ask the baker to keep heavier toppers away from soft buttercream edges.
I’d remove the glitter birthday topper because the branded shapes already carry enough detail without another focal point competing above them.
Prep Ahead
I confirm custom cake details a few days early, since fondant toppers often need extra drying time before pickup.
Squishy Table Setup
Pastel plates, character details, and a few squishy centerpieces are enough to carry the theme, and I prefer leaving plenty of open eating space.
I keep decorations low and simple because tall pieces get bumped fast once kids start reaching for drinks, cake, and favors.
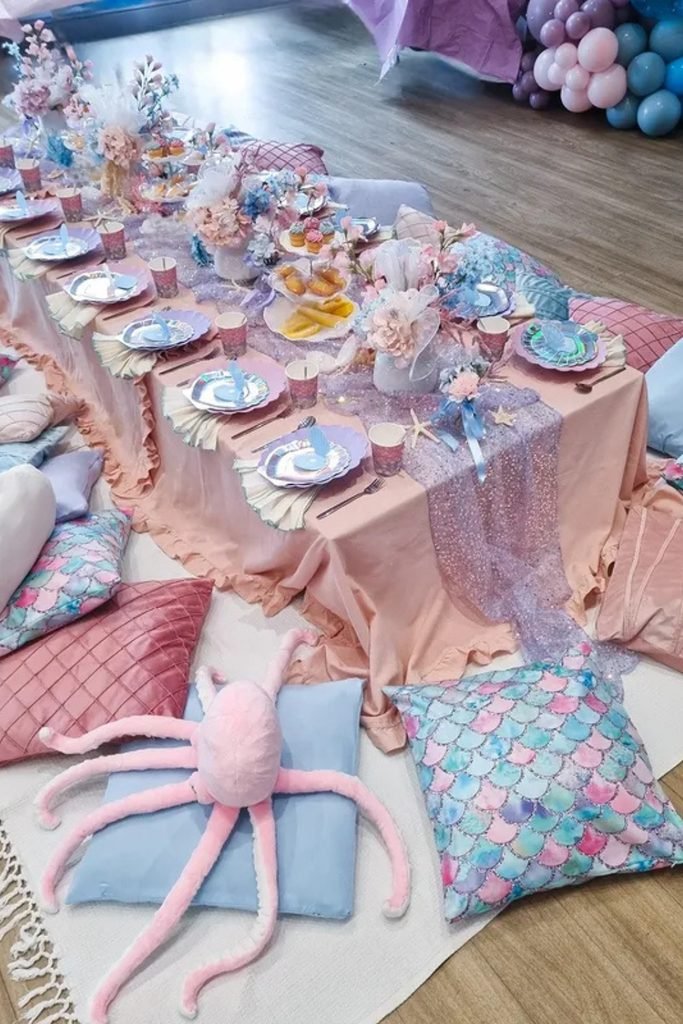
1. Low Floor Squishy Picnic
Low tables, floor cushions, and layered pastel linens work best with plenty of knee room, and I like keeping centerpieces narrow.
Floor seating can get messy around drinks, so I keep cups near each plate and avoid open pitchers where elbows can catch them.
Personally, one plush squishy near the table is enough because extra toys quickly steal eating space and end up under cushions.
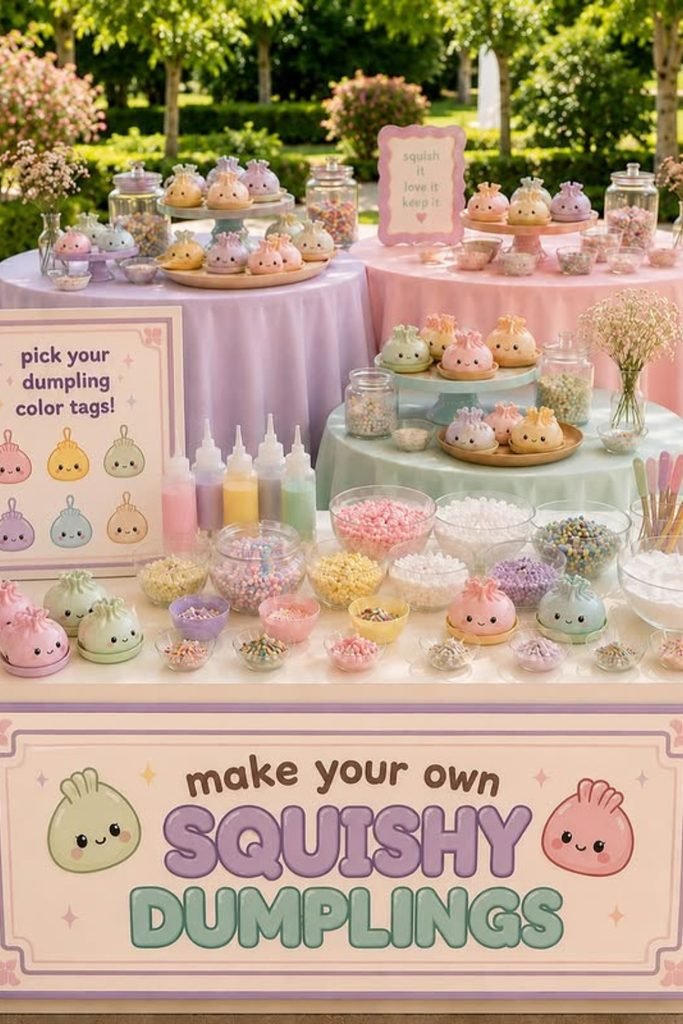
2. DIY Dumpling Decorating Table
Clear bowls of beads, charms, and pastel decorations make supplies easy to reach, and I prefer dividing them into small portions.
Tiny charms can become a choking hazard for children under three, so I swap them for larger foam shapes at mixed-age parties.
Using one tray per child also keeps the decorating table calmer, which matters once several hands start reaching into shared supplies.
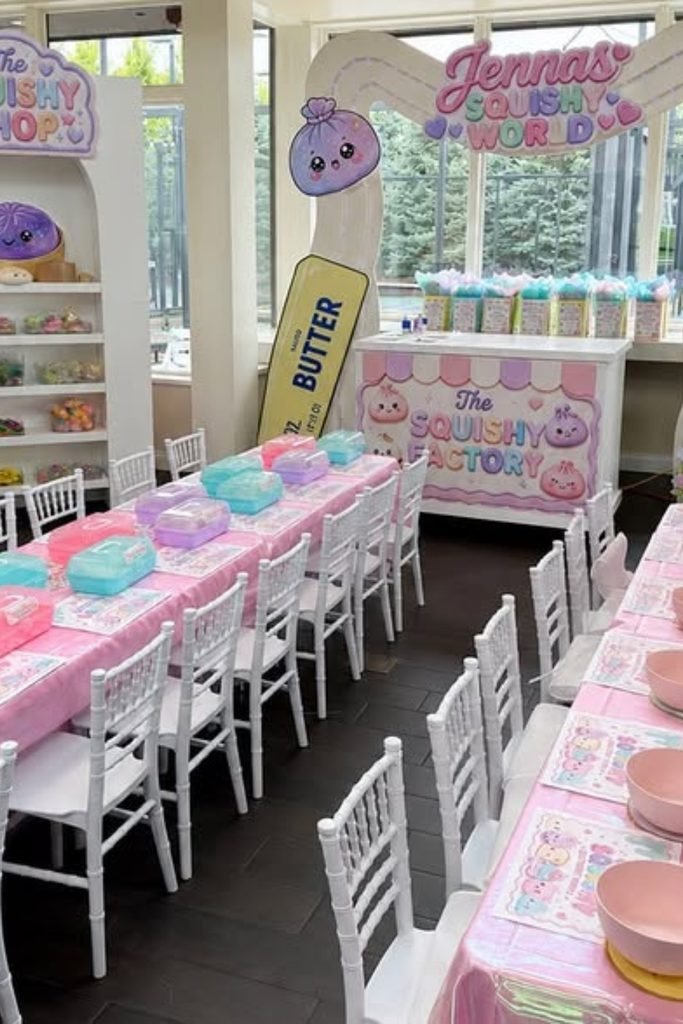
3. Two-Table Squishy Workshop
Twin activity tables separate decorating supplies from bowls and snacks, and I like that split because it keeps the eating side cleaner.
Leave at least a clear walking lane between chairs, since crowded chair backs are the first thing I’ve seen trip excited kids.
I skip extra tabletop decor here because the boxed kits and pastel bowls already give every place setting enough color.
4. Floral Pastel Squishy Table
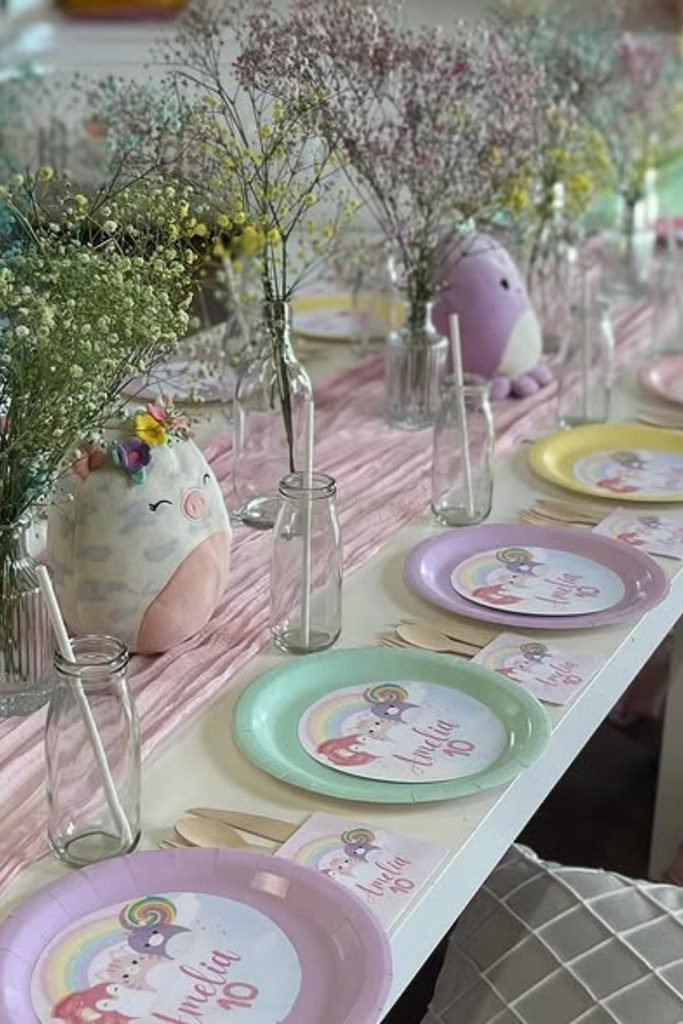
Glass bottles, pastel plates, and low flower stems create a softer table, and I prefer keeping every vase below seated eye level.
Water-filled bottles near the table edge can tip quickly, so I move them inward before kids start reaching across for food.
One larger squishy centerpiece feels enough for me, while several smaller toys would make the plates and napkins harder to manage.
5. Organized Squishy Supply Station
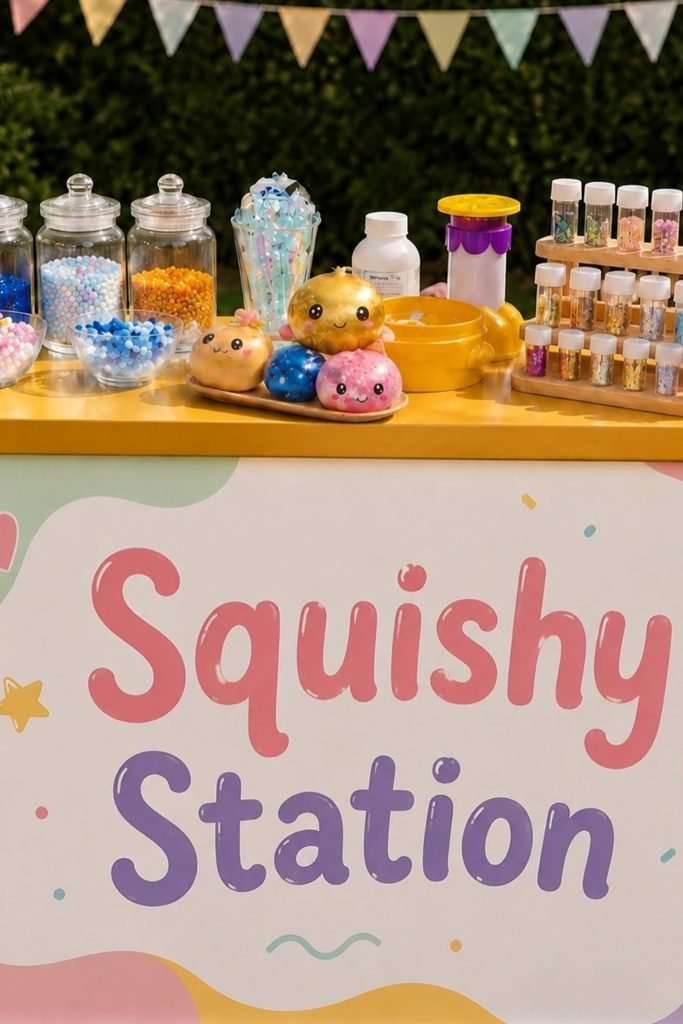
Sorted jars, bowls, and small decoration tubes keep the squishy station easy to browse, and I like separating supplies by type before guests arrive.
Tiny beads and charms need close supervision around younger children, so I keep larger decorations available whenever different age groups are sharing the table.
Placing squishies in the center gives kids a clear starting point, while the surrounding containers keep hands from digging through one crowded supply bin.
Squishy Birthday Party Entrance
Pastel balloons, a welcome sign, and one oversized squishy character can set the theme immediately, and I like keeping the entrance cheerful but uncluttered.
Personally, I prefer one strong focal point near the doorway so guests know where to stop, take photos, and head into the party.
1. Under-the-Sea Squishy Arch
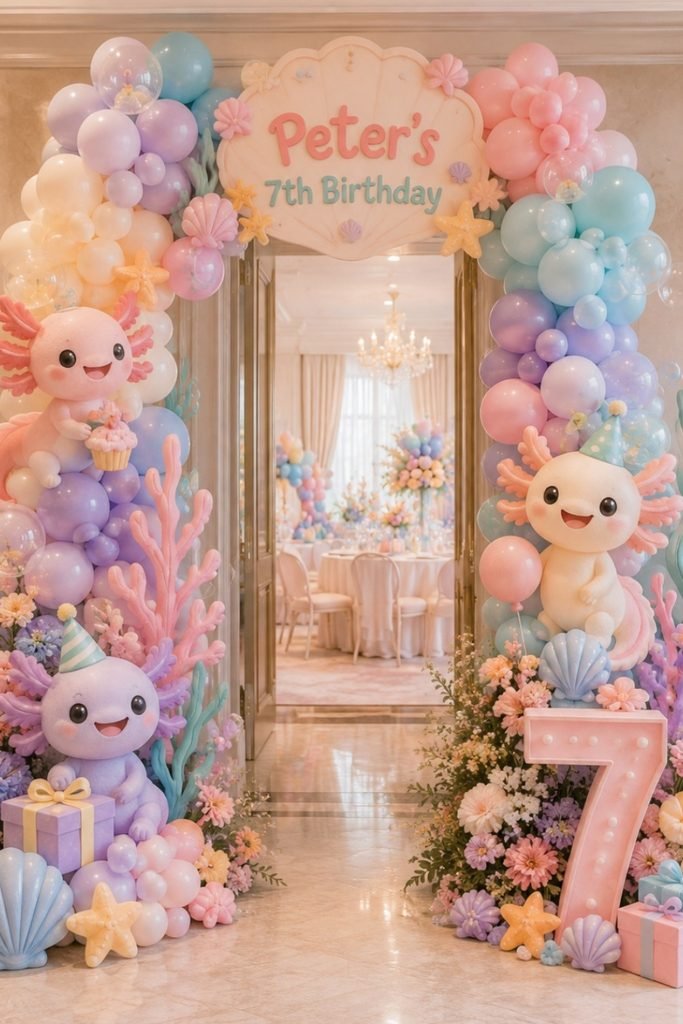
Pastel balloon clusters around the doorway make a strong first impression, and I like using one entrance piece that already feels photo-ready.
Character props and fresh florals together can get expensive fast, so I’d keep the flowers concentrated low where guests notice them first.
The lit marquee number earns its spot here because it helps the entry read like a birthday setup, not just a balloon frame.
2. Pastel Garden Welcome Arch
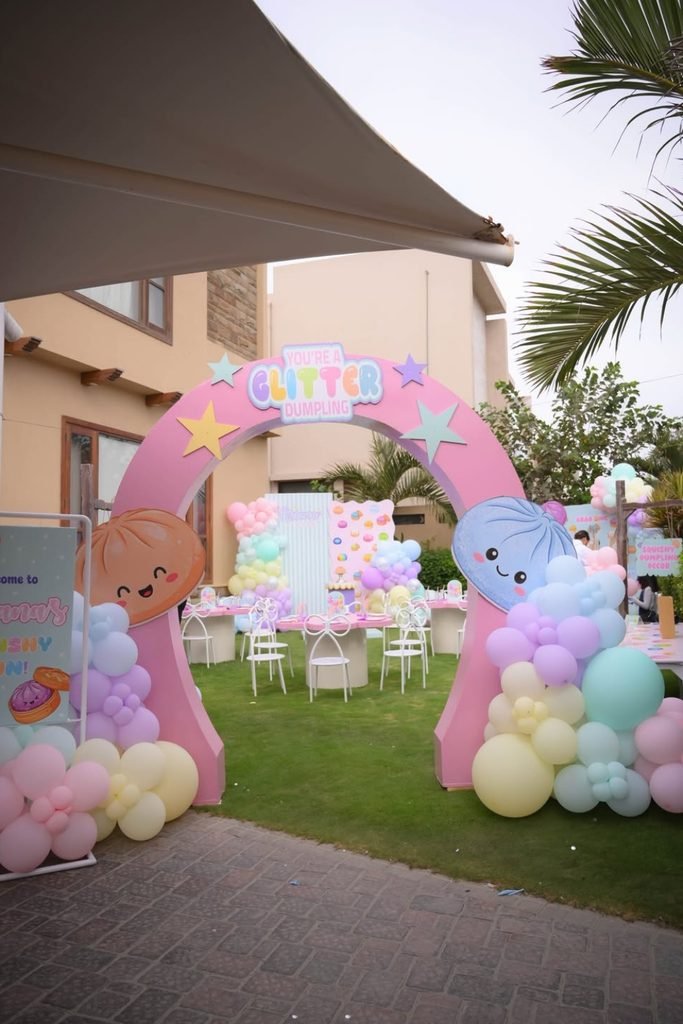
Pink arch panels with dumpling cutouts make the party theme obvious right away, and I prefer that over guests guessing what the theme is.
Outdoor entrances need solid weights at the base, since lightweight balloon clusters can shift quickly once wind picks up in an open yard.
Honestly, I’d trim back one or two extras here because the welcome area works better when kids can pass through it without bumping decor.
3. Pink Carpet Squishy Entry
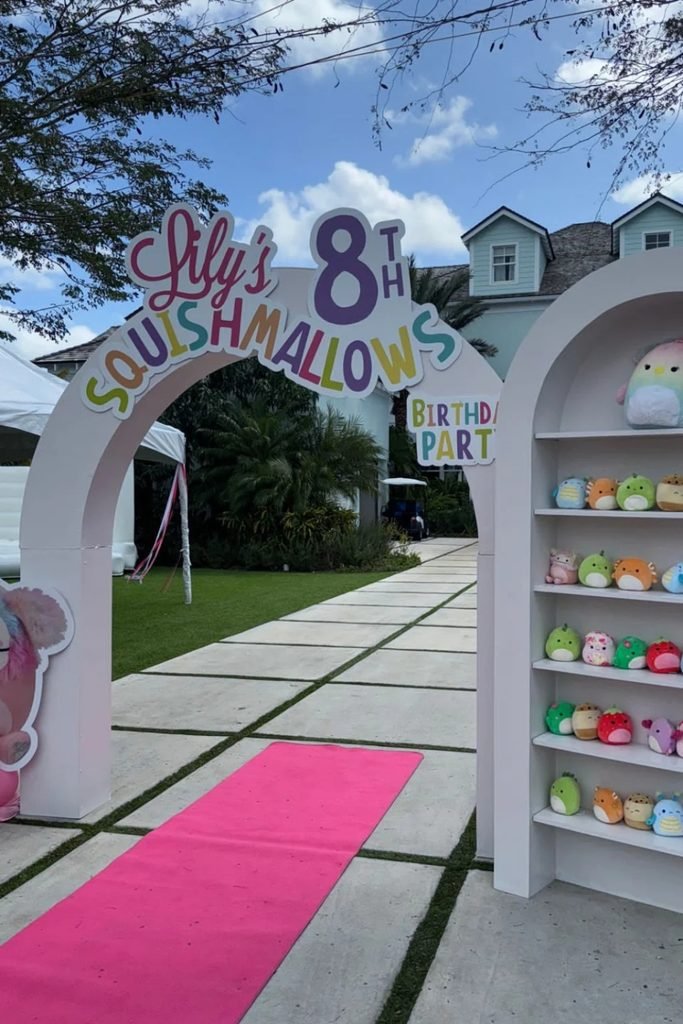
Pink carpet leading through the arch gives guests a clear path, and I like entrances that guide people instead of crowding the walkway.
Display shelves full of squishmallows look fun, but they also need watching – excited kids will start grabbing before shoes are even off.
For me, this setup is cutest for a larger yard because smaller spaces can feel cramped once you add an arch, shelf, and photo stop.