
How to do a French Manicure at Home Step By Step
You have likely tried this before – sitting down with your polish, hopeful that this time your french manicure will turn out clean and perfect, just like the photos you see online.
But then something always goes off. The tips are not even, the polish smudges, and your hands feel shaky. In the end, it does not look how you pictured it.
Here is the thing: it is not your fault. Most people struggle with manicures at home because no one explains the little tips that actually make it easier.
It is not just painting a white strip – it is prepping your nails properly, keeping your hand steady, knowing how to clean up small mistakes, and sealing it all in so it lasts.
This guide is made for people like you. No salon training needed, no fancy tools required – just clear, simple steps to help you finally get that crisp, professional – looking french manicure at home.
Contents
What You Actually Need to Get Started
Before you begin, take a moment to get everything you need ready.
These are the basic tools for a clean and simple french manicure at home.
Do not stress yourself with extras – just stick to these essentials:
- Nail file – Help you shape your nails evenly.
- Nail buffer – Smooth the surface so polish goes on better and stays put.
- White nail polish – For creating those classic french tips.
- Sheer pink or nude polish – This gives your nails that soft, natural finish.
- Nail polish remover – Use to cleaned up any mistakes.
- Cotton pads or Q-tips – Great for cleaning around the edges.
- Thin nail art brush (optional) – Helps fix any uneven lines with precision.
- French tip guides or tape (optional) – Useful for beginners to get clean white tips.
How to Do a French Manicure at Home Step-by-Step
Follow the steps to the exact order. Do not rush. Take your time if you want neat and clean results.
1. Shape Your Nails
Start by filling your nails into the shape you want. For a french manicure, short square or rounded tips usually work best.
Take your time to make sure each nail looks even.
And do not forget to smooth out any sharp edges – clean shaping gives the polish a neater finish and helps prevent snags.
2. Buff the Surface
Use a light buffer to gently smooth out the surface of each nail.
This simple step helps your polish go on more evenly and makes it last longer without peeling or chipping.
3. Clean Your Nails
Wipe each nail with nail polish remover or rubbing alcohol. This clears away any oils, lotions, or dust that could stop your polish from sticky properly.
4. Apply Base Coat
Now you have to apply a thin layer of base coat to each nail.
It protects your nails from staining and gives the polish a smooth surface to grip.
Now leave it for a few minutes to dry.
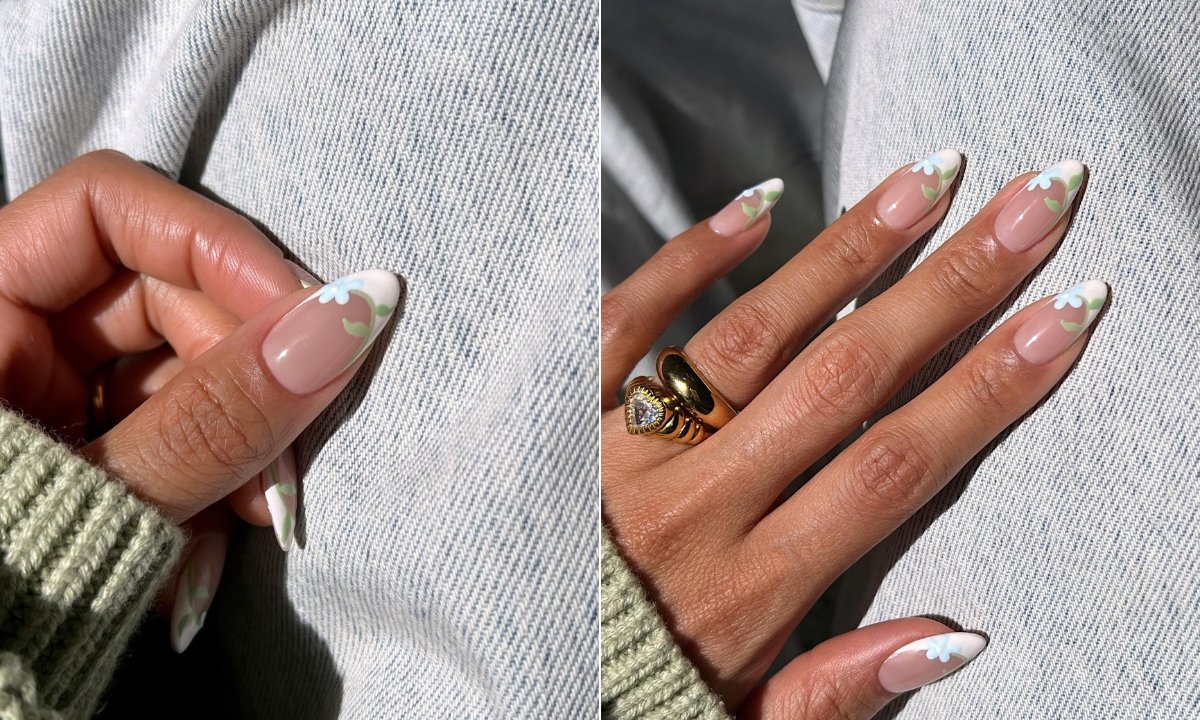
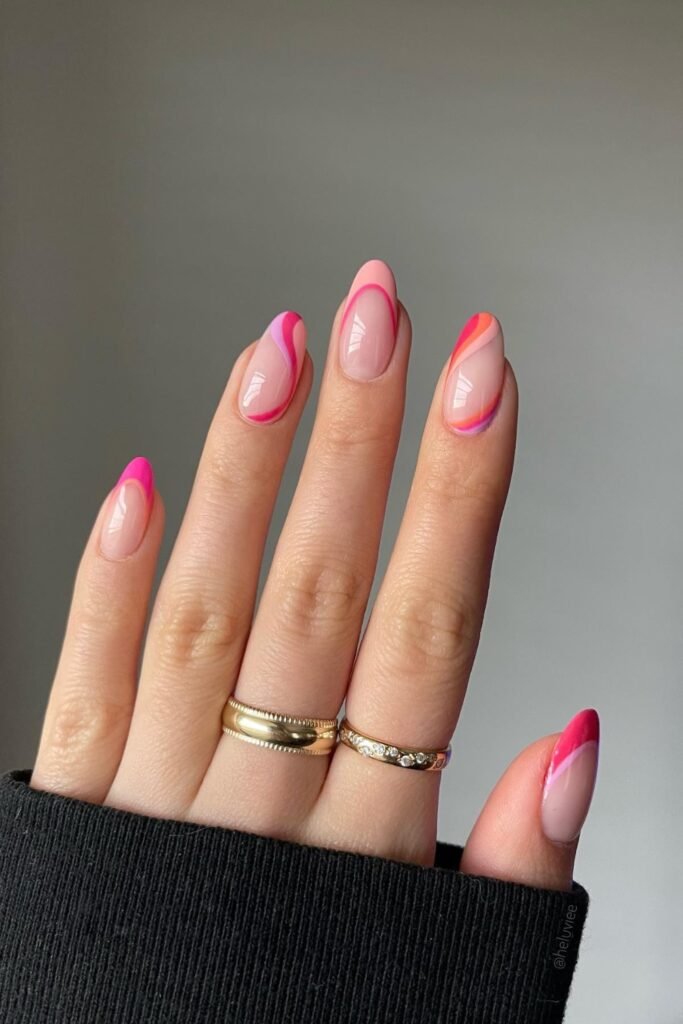
5. Paint the White Tips
This step is where most people struggle.
- If you are just starting out, then try using French tip guides or tape to help create a clean line.
- If you are painting freehand, place your hand flat on a table to keep it safe.
- Apply the white polish in thin layers so it looks neat and dries quickly.
6. Clean Any Mistakes
Dip a thin brush or cotton swab in nail polish remover, and gently clean up around the white tips.
This step helps sharpen any uneven edges and make your french tips look crisp and professional.
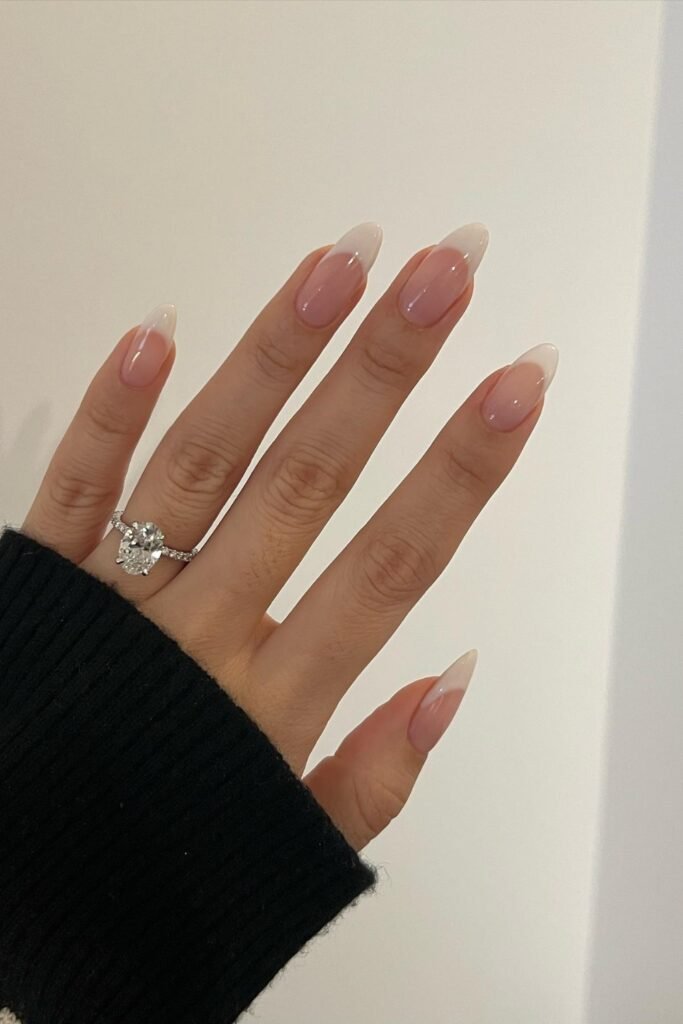
7. Apply Sheer Pink/ Nude Polish
Now swipe on a thin layer of your pink or nude polish right over the whole nail, white tips and all.
It pulls everything together and gives you that clean, polish french vibe.
8. Seal with a Top Coat
Finish with a clear top coat to lock in the color and give your nails a glossy shine.
Do not forget to run the brush along the tip of each nail – this seals the edge and helps prevent chipping.
9. Let It Dry Completely
Be patient and give each layer time to dry completely.
It might feel slow, but rushing is the reason most at – home manicures end up smudged or chipped.
Mistakes That Ruin the Look (And How to Fix Them Right Away)
If your french manicure keeps turning out messy, it is probably due to a few small mistakes.
Here is how to avoid them right from the beginning.
1. Using Too Much Polish
Thick layers can cause your these to bubble, streak our smudge.
Always go for thin coats and let dry them completely one by one before adding the next.
2. Uneven White Tip
Most people get this wrong by moving the brush too much.
Instead, keep your hand steady and gently turn your finger – this helps you create a smooth, even curve for your french tip.
3. Skipping Clean-Up
If you do not clean up messy edges as you go, your manicure would not look tidy in the end.
Keep a thin brush with remover nearby so you can fix little mistakes right away.
4. Rushing the Process
If you rush through your manicure, the polish would not have time to dry properly – and that is when smudges happen.
So you have to be patient and wait until it dries fully before moving on.
5. Forgetting to Seal the Edges
Chipping often starts at the very tip of your nail.
That is why it is important to always run your top coat across the edges – it seals everything in and helps your manicure last longer.
How to Make Your French Manicure Last Longer Without Chips
Always start with clean nails. Use remover or alcohol to get rid of oils and leftover polish. This gives your nail polish a clean surface to stick to.
Lightly buff the nail surface. A smooth nail helps the polish go on evenly and stay on longer.
Do not skip the base coat. It protects your natural nails and gives the polish something to hold onto.
Apply thin, even layers of polish. Thick coats peel and chip faster. Let each layer dry fully completely before adding the next.
Seal the tip of your nail. When you apply your top coat, brush along the edges too – this helps stop chipping.
Avoid hot water right after painting. Your polish needs time to fully set. Water can soften it again.
Touch up your top coat after a few days. This refreshes the shine and keeps your manicure going strong.
Conclusion
Do not worry if your first at-home french manicure does not turn out perfect -that is completely normal.
Even experienced nail lovers had to practice to get clean lines and neat tips.what matters most is learning the right technique and giving yourself time to get better.
With each try, it becomes easier. Your hand gets steadier, and your polish goes on smoother.
These small steps add up,before long, you’ll get results that look just as a salon – without spending the extra money.
Focus on doing it the right way, not the perfect way. With practice, your French manicures will keep improving.